Other Similar Product By Tags
Features and Benefits
Our products are designed with thought and care. It is sold with tremendous pride, which is why we know you're going to love this...
Ready To Pop Baby Shower Printables – Easy Instructions
Once you have your files…
1) Download it.
2) Personalize it. Some files in the package are editable. That means you can personalize it by putting your own message on it.
- You will be able to edit your printables in Adobe Acrobat Reader, which is available to you for free.
- To get the same look as we have, you will need to download the free fonts before editing. Here is the “Ready To Pop” font file you need. (All fonts are available from reliable sources.)
3) Print it. All printables can be printed from your computer, or take it to your local print shop. If you are printing from home, make sure that your printer is set to print to actual size (or 100%.)
For the best results, we recommend that some printables be printed on card stock paper.![]() At a minimum, choose between 80 lb and 100 lb card stock. For an even higher quality result, choose 120 – 140 lb card stock. If you are printing at home, do check to see if your home printer can accommodate paper up to 140lbs.
At a minimum, choose between 80 lb and 100 lb card stock. For an even higher quality result, choose 120 – 140 lb card stock. If you are printing at home, do check to see if your home printer can accommodate paper up to 140lbs.
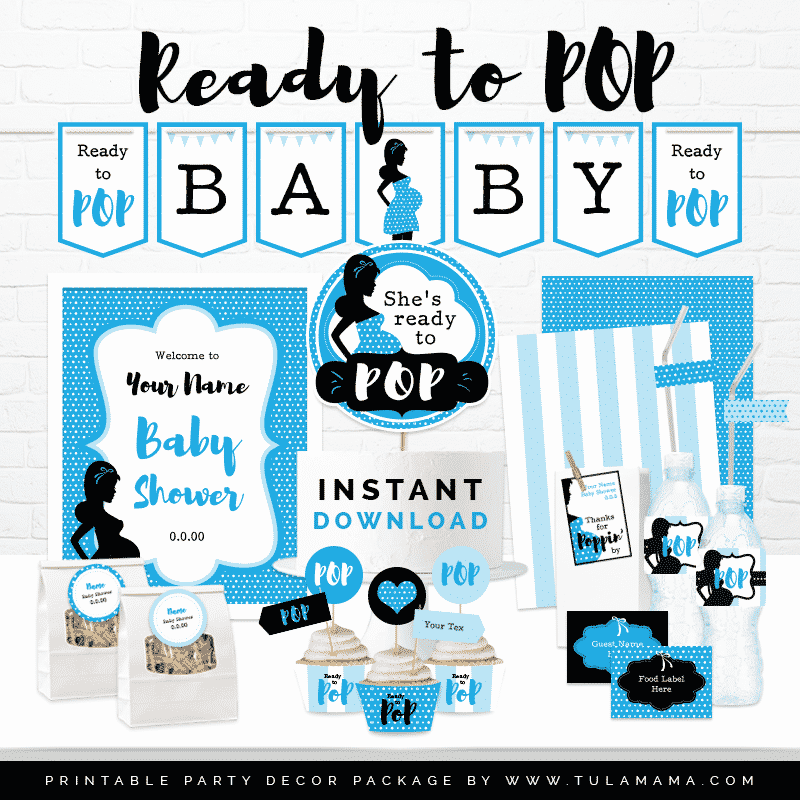
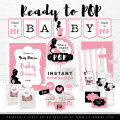
Included In Your Ready To Pop Baby Shower Printables Package
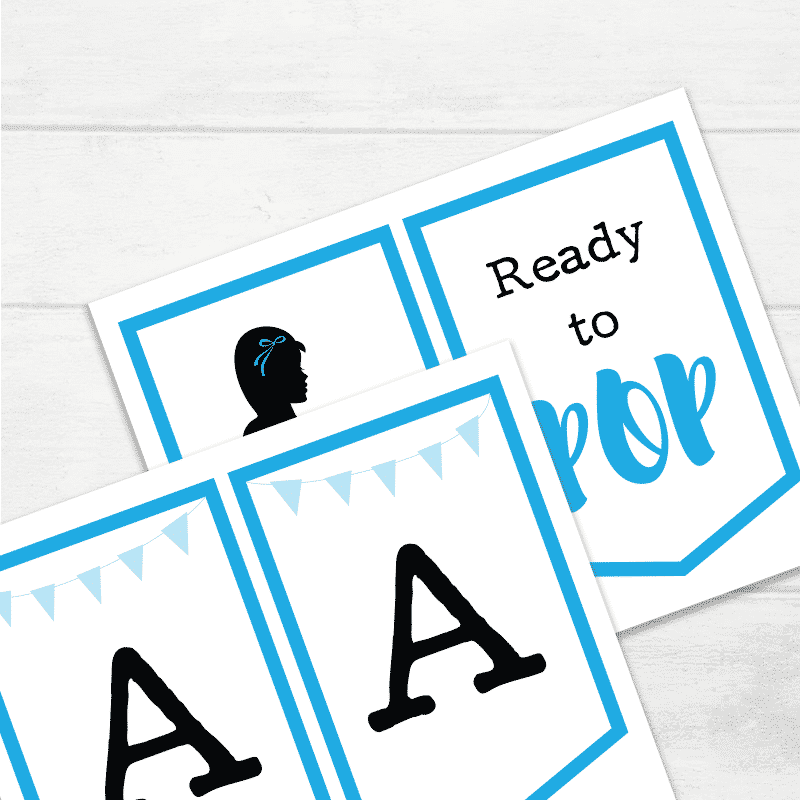
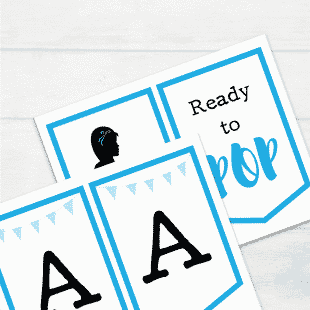
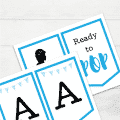
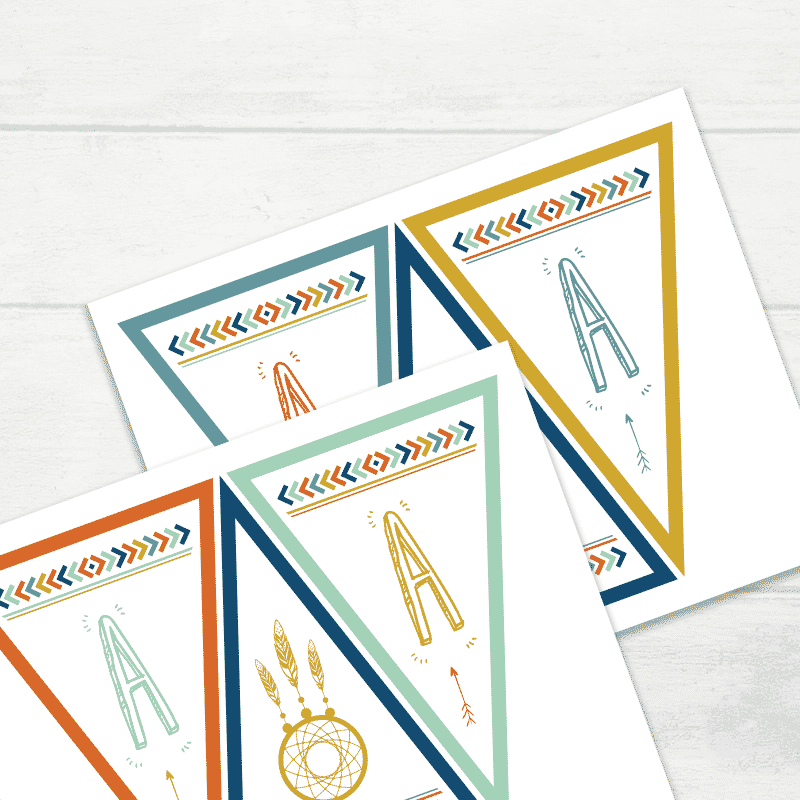
Baby Shower Banner
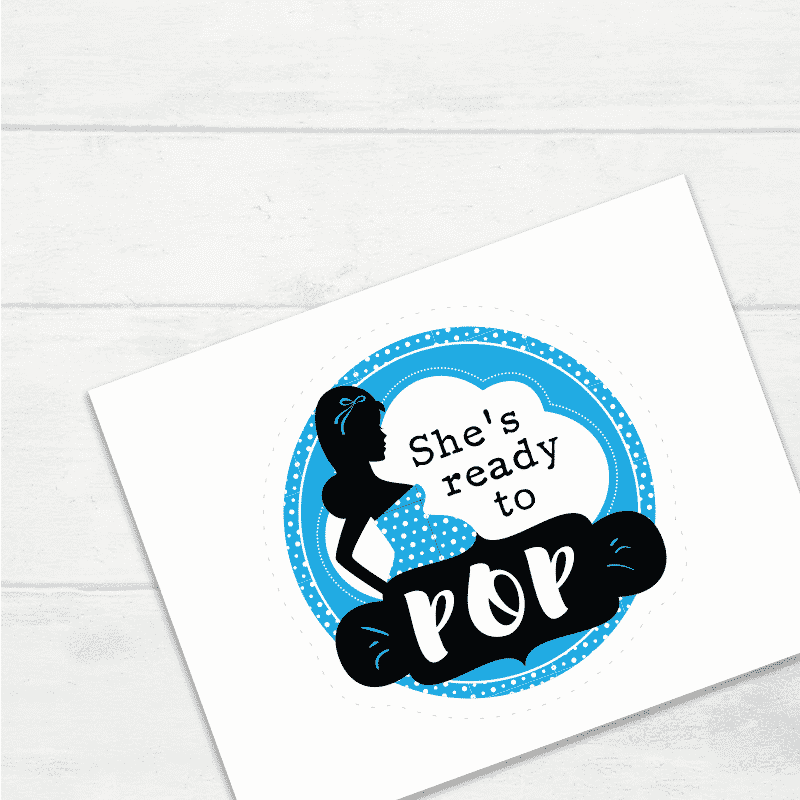
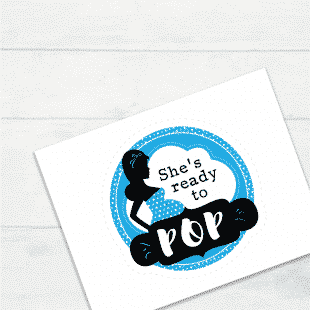
Baby Shower Clip Art or Cake Toppers
Your images can be used in a variety of ways.
To use them as cake toppers:
- Print them onto cardstock paper;
- Cut it;
- Tape or glue them onto chopsticks.
To use them as baby shower clipart:
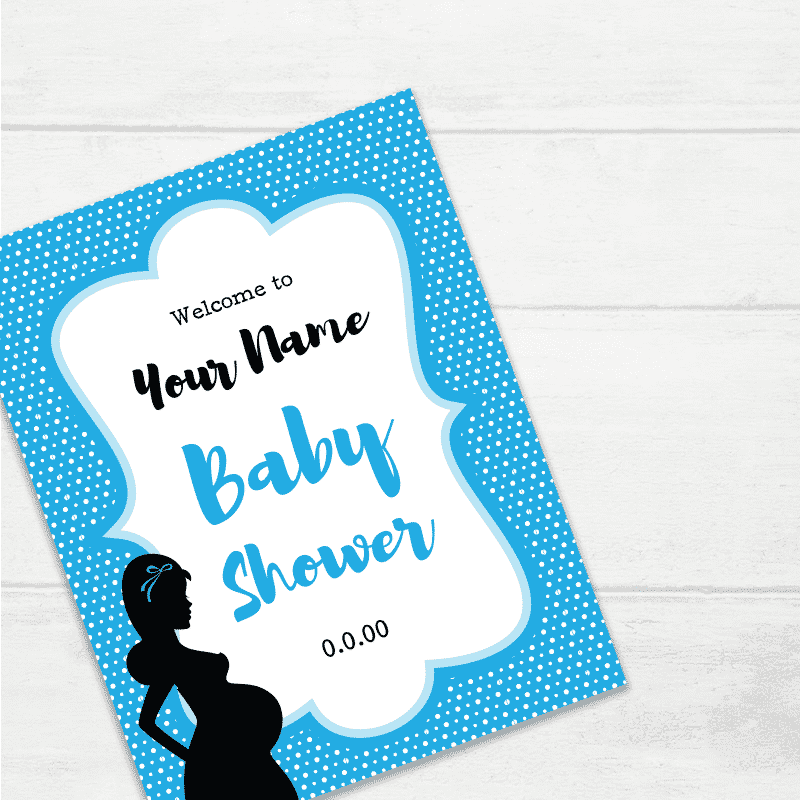
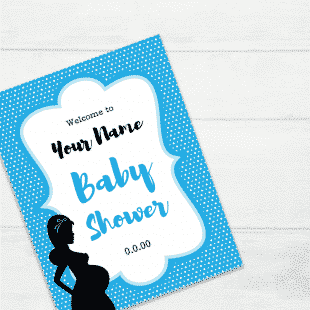
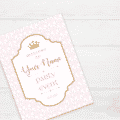
Welcome Sign
Cupcake Flags
- Your printouts. Cupcake flags can be printed onto regular 8×11 inch paper.
- Scissors;
- Glue gun and paper glue;
- Toothpicks.
Carefully cut out all the cupcake flags.
Fold them in half and (using a tiny bit of glue from your glue gun,) glue the toothpick into the center. Using the paper glue, glue the sides shut.
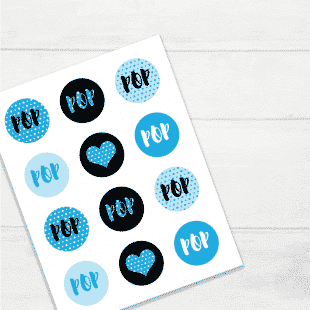
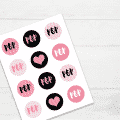
Cupcake Toppers
To make your cupcake toppers, you will need:
- Cardstock paper
 ;
; - 2-inch circle punch
 ;
; - Glue gun;

- Toothpicks.
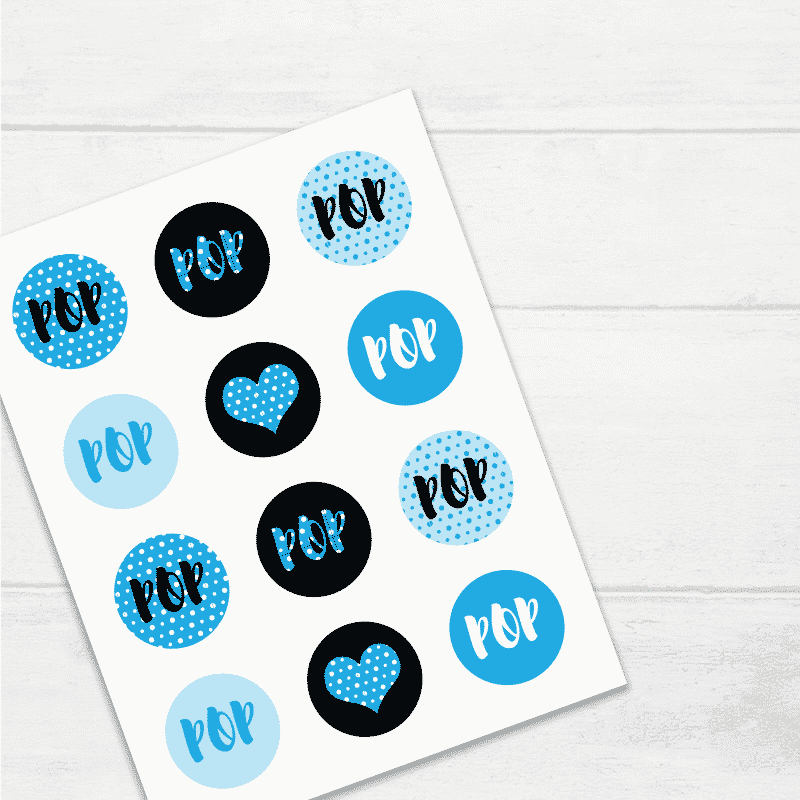
Once you have printed out your cupcake toppers onto the cardstock, cut them out using the punch. Next, glue a toothpick onto the little circle. Push the pointy end into your cupcakes, and you’re done.
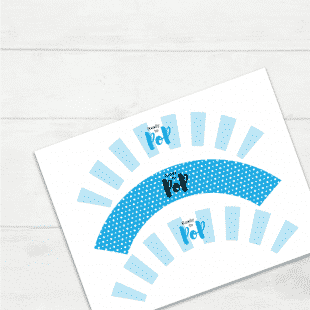
Cupcake Wrappers
To make your cupcake wrappers, you will need:
- Regular (8×11″) paper;
- Scissors;
- Tape.
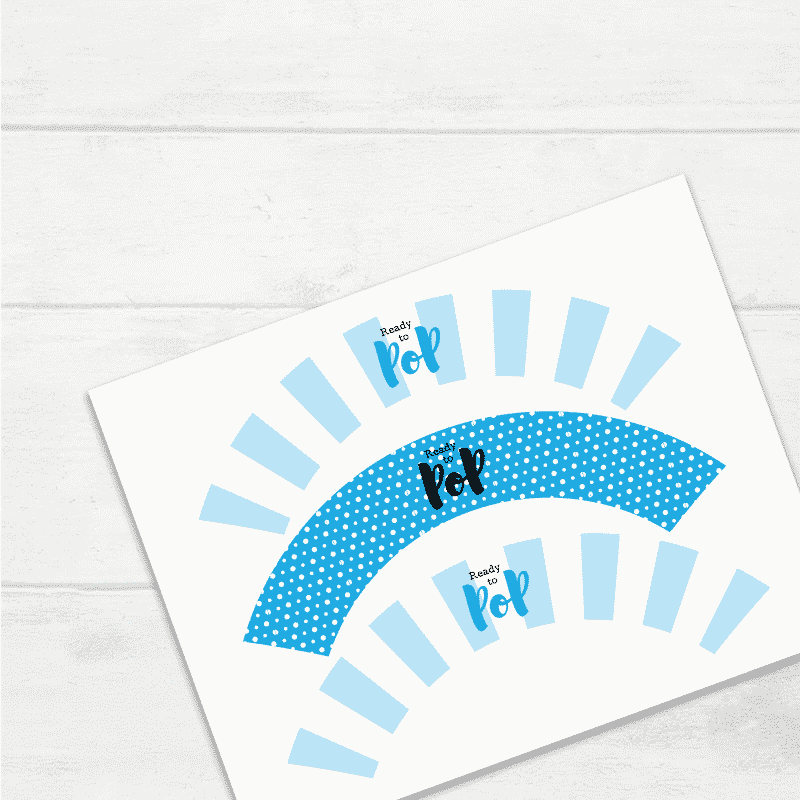
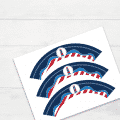
Once your cupcake wrappers are printed, cut them out.
Position them around your cupcake and tape the end shut.
For smaller cupcakes, you may need to cut off the extra paper.
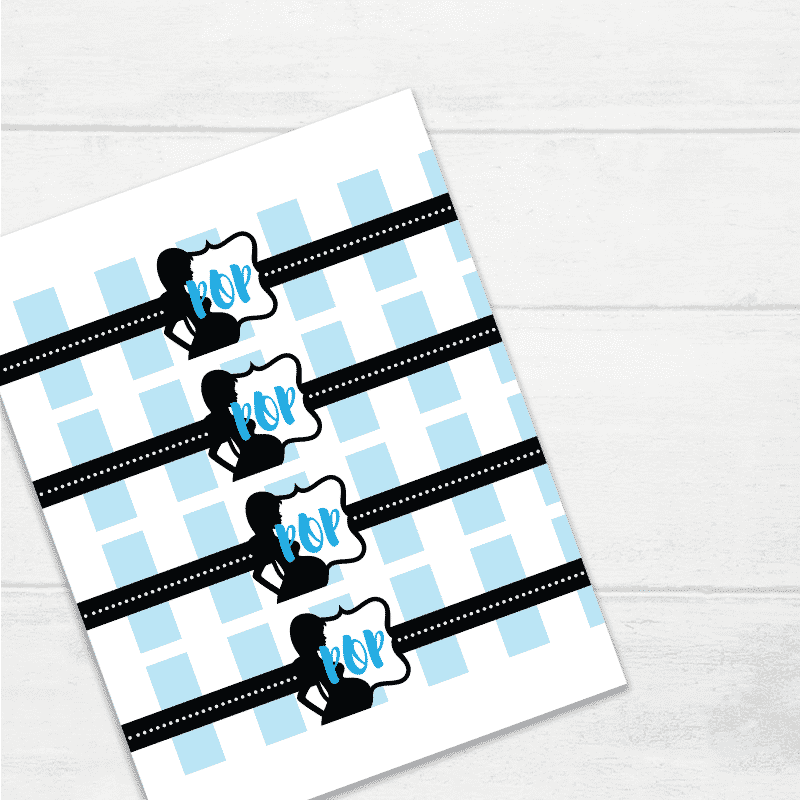
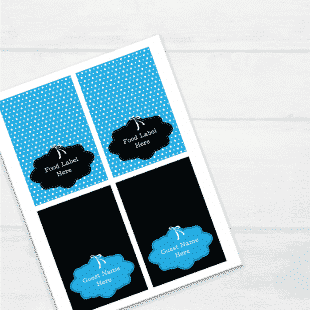
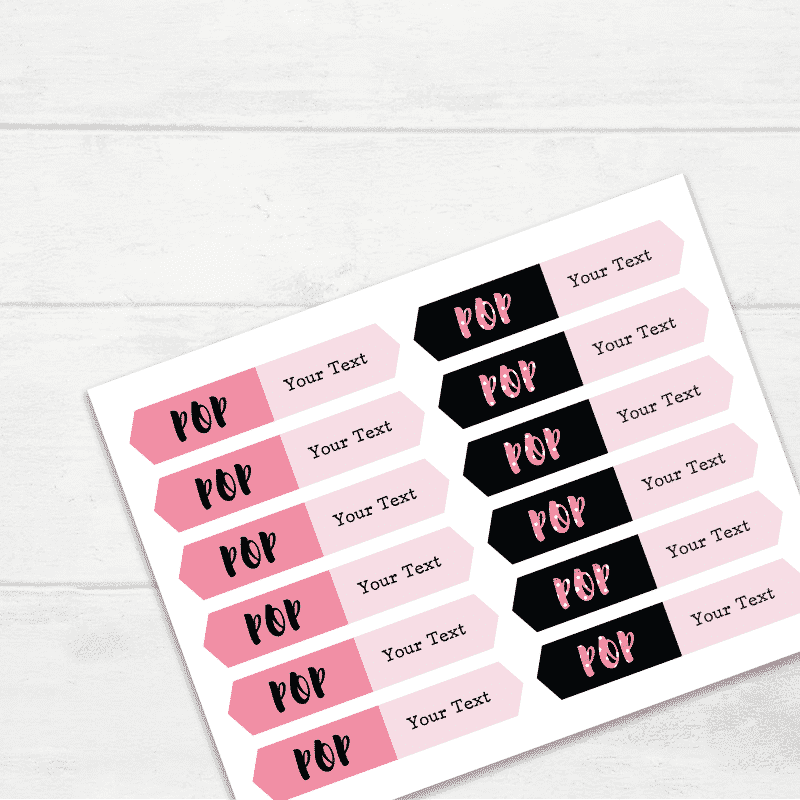
Food Labels For Party
To create your food labels, you will need:
- Cardstock paper
 ;
; - Scissors.
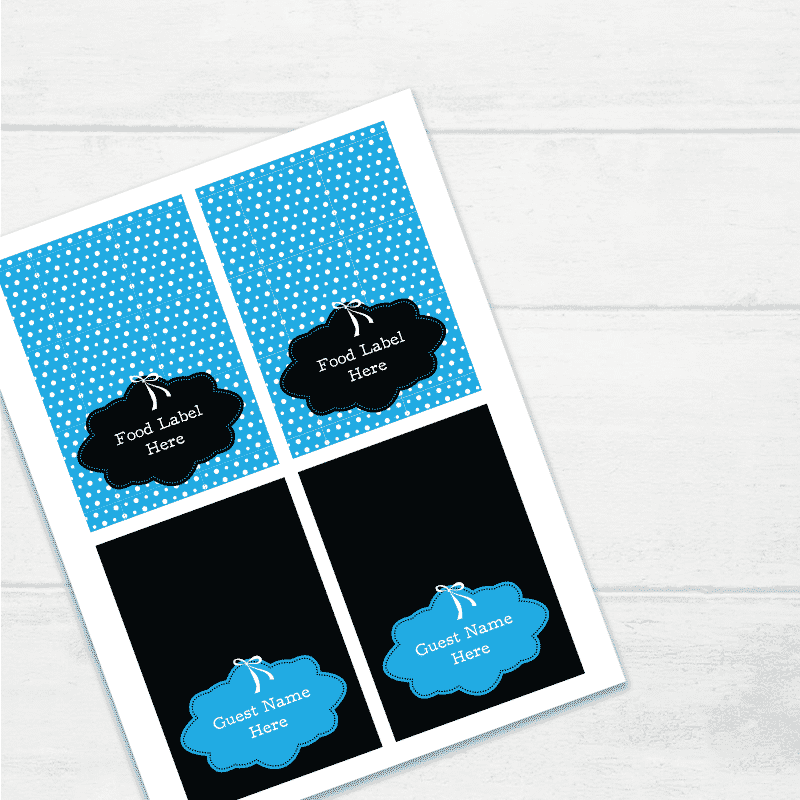
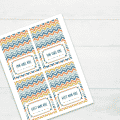
First, you will need to edit your food labels. Simply add in the names of the foods you will be serving at your party/ baby shower.
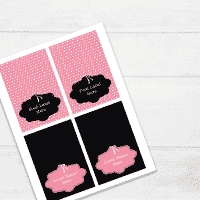
Print it onto the cardstock paper and cut them out. There are 4 food labels per page.
Fold them in half so that they can stand as tents on your table.
Personalized Favor Tags
Your personalized favor tags are editable. Once you’ve edited it, where you print it will depend on what you choose to do with it.
If you are using them as tags to tie them onto your favors:
- Print them onto cardstock paper
 .
. - Using a small paper punch
 , punch a hole into the top. (You can usually get these at your local Dollar store, too.)
 - Put some string
 through your tag and tie one to each favor.
If you are using them as stickers on your favors:
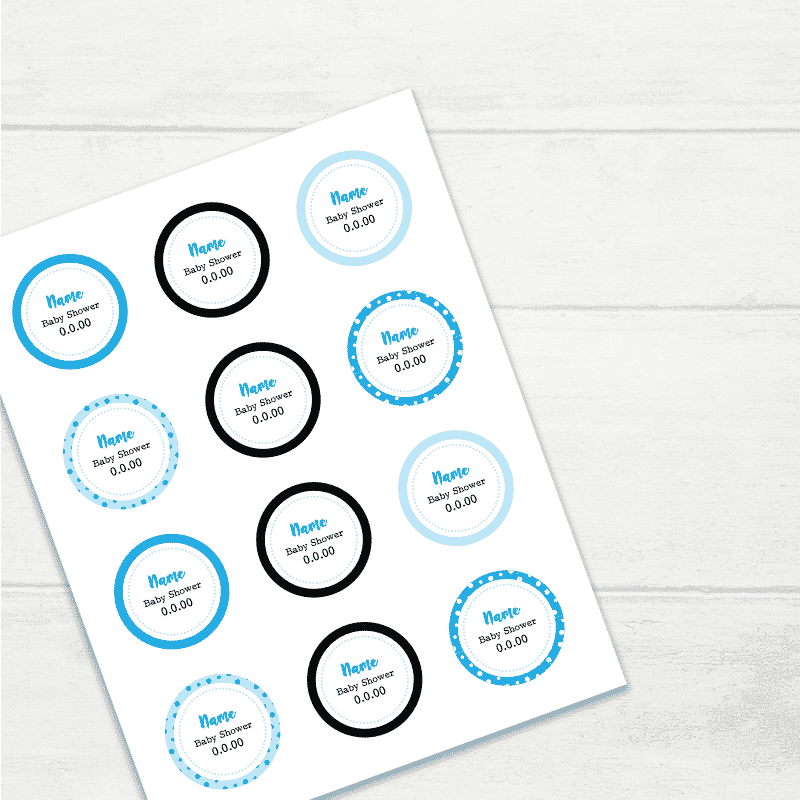
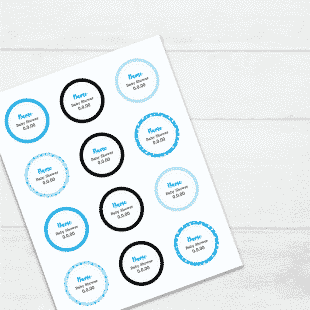
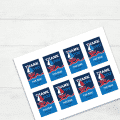
- Print your tags onto 2-inch circle stickers
 . (Our circle stickers are designed to fit onto the Avery 2-inch sticker paper.)
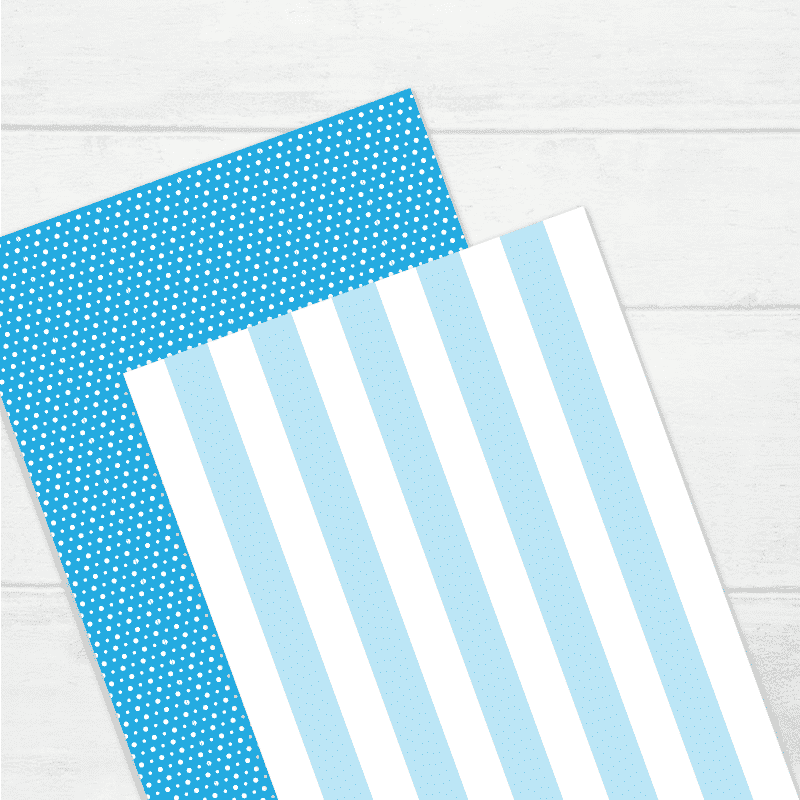
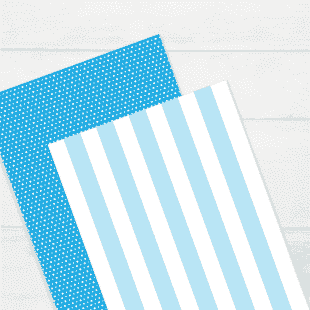
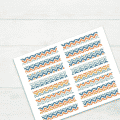
Scrapbook Paper or Tray Liner
Straw Flags
These are super easy to do. All you need is:
- Scissors
- Paper glue
- Straws
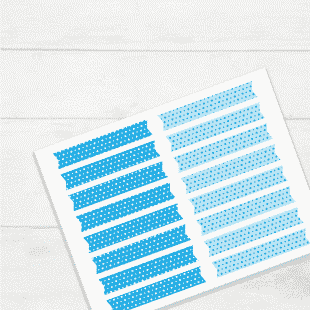
Print your straw flags onto regular 8×11-inch paper.
Cut them out.
Fold each one in half and glue it onto a straw. Voila!
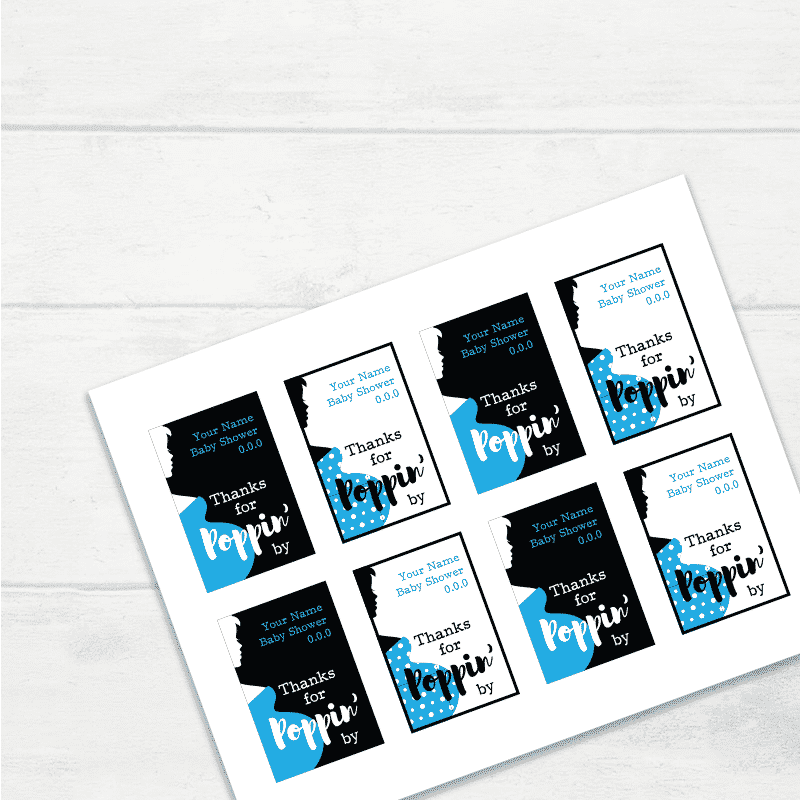
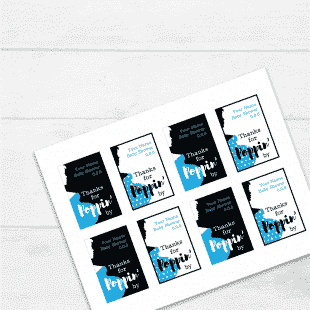
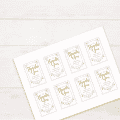
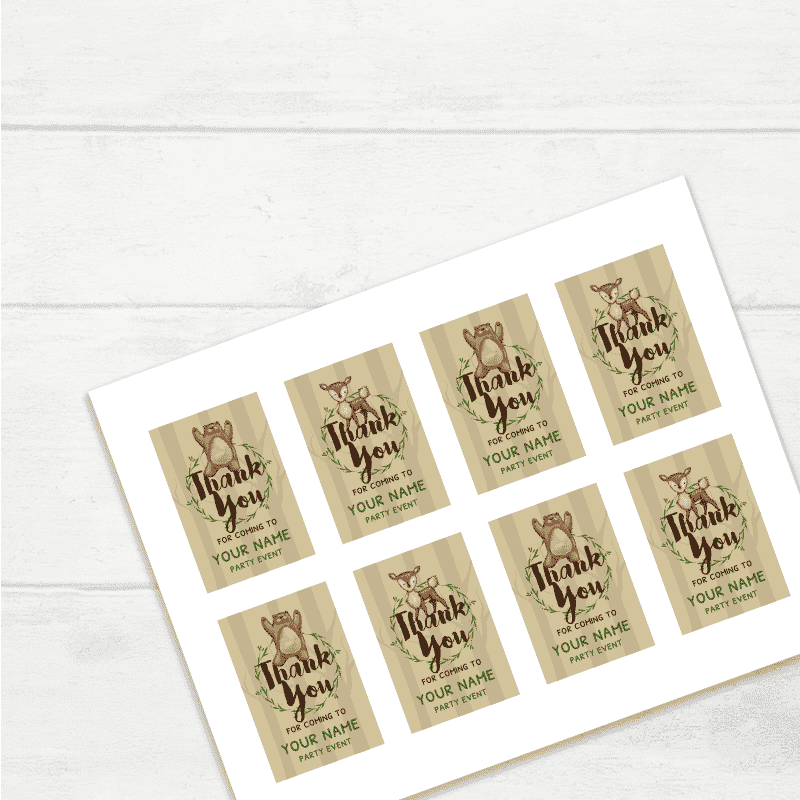
Thank You Tags
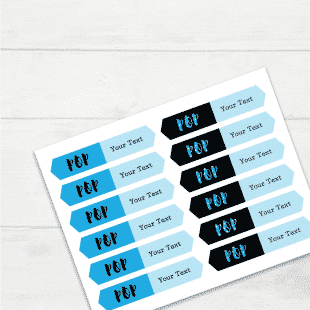
Thank you tags can per personalized. Where you print your thank-you-tags will depend on you.
If you are using them as traditional tags, you will need:
- Cardstock paper
 ;
; - A small paper punch
 ; (You can usually get these at your local Dollar store, too.)
 - String
 .
.
If you are using them as stickers:
- Print them onto sticker paper
 and cut them out.
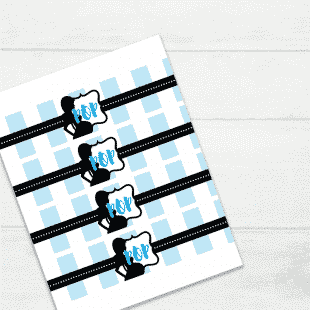
Water Bottle Labels
You have two options. Once you have personalized your water bottle labels, you can:
-
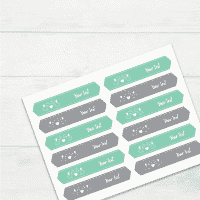
- Print them onto regular paper, cut them, then glue them onto your water bottles; or
- Print them onto sticker paper
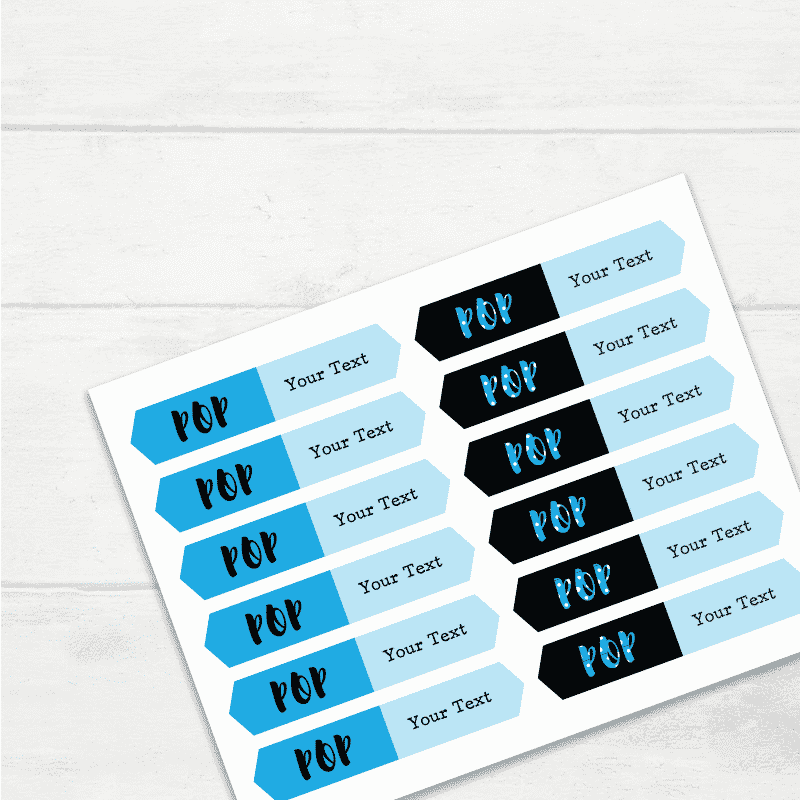
 , cut them, then paste them onto your water bottles.
