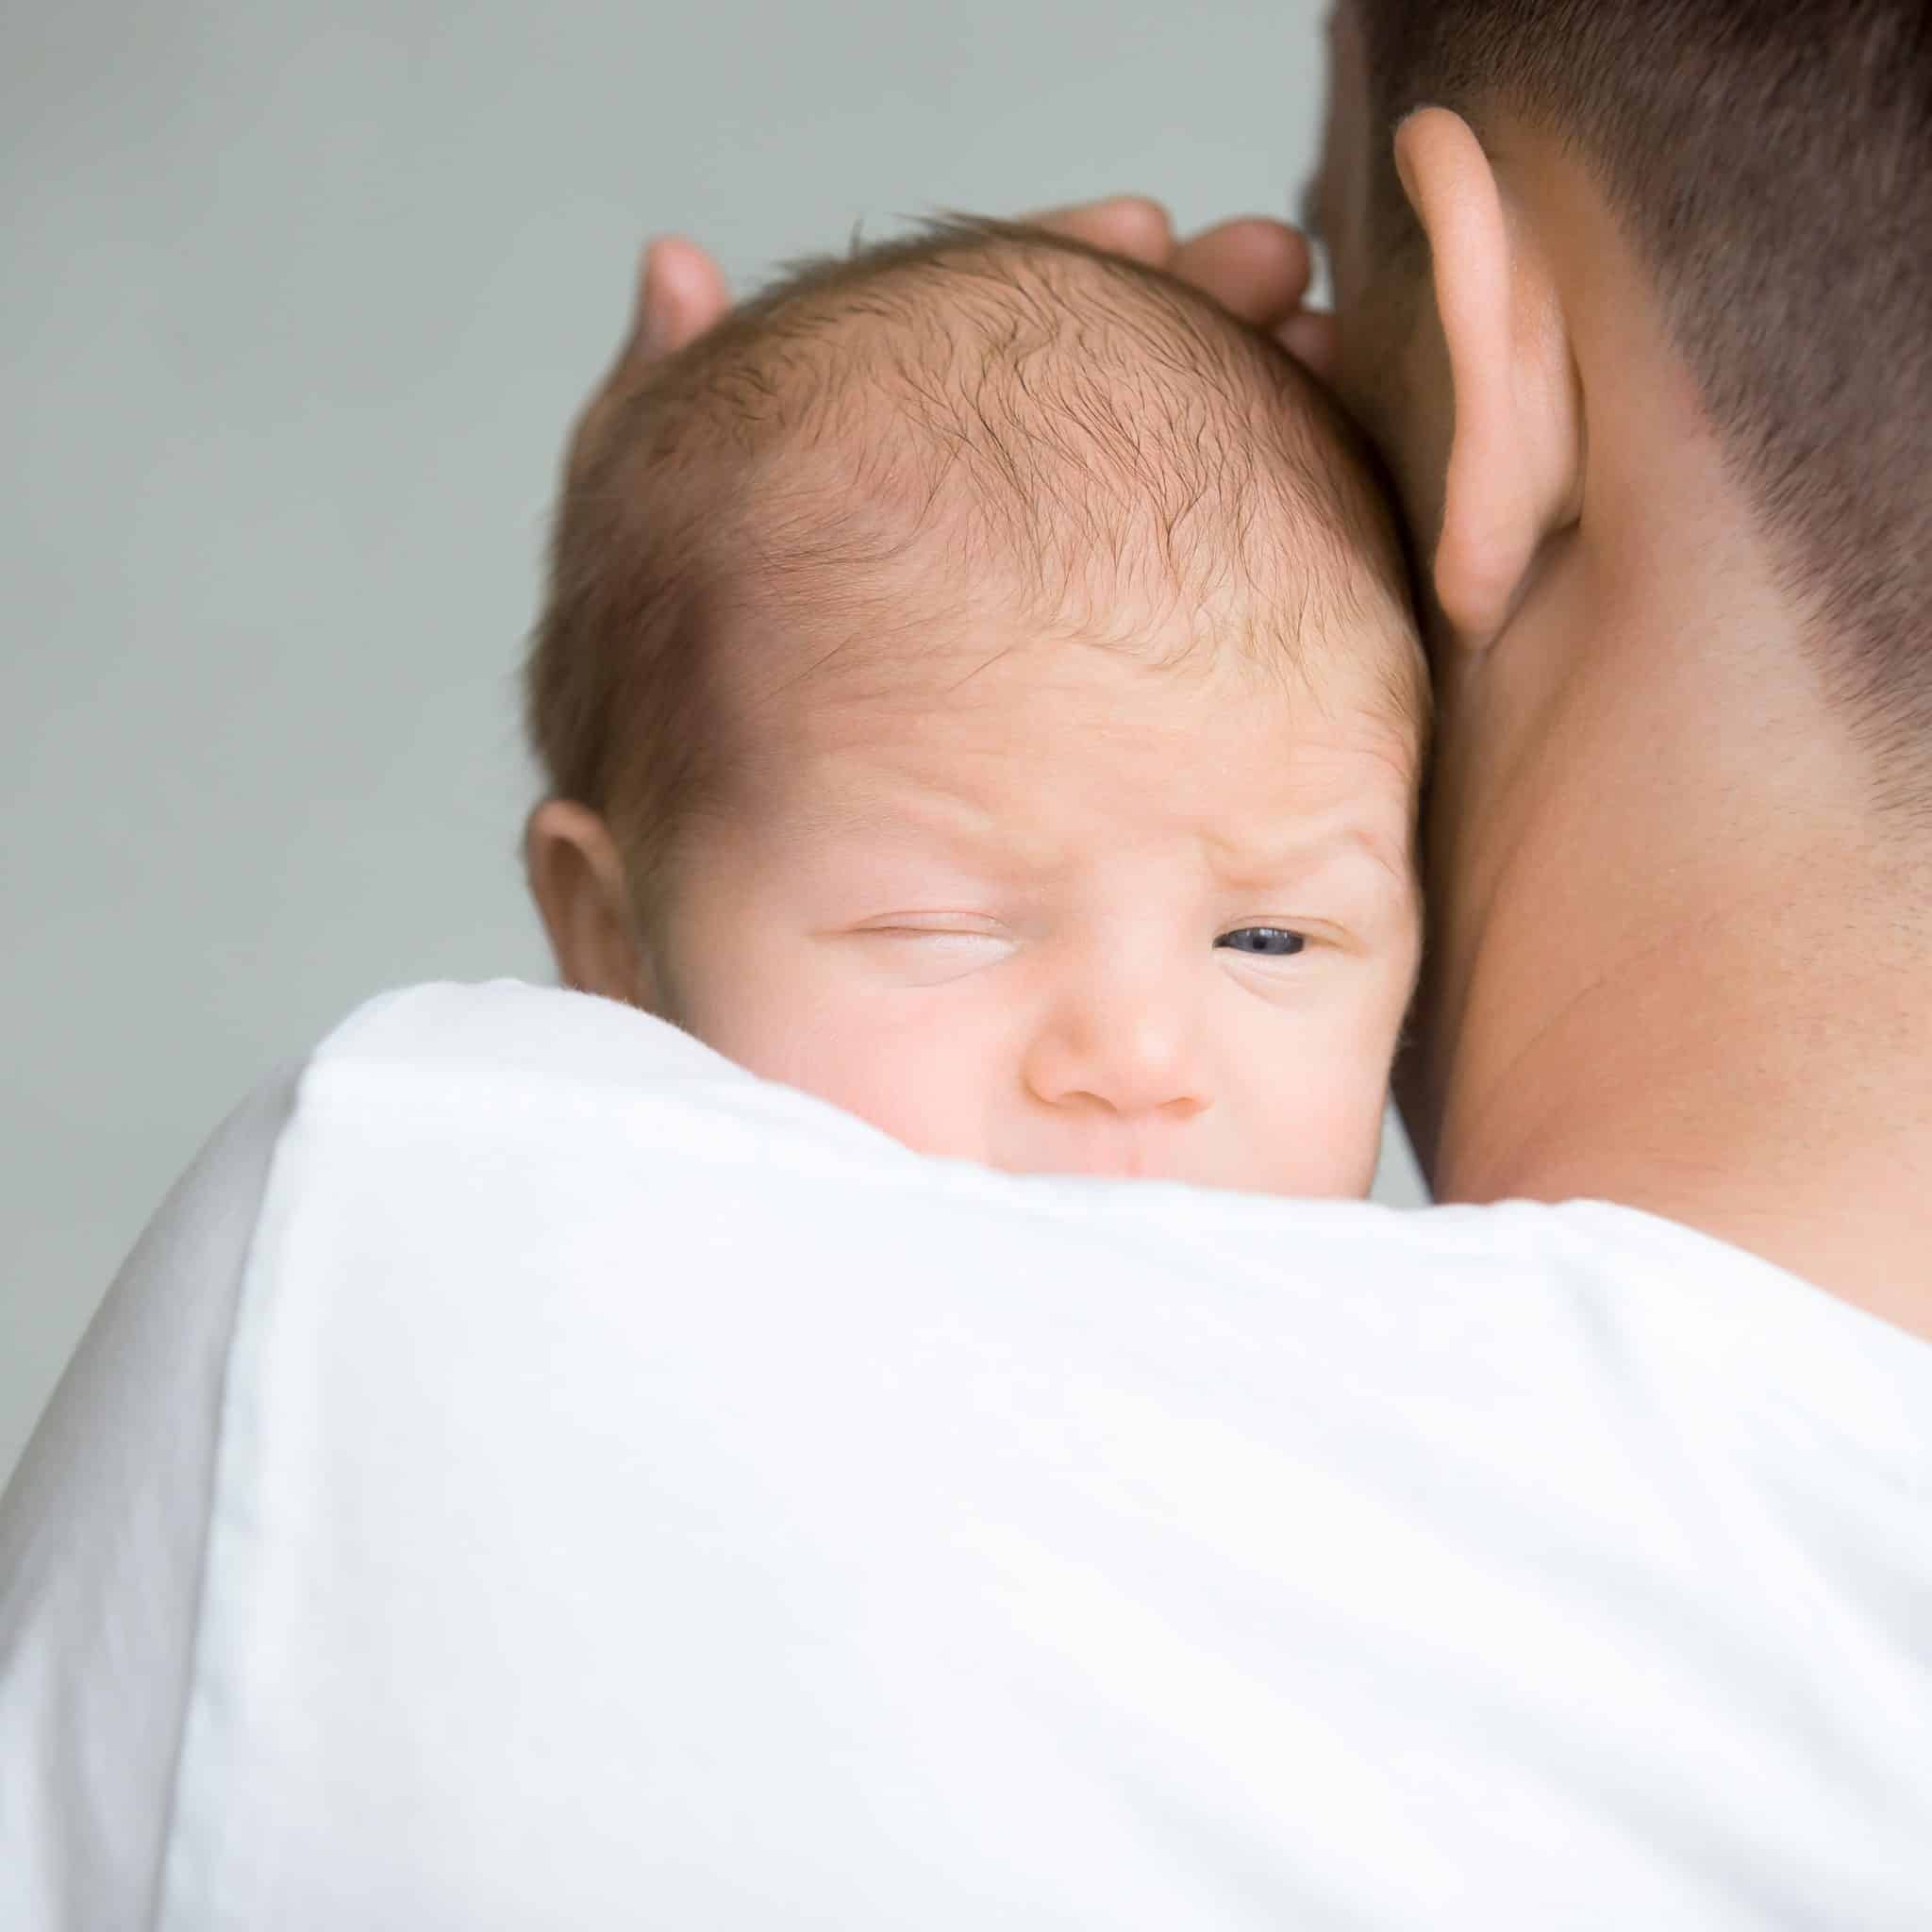
Traditional baby changing tables are awesome! They offer you a comfortable place to change diapers, with easy access to essentials like diapers, wipes, powder, and other supplies you need. But once your baby outgrows diapers, you are left with a piece of furniture you can’t really use again. This is why converting a baby dresser into a changing table with drawers is a much better idea for your diaper changing needs.
A baby dresser that has been converted into a diaper changing station allows you a convenient place to change diapers, plus ample storage for clothes.
But even if you are not worried about having a piece of furniture that you may only use for a year, many parents simply don’t have room for both a baby dresser and a changing table. Limited space is therefore another great reason to convert a baby dresser into a changing table with drawers!
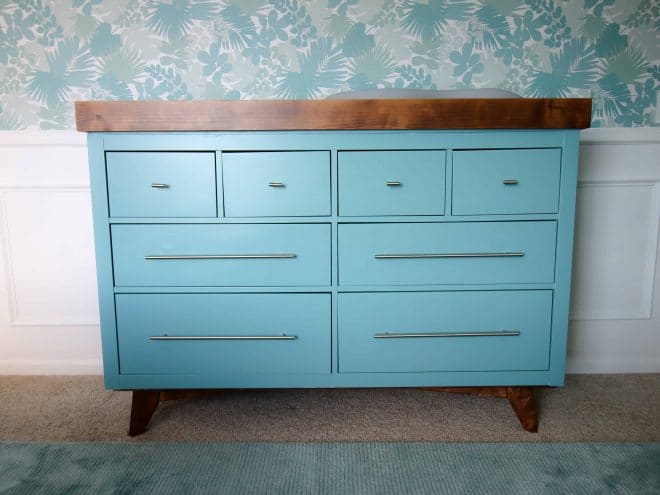
If you are on a budget, making your own changing table is a great way to save money! There are tons of beautiful baby dressers  on the market that can be converted. If these are not an option for you, you can get a used dresser from a thrift store and convert it into a changing table. Paint it to match your nursery decor, follow the instructions below, and you’ve got yourself a baby changing table with drawers!
How To Create A Changing Table With Drawers
-
Check The Size Of Your Baby Dresser
You are going to be bending over the baby changing table… a lot! To prevent back pain, make sure the baby dresser is in proportion to your height. According to Consumer Reports, most changing tables are between 36-43 inches high. This height allows you to stand comfortably with your baby within easy reach.
Also, the top of the baby dresser needs to be big enough to accommodate a changing pad. The dimensions of a standard changing pad is 17″ x 33″.
-
Buy A Baby Changing Pad
- Choose a pad that fits completely on top of your dresser without any of the changing pad hanging over the edge. A standard baby changing pad is 17″ x 33″.
- Safety is super important, so choose a vinyl-coated changing pad that includes a restraint strap.
- Look for a contoured changing pad that will cradle your baby so that he/she won’t slide off.
-
Attach The Changing Pad To The Dresser
To prevent the changing pad from sliding around on top of the baby dresser, some baby changing pads come with a strap that attaches to the back of the dresser, or it may have a sticky bottom.
If your changing pad has a sticky bottom, peel the plastic coating off the bottom of the changing pad, then firmly press it onto the top of the dresser. (Do make sure the top of the dresser is thoroughly cleaned and completely dry before you do this.) The sticky residue may loosen over time, and it may also damage the top of your baby dresser. A moving changing pad can be dangerous, so try to reattach it if it loosens. Below are a few ideas on how to do this.
If your changing pad does not have a sticky bottom or safety straps, you can McGuyver it. Here are a few ideas:
- Non-skid shelf liner
 or rug backing. Cut it to fit the size of your baby changing pad, and place it underneath the pad.
 - Heavy Duty Velcro. Attach your heavy-duty velcro to the four corners of your diaper changing pad and the top of the baby dresser – making sure it aligns. Match the two sides up and secure the changing pad to the dresser.
- Straps. You can also strap the changing pad to the baby dresser. Once the changing pad is on top of the dresser, lay the straps over it. Screw one end into the front of the dresser, and the other end into the back of the dresser to secure it.
- Build a DIY baby changing station. If you are able to, build your own baby changing station to secure the changing pad. Helpful video instructions below.
 or
or  . Cut it to fit the size of your baby changing pad, and place it underneath the pad.
 . Attach your
  to the four corners of your diaper changing pad and the top of the baby dresser – making sure it aligns. Match the two sides up and secure the changing pad to the dresser.
 . You can also strap the changing pad to the baby dresser. Once the changing pad is on top of the dresser, lay the straps over it. Screw one end into the front of the dresser, and the other end into the back of the dresser to secure it.
Do keep in mind that no matter how secure your changing pad is to the dresser, you should never leave your baby unattended. Also, to babyproof your home, it is good practice to attach baby dressers, book racks, and other furniture that can be pulled over, to the wall.
Feature Image: Charleston Crafted – Helpful DIY instructions on how you can DIY a changing table topper.
Diaper Calculator
Our calculator uses data provided by the CDC's Baby Growth Charts and the diaper manufacturer's sizing and usage charts. CDC data is based on the average growth rate of a child.
However, not all children are the same. Please use the data provided as a general estimate to help you plan your diaper purchases.
Disposable Diaper Calculator Refresh
Add your baby's age & weight to calculate the number of diapers you will need during your first year. If you're still pregnant, please estimate your baby's weight.
How many diapers per day?
| 0-3 MONTHS | 10 |
| 3-6 MONTHS | 8-10 |
| 6-9 MONTHS | 6-8 |
| 9-12 MONTHS | 6-7 |
| 12-18 MONTHS | 5-6 |
| 18-36 MONTHS | 4 |
What size diaper to choose?
| SIZE NB | UP TO 10 LBS |
| SIZE 1 | 8 - 14 LBS |
| SIZE 2 | 12 - 18 LBS |
| SIZE 3 | 16 - 28 LBS |
| SIZE 4 | 22 - 37 LBS |
| SIZE 5 | OVER 27 LBS |
| SIZE 6 | OVER 35 LBS |
Here's a helpful chart of expected weight gain over the next 6 months. Hover over the chart for more details.