If you are a new parent, you are going to change several hundreds of diapers before your baby is potty trained. You will be an expert, but you’re going to need to know a few things before you get started with your first diaper change.
This is a comprehensive list of diaper change tips and hacks that will make your life a lot easier.
-
Prepare Yourself Before You Change A Diaper
- Wash your hands before and after you change your baby’s diaper;
- Make sure you have everything you need before you start. This includes a diaper, wipes, and possibly diaper rash cream or a toy to keep your baby distracted;
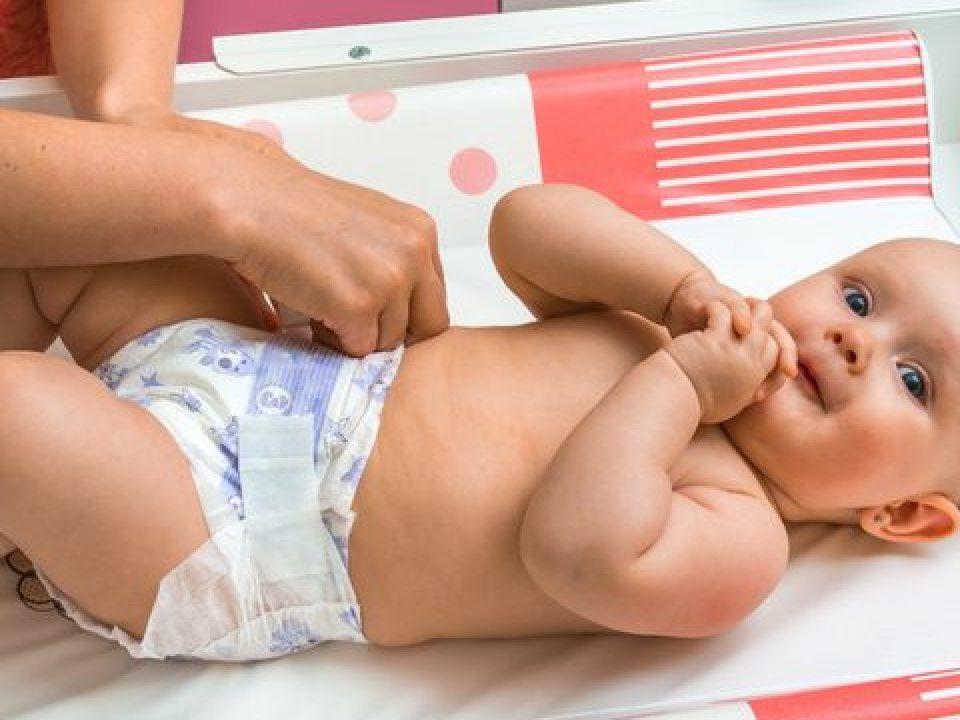
- Place your baby on a safe, flat surface. This could be a changing table with protective rails or the floor where you’ve laid out a changing mat.
- Always keep at least one hand on your baby. Never leave your baby unattended, not even for a second.
- Keep dangerous things out of your baby’s reach.
- Wipe your baby’s bottom with a baby wipe or a warm, wet washcloth. Pat it dry or allow it to air dry.
-
Prepare For Baby’s First Poop
Your baby’s first poop is called meconium. It is dark, sticky, and tar-like. It will be hard to clean too! Instead of struggling to get it off with a baby wipe, you can tackle it in the following ways:
- You could create a barrier on your baby’s bottom by rubbing some vaseline on it. This will create a barrier against the meconium and make it easier for you to clean;
- If there is no barrier, use olive oil or coconut oil to help get it off your baby’s bottom. Put a little oil on a clean cloth, then gently clean off the meconium.
-
Keep Track Of Your Baby’s Bowel Movements
During the first few weeks, your pediatrician is likely to ask how many diapers your baby goes through per day. This is to check if your baby is getting enough nutrients. But don’t rely on your sleep-deprived brain to track the number of times you change diapers. Instead, use a notebook or an app to help you track feedings and diaper changes.
-
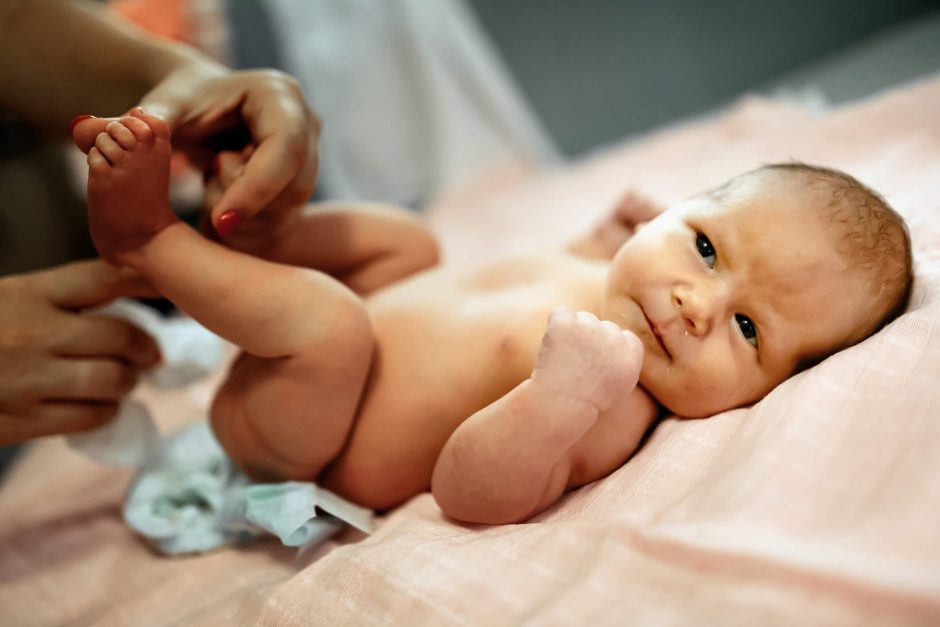
Fold Newborn Diapers Down To Protect The Umbilical Stump
Newborn diapers usually come with the little cut-out where the umbilical cord stump would be. This is very useful, but if you are not using newborn diapers, or the newborn diapers are too big for your baby, fold the front part of the diapers down so that it doesn’t touch the umbilical stump.
A baby’s umbilical cord stump takes around 7-10 days to heal.
-
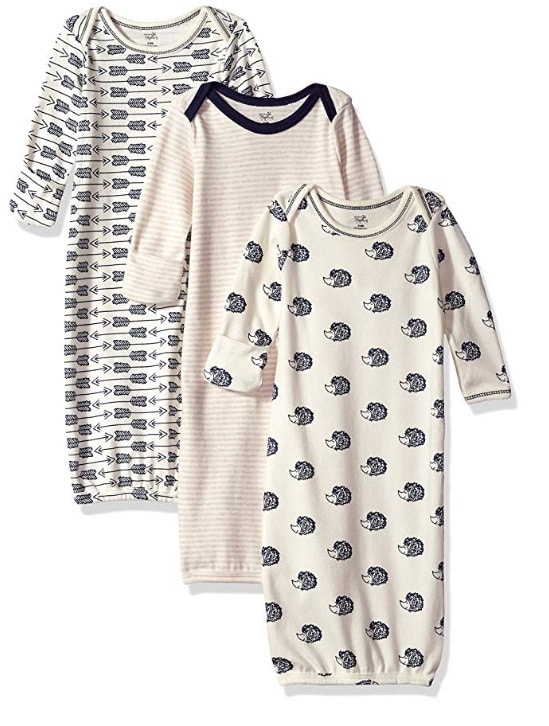
Use Nightgowns for Easy Night-Time Diaper Changes
 This is a great tip for all new parents.
  Baby nightgowns
 make nighttime diaper changes so much easier because you don’t need to struggle to get legs into sleepers.
-
Do Not Use Buttons Or Snaps At Night
When you are changing your baby at night, the goal is always to get in and out quickly before anyone is fully awake. Therefore, avoid buttons or snaps at all costs. They’re cute, but not at 3 am in the morning when you’re trying to figure out where the snaps goes.
-
To Clean A Baby Girl
Be sure to wipe from front to back. By doing this, you prevent bowel movement germs from getting into the urinary tract. Also, gently clean between the outer folds of the labia.
-
To Clean A Baby Boy
 If you have a baby boy, he is going to make his mark on you, guaranteed! Try to prevent getting sprayed by swiping a wet baby wipe under his belly button right before you open his diaper. Now, wait a minute. If he needs to pee, the swipe across the belly should make him pee before you take the diaper off.
While this method is effective, it is not foolproof, so make sure the penis is pointed downwards. You could also use a burp cloth or something similar to cover your baby’s penis while you are changing him.
Before securing the diaper, make sure your baby’s penis is pointing down. Thie prevents pee from spraying up the front of the diaper.
-
Use A Nightlight During Nighttime Diaper Changes
Night-time diaper changes are no fun. No sane human being enjoys being woken up to change a diaper! Then you have to deal with the fact that you can’t see what you’re doing if the lights are off, but you can’t turn the light on because that may fully wake you and your baby. A simple solution is a nightlight or nursing nightlight
 .
.
There are nursing nightlights that have timers too. It vibrates to indicate the end of a feeding—this is to wake you up in case you accidentally fell asleep while nursing. This is an especially helpful “wake-up call” if you are following safe baby sleeping guidelines, and you are concerned about sleeping with your baby.
-
Onesies Can Be Used As Immobilizers
@hellofrankieday Baby changing hack! #SeaShanty #HomeImprovement #diy #hack #babyhacks #babyshark #babyboy #babygirl #momhack #lifehack #foryourpage #fyp #foryou #LO
If you are trying to change a squirmy baby, roll the onesie up over his/her arms. The onesie will act like a swaddle for your baby’s arms.
-
Reduce Diaper Rashes
To reduce the chance of diaper rashes:
- Keep your baby’s skin dry by changing diapers as soon as they are soiled or wet;
- When your baby’s bottom is clean and dry, rub on a thin layer of vaseline (petroleum jelly), or zinc-based cream;
- If your baby develops a rash, give the area some air for 10 to 15 minutes, 3-4 times a day. You can do this by laying your baby on an absorbent towel for some playtime;
- Don’t use airtight plastic pants over diapers.
If you have followed the suggestions and the rash persists, call the pediatrician if:
- the rash persists for over 5 days;
- you are noticing the rash is mainly in the skin creases;
- there are blisters, peeling areas, pus, and/or crusty patches.
-
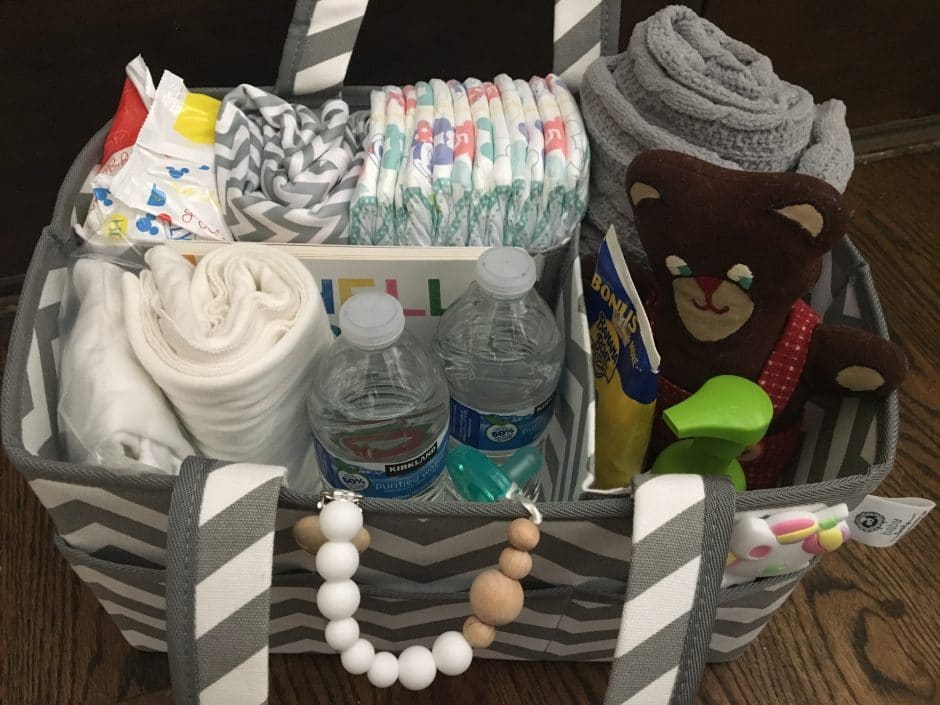
Use a Diaper Caddy To Keep Diaper Essentials Close
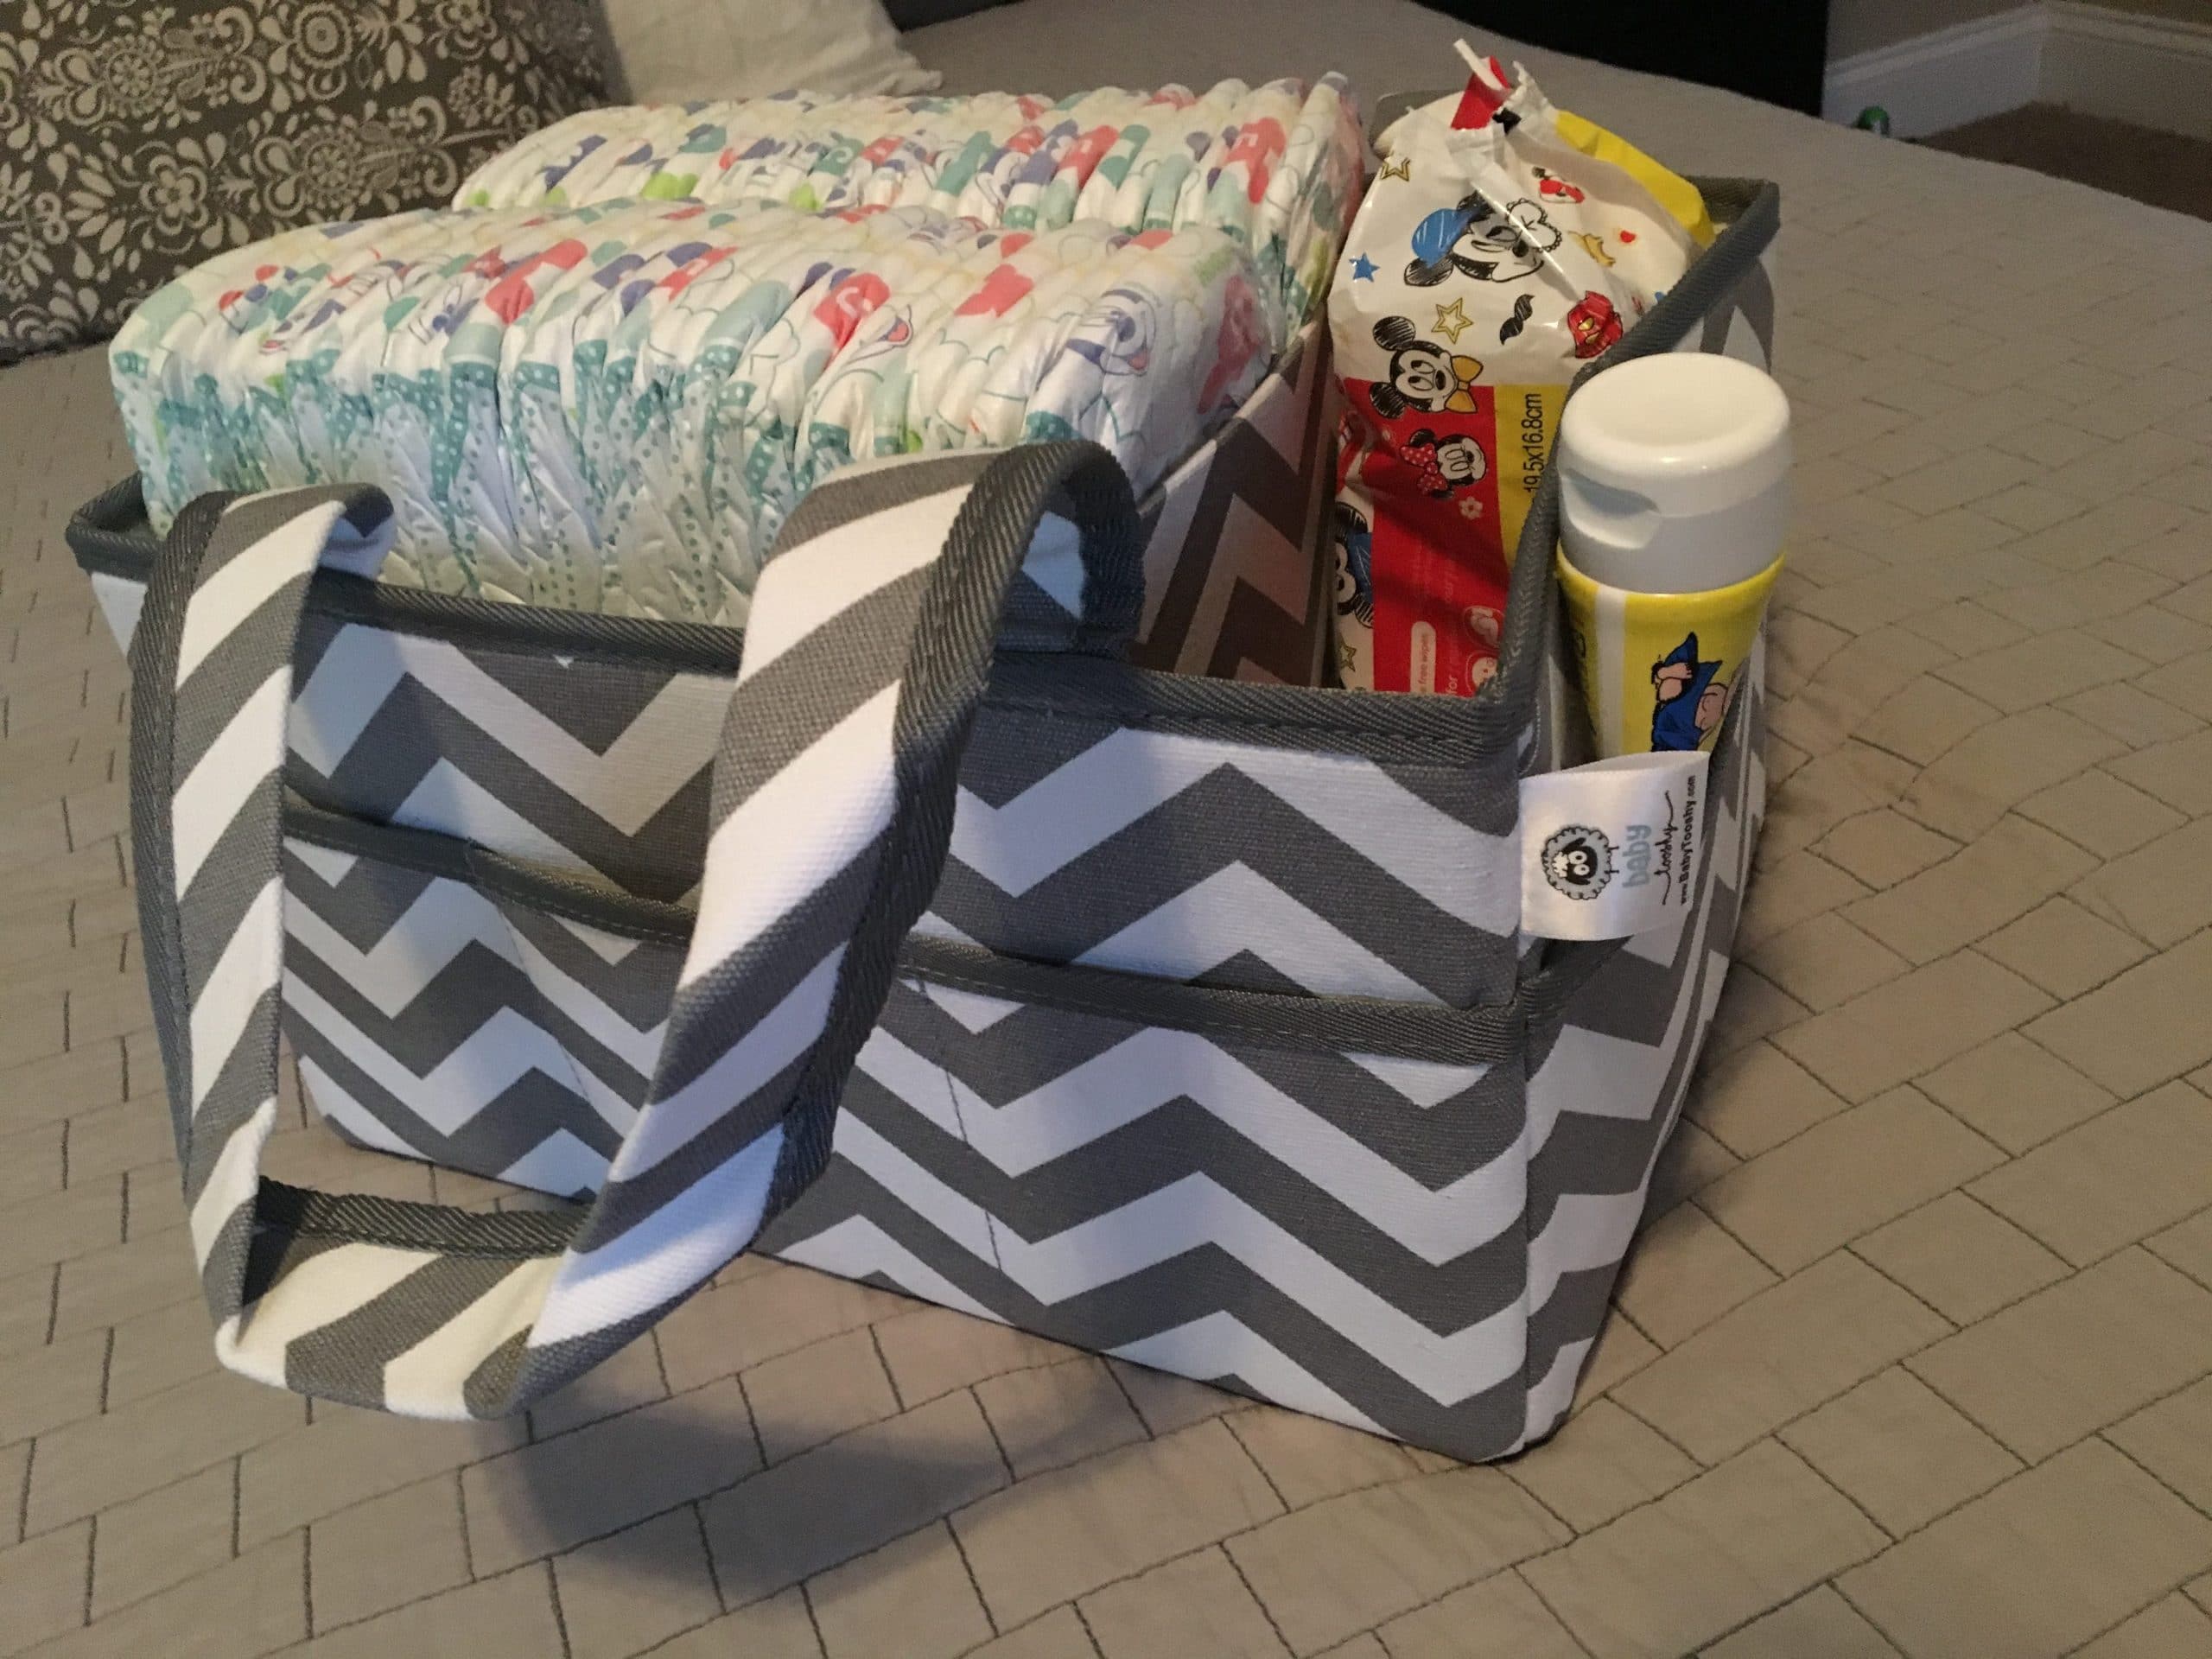 Any experienced mom will tell you that a diaper caddy is a must-have, especially if you live in a house with more than one floor. The diaper caddy is the spot where you can store wipes, diapers, and other baby essentials like an extra change of clothes, diaper cream, nail clippers, etc.
There is no sense in running around with your baby in hand, trying to get the things you need. Instead, have it all within reach by using a diaper caddy.
Look for a diaper caddy that:
- Is big enough to hold your baby’s essentials. A diaper caddy that holds enough diapers for a day is useless. After all, the whole idea is to avoid the hassle of running back and forth for baby essentials.
- Is strong enough. Individually, diapers, wipes, diaper cream, and other baby essentials are not heavy, but a week’s worth of essentials can have a bit of weight to it.
- Has firm separators to keep baby essentials organized. It is very annoying to have separators that detach and get all your stuff mixed up.
- Has strong handles to make transporting it easier.
-
Handle Diaper Blowouts The Easy Way
 Diaper blowouts are very common. They happen when the diaper cannot contain your baby’s poop, and said poop makes its way out of the diaper and all over your baby’s clothes, up the back, and down the legs. This is not a matter of if, but when.
The cleanup of a diaper blowout is not fun. What makes it worse is if you have to pull the poop-covered clothes over your baby’s head—possibly getting poop onto your baby’s hair.
Resolve that problem by dressing your baby in envelope onesies. Envelope onesies have envelope flaps on the shoulders, allowing you to remove them by pulling them down.
-
For Overnight Diapers, Consider One Diaper Size Up
Diaper leaks will often make their appearance in the morning because the diaper was too small to hold all that urine through the night. You can solve this problem by putting on diapers that are one size up from what your baby is wearing.
If you have a heavy night wetter and you find that even the bigger size diaper is not enough, look for diapers that are specifically labeled for nighttime. Diapers like these are more absorbent so it’s less likely that your baby will wake up with leaks or a soaked diaper.
-
Use A Mini Spatula To Apply Diaper Cream
 Most diaper rash creams are hard to clean off your hands. If this is you, use an old face-mask applicator, a mini spatula or a diaper cream spatula
 . (Face-mask applicators are often available from the Dollar Store.)
-
Minimize diaper leaks By Using The Right Diaper Size
You can get diaper leaks for two reasons:
- The diaper is too small and cannot contain the pee or poop. If you find your baby is having diaper blowouts and leaks regularly, it is time for you to move up a size in diapers. (The weight and height guidelines for diapers are merely suggestions.)
- The diaper is too big and the unmentionables escape through the leg openings. Check that the leg openings aren’t loose and adjust the size if necessary.
-
Be Prepared When You Leave The House
 With a baby, you have a lot to deal with. There could be projectile vomiting, diaper blowouts, or other normal baby mishaps. The best way to solve these mishaps is to be prepared. Before you leave the house, make sure you have:
- A change of clothes for you and your baby. We all know babies have accidents and they soil themselves, so a change of clothes for your baby is a given. However, you need a change of clothes too in case your baby spits up or messes on you;
- More than enough diapers and wipes;
- A portable diaper changing pad. This will allow you to change your baby’s diaper almost anywhere;
- Ziploc bags. If you have a diaper blowout, the diaper can be thrown in the trash, but what do you do with the soiled clothes? This is where Ziploc bags come in very handy.
- Any other supplies you deem necessary like diaper cream, etc.
-
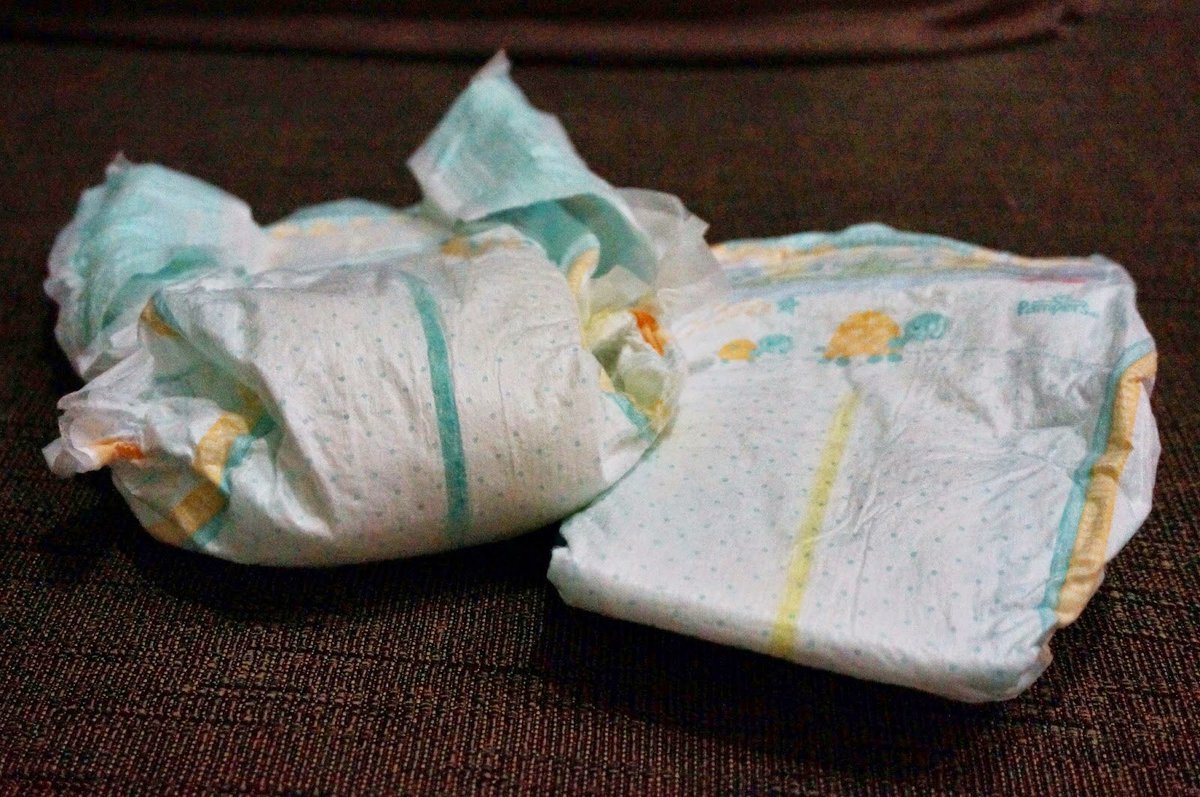
Save Diapers With Ripped Diaper Tabs
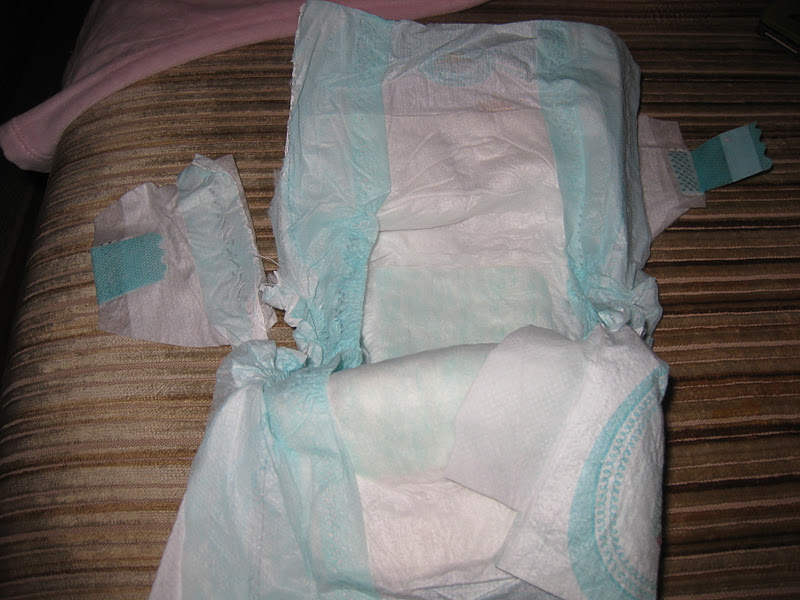
Diapers are expensive, so you don’t want to waste them. But sometimes, the tabs accidentally rip off. Don’t throw it out, you have options:
- If the sticky part of the tab broke off, use a bandage to replace it.
- If the tab broke like in the image above, place the broken diaper into another (unbroken) diaper and attach it to your baby. When it is time to change diapers, throw away the soiled/ripped diaper and now you can use the second diaper. No waste!
-
Give Your Baby Time To Finish
This is an often forgotten but very helpful diaper changing tip. If you can see (or smell) that your baby is pooping, let your little person finish. If you think your baby is finished, give it five minutes more. Yes, it is unpleasant for any human being to sit in their own stool for longer than necessary, but it’s equally unpleasant to see poop come out while you’re changing a diaper. Also, you are wasting diapers if you have to change one every five minutes because you didn’t wait for your baby to finish.
-
Distract Your Baby
As your baby gets older, he/she may get distracted during diaper changes. This is not what you want when you’re changing a poopy diaper! Anticipate this and go in prepared. For smaller babies, you could recite a nursery rhyme or sing a song to keep them calm. For older babies or toddlers, you could have a few washable toys ready to entertain right at the changing table.
-
Use Changing Pad Liners To Always Have A Clean Changing Pad
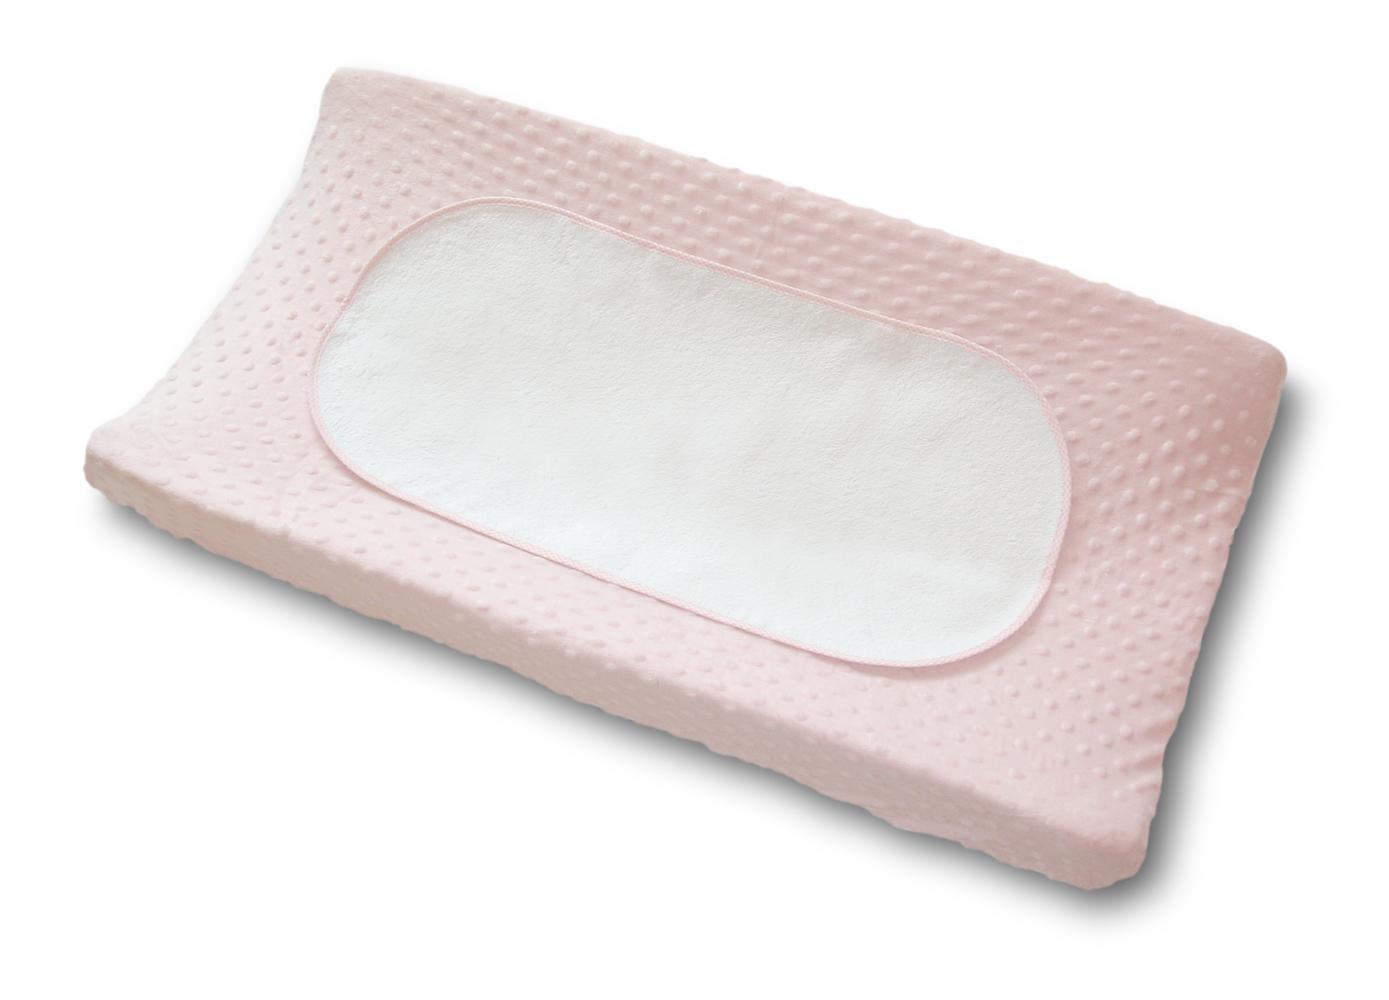
Changing pad covers are wonderful. However, they get dirty quickly, particularly in those first few weeks. Place a changing pad liner on top of your changing pad. If the liner gets wet or dirty, you can quickly and easily replace it with a clean liner.
Another two options:
- You could layer several changing pad covers
 over one another. If the cover on the top gets dirty, you can remove it and be ready with another one.
 - If you have several receiving blankets you don’t know what to do with, you could use them as changing pad covers. As one gets dirty, replace it with another.
 over one another. If the cover on the top gets dirty, you can remove it and be ready with another one.
-
Or Use A Waterproof Changing Pad
If your changing pad is waterproof, you may choose not to use a cover at all. You’ll have to wipe it down between diaper changes. Be warned that putting your baby directly on the waterproof changing pad may not be comfortable at first, but many babies get used to it after a while.
-
Consider Using Diapers That Have A Wetness Indicator
 Not all diapers have wetness indicators—it will depend on the brand and possibly the size of the diapers.
The wetness indicators are excellent because you can quickly and easily see if your baby’s diaper is wet.
The wetness indicator differs from brand to brand but with Pampers, for example, the stripe along the diaper is yellow when it is dry. It turns to blue to indicate that it’s wet, and therefore time to change the diaper.
-
Lay The New Diaper Under The Soiled Diaper
Before you change the diaper, lay a new diaper under the old one. If there is an accident, it will spill into the new diaper. This is especially excellent advice for changing newborn babies, who can surprise you at any moment.
For a fast and efficient diaper change:
- Position a clean diaper directly under your baby’s bottom;
- Open the dirty diaper, wipe your baby, and place the used wipe inside the dirty diaper;
- Lift your baby’s legs with one hand, and pull out the soiled diaper with your other hand;
- Release your baby’s legs into the clean diaper, then seal.
-
Use Disposable Diaper Bags or a Diaper Pail To Minimize Diaper Smells
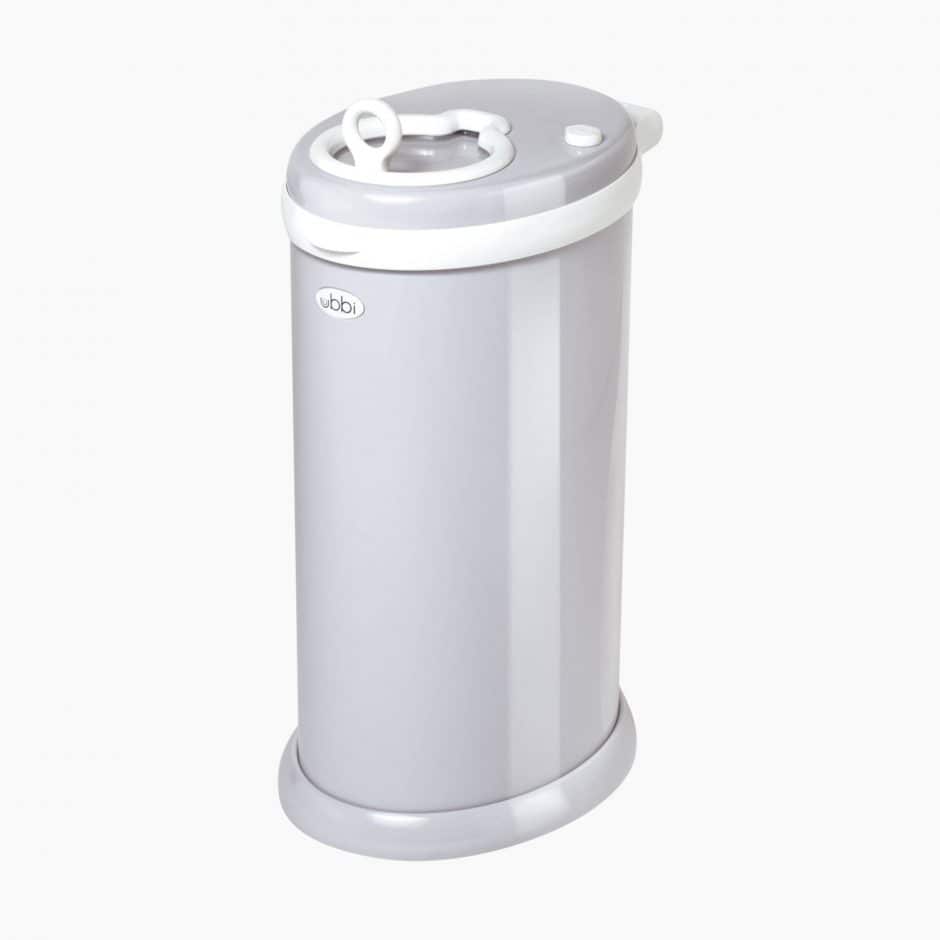 Used diapers stink, but there are ways to get around it. You can:
- Use a diaper pail to minimize the smell of diapers in your home; or
- Tie up the diaper in bags before you throw it in the trash.
 to minimize the smell of diapers in your home; or
-
Avoid Diaper Leaks By Pulling Out The Ruffles
There are ruffles on the leg part of disposable diapers (which are missed by almost all new parents). By pulling them out and ensuring that they are on the outside, you are minimizing the chance of leakage.
-
Consider Dog Poop Bags For Soiled Diapers
If you are looking to save money, use dog poop bags instead of baby disposable diaper bags. They both do the same thing but you’ll pay more for the bags that are marketed for babies.
If you are determined to save money, use the plastic bags that you get from grocery stores. They are a little too big but they are free and they are as effective. Simply drop your soiled diaper in the bag, tie it up (so that the stench cannot escape), then drop it in your (outside) garbage.
-
Sign up for Amazon Family To Save Up To 20% On Diapers
Yes, Amazon Prime does come with an annual fee but with free shipping and tons of discounts that you get on diapers, baby food, etc, your savings will quickly cover that fee. It is worth it! You don’t even have to go to the store to get diapers—they’ll deliver them right to your door!
-
Keep A Few Emergency Diapers
If you are normal, there will be a time when you forget to buy diapers for your baby. In cases like this, an emergency stash is a lifesaver, especially when your baby needs a diaper change now and you have no diapers left. An emergency stash could be 2-3 diapers that you leave in the car, the diaper bag, the bottom of the stroller, etc.
To prevent diaper emergencies from happening in the first place, you could create a diaper subscription via your Amazon Prime account. This is very convenient because your diapers arrive like clockwork, whether you remembered to order or not. But while diaper subscriptions are great, this is not a set it and forget it kind of thing. You will have to maintain it and change the diaper sizes and the frequency of the diaper delivery as your baby grows. If not, you will get diapers you don’t need (which of course, you can return.)
If you are an organized person who forgets nothing, this diaper tip may not apply to you. However, don’t dismiss it completely! Even the most organized of us will make mistakes after one too many nights of missing sleep.
-
Return Unopened Boxes Of Diapers For The Next Size Up
If you have unopened boxes of diapers that no longer fit your baby, you can return them to the store for the next size up.
Diaper Calculator
Our calculator uses data provided by the CDC's Baby Growth Charts and the diaper manufacturer's sizing and usage charts. CDC data is based on the average growth rate of a child.
However, not all children are the same. Please use the data provided as a general estimate to help you plan your diaper purchases.
Disposable Diaper Calculator Refresh
Add your baby's age & weight to calculate the number of diapers you will need during your first year. If you're still pregnant, please estimate your baby's weight.
How many diapers per day?
| 0-3 MONTHS | 10 |
| 3-6 MONTHS | 8-10 |
| 6-9 MONTHS | 6-8 |
| 9-12 MONTHS | 6-7 |
| 12-18 MONTHS | 5-6 |
| 18-36 MONTHS | 4 |
What size diaper to choose?
| SIZE NB | UP TO 10 LBS |
| SIZE 1 | 8 - 14 LBS |
| SIZE 2 | 12 - 18 LBS |
| SIZE 3 | 16 - 28 LBS |
| SIZE 4 | 22 - 37 LBS |
| SIZE 5 | OVER 27 LBS |
| SIZE 6 | OVER 35 LBS |
Here's a helpful chart of expected weight gain over the next 6 months. Hover over the chart for more details.
Amazing Savings For New & Expecting Parents
A NEW MOM'S GUIDE TO DIAPERING LIKE A PRO:
Diapering seems so easy at first glance, but it can get confusing and frustrating. Here are a few helpful posts to help you figure things out.