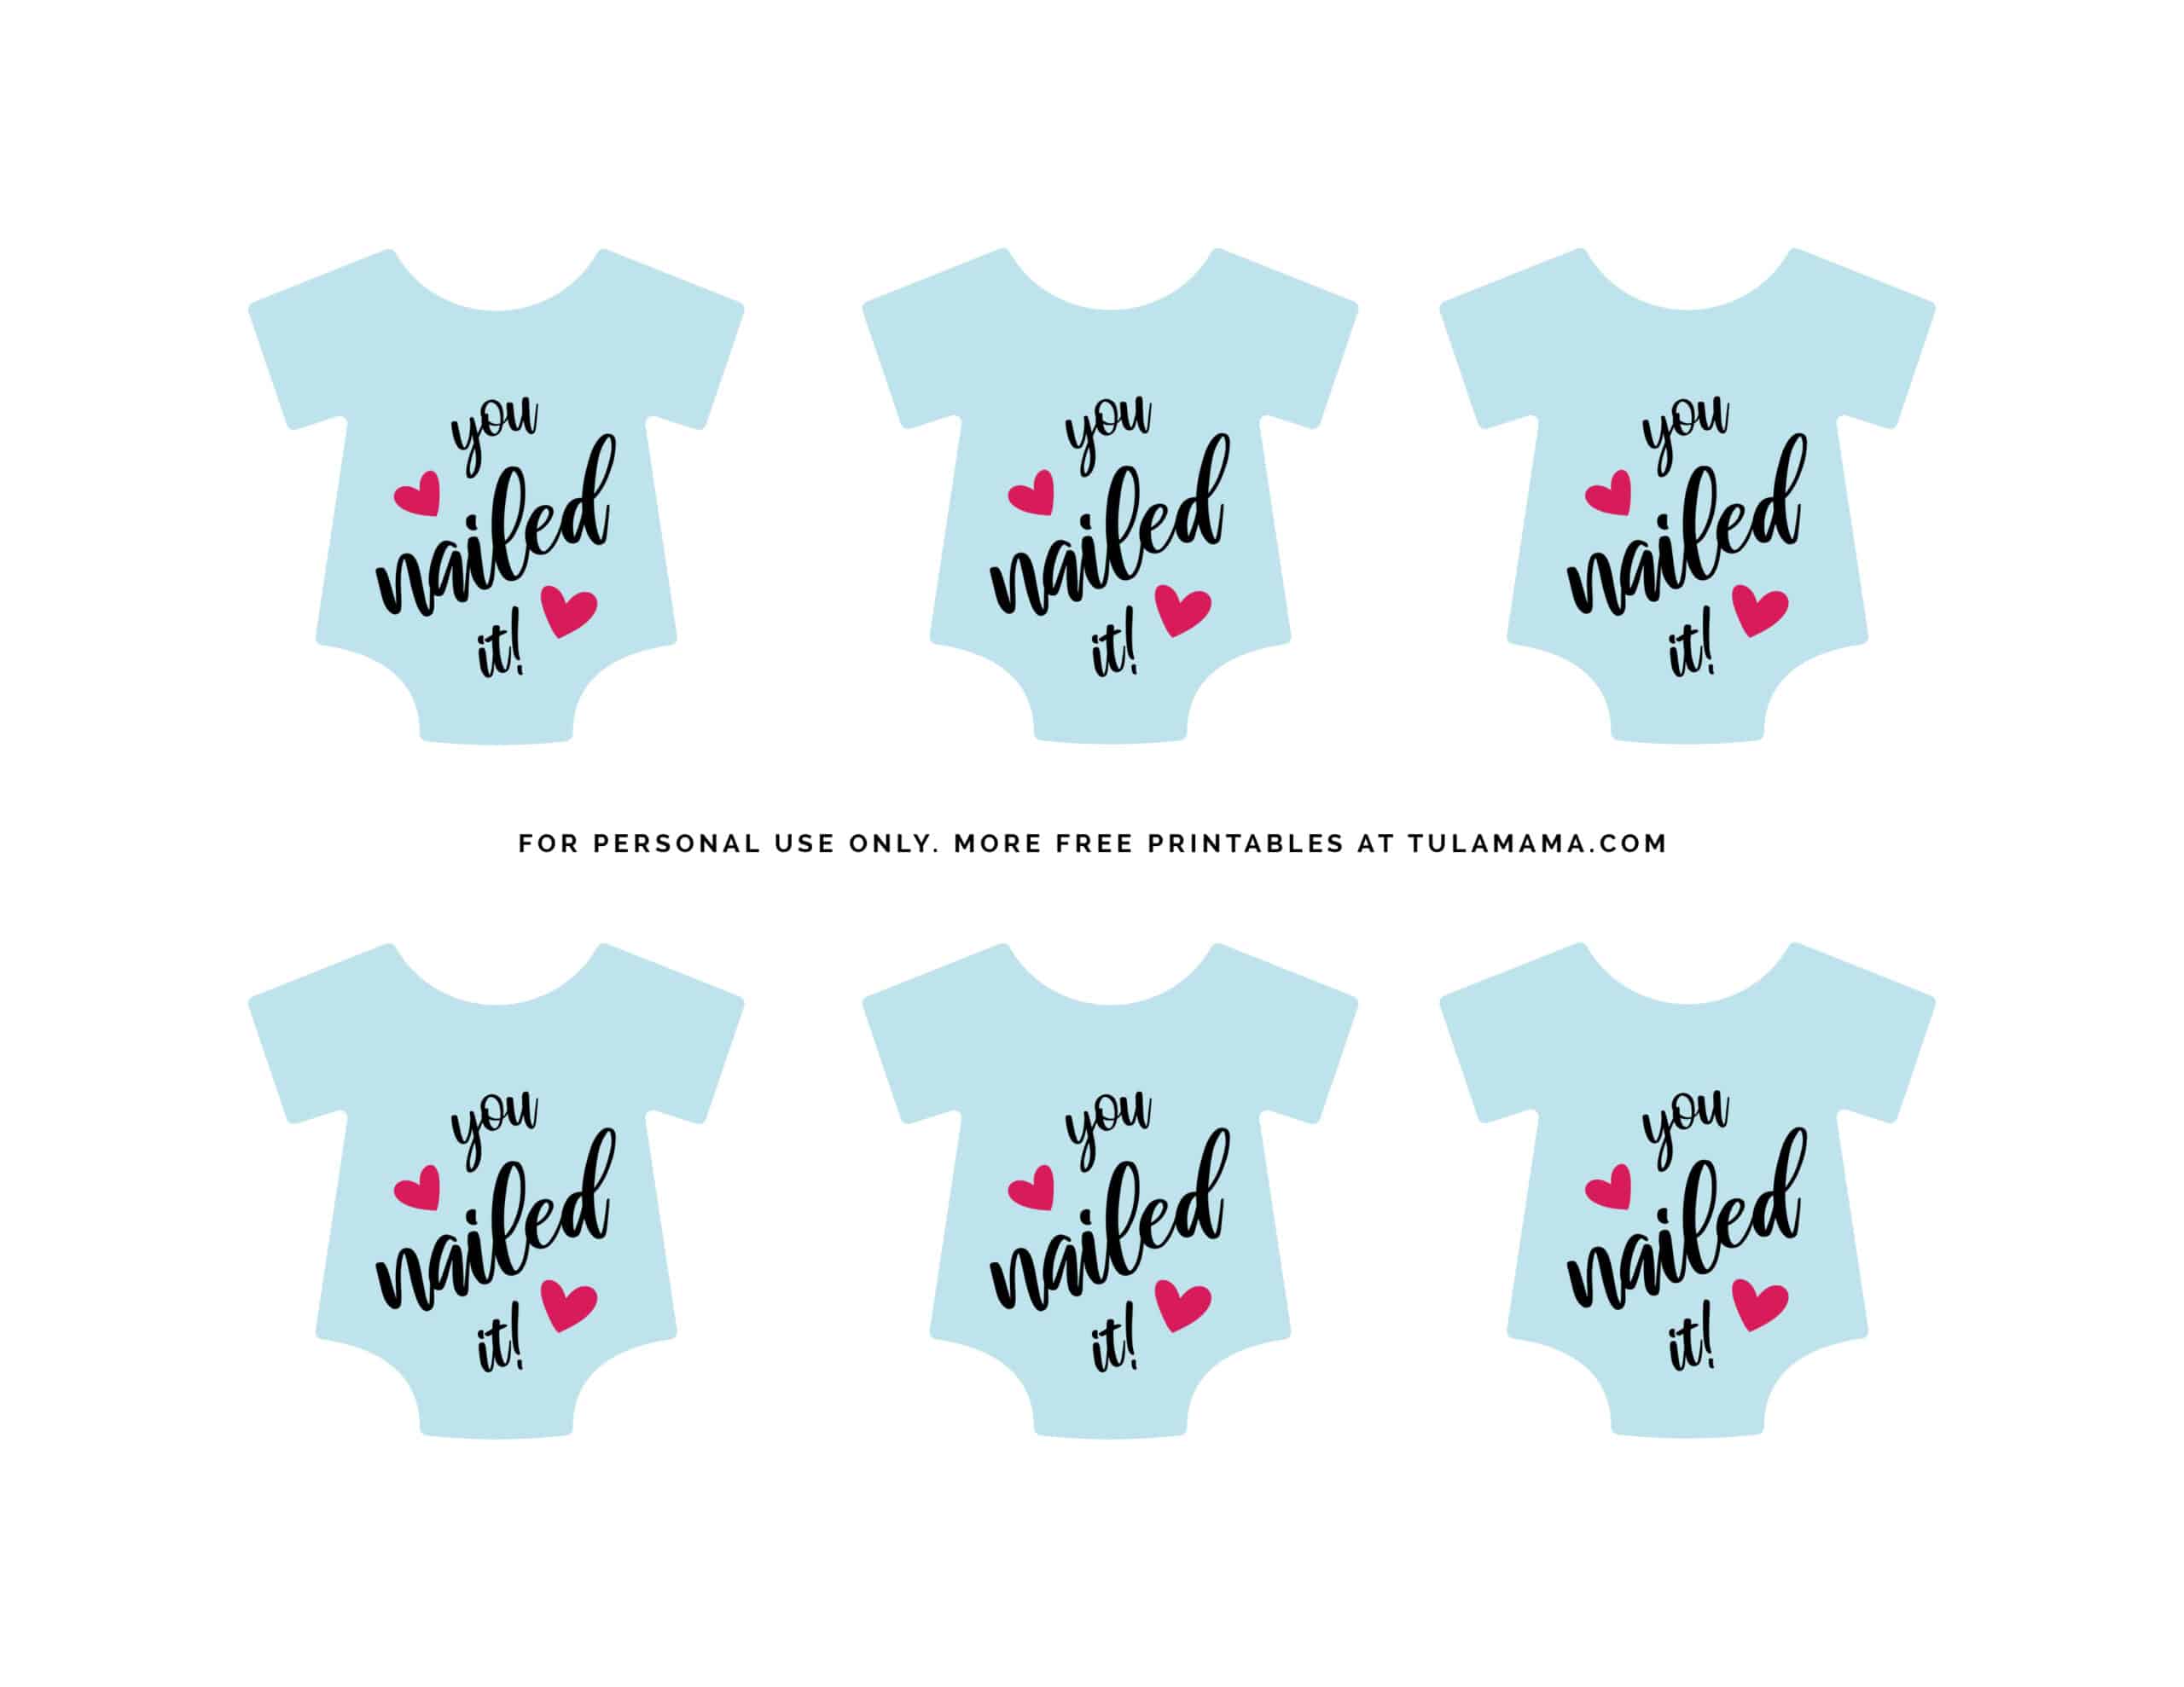
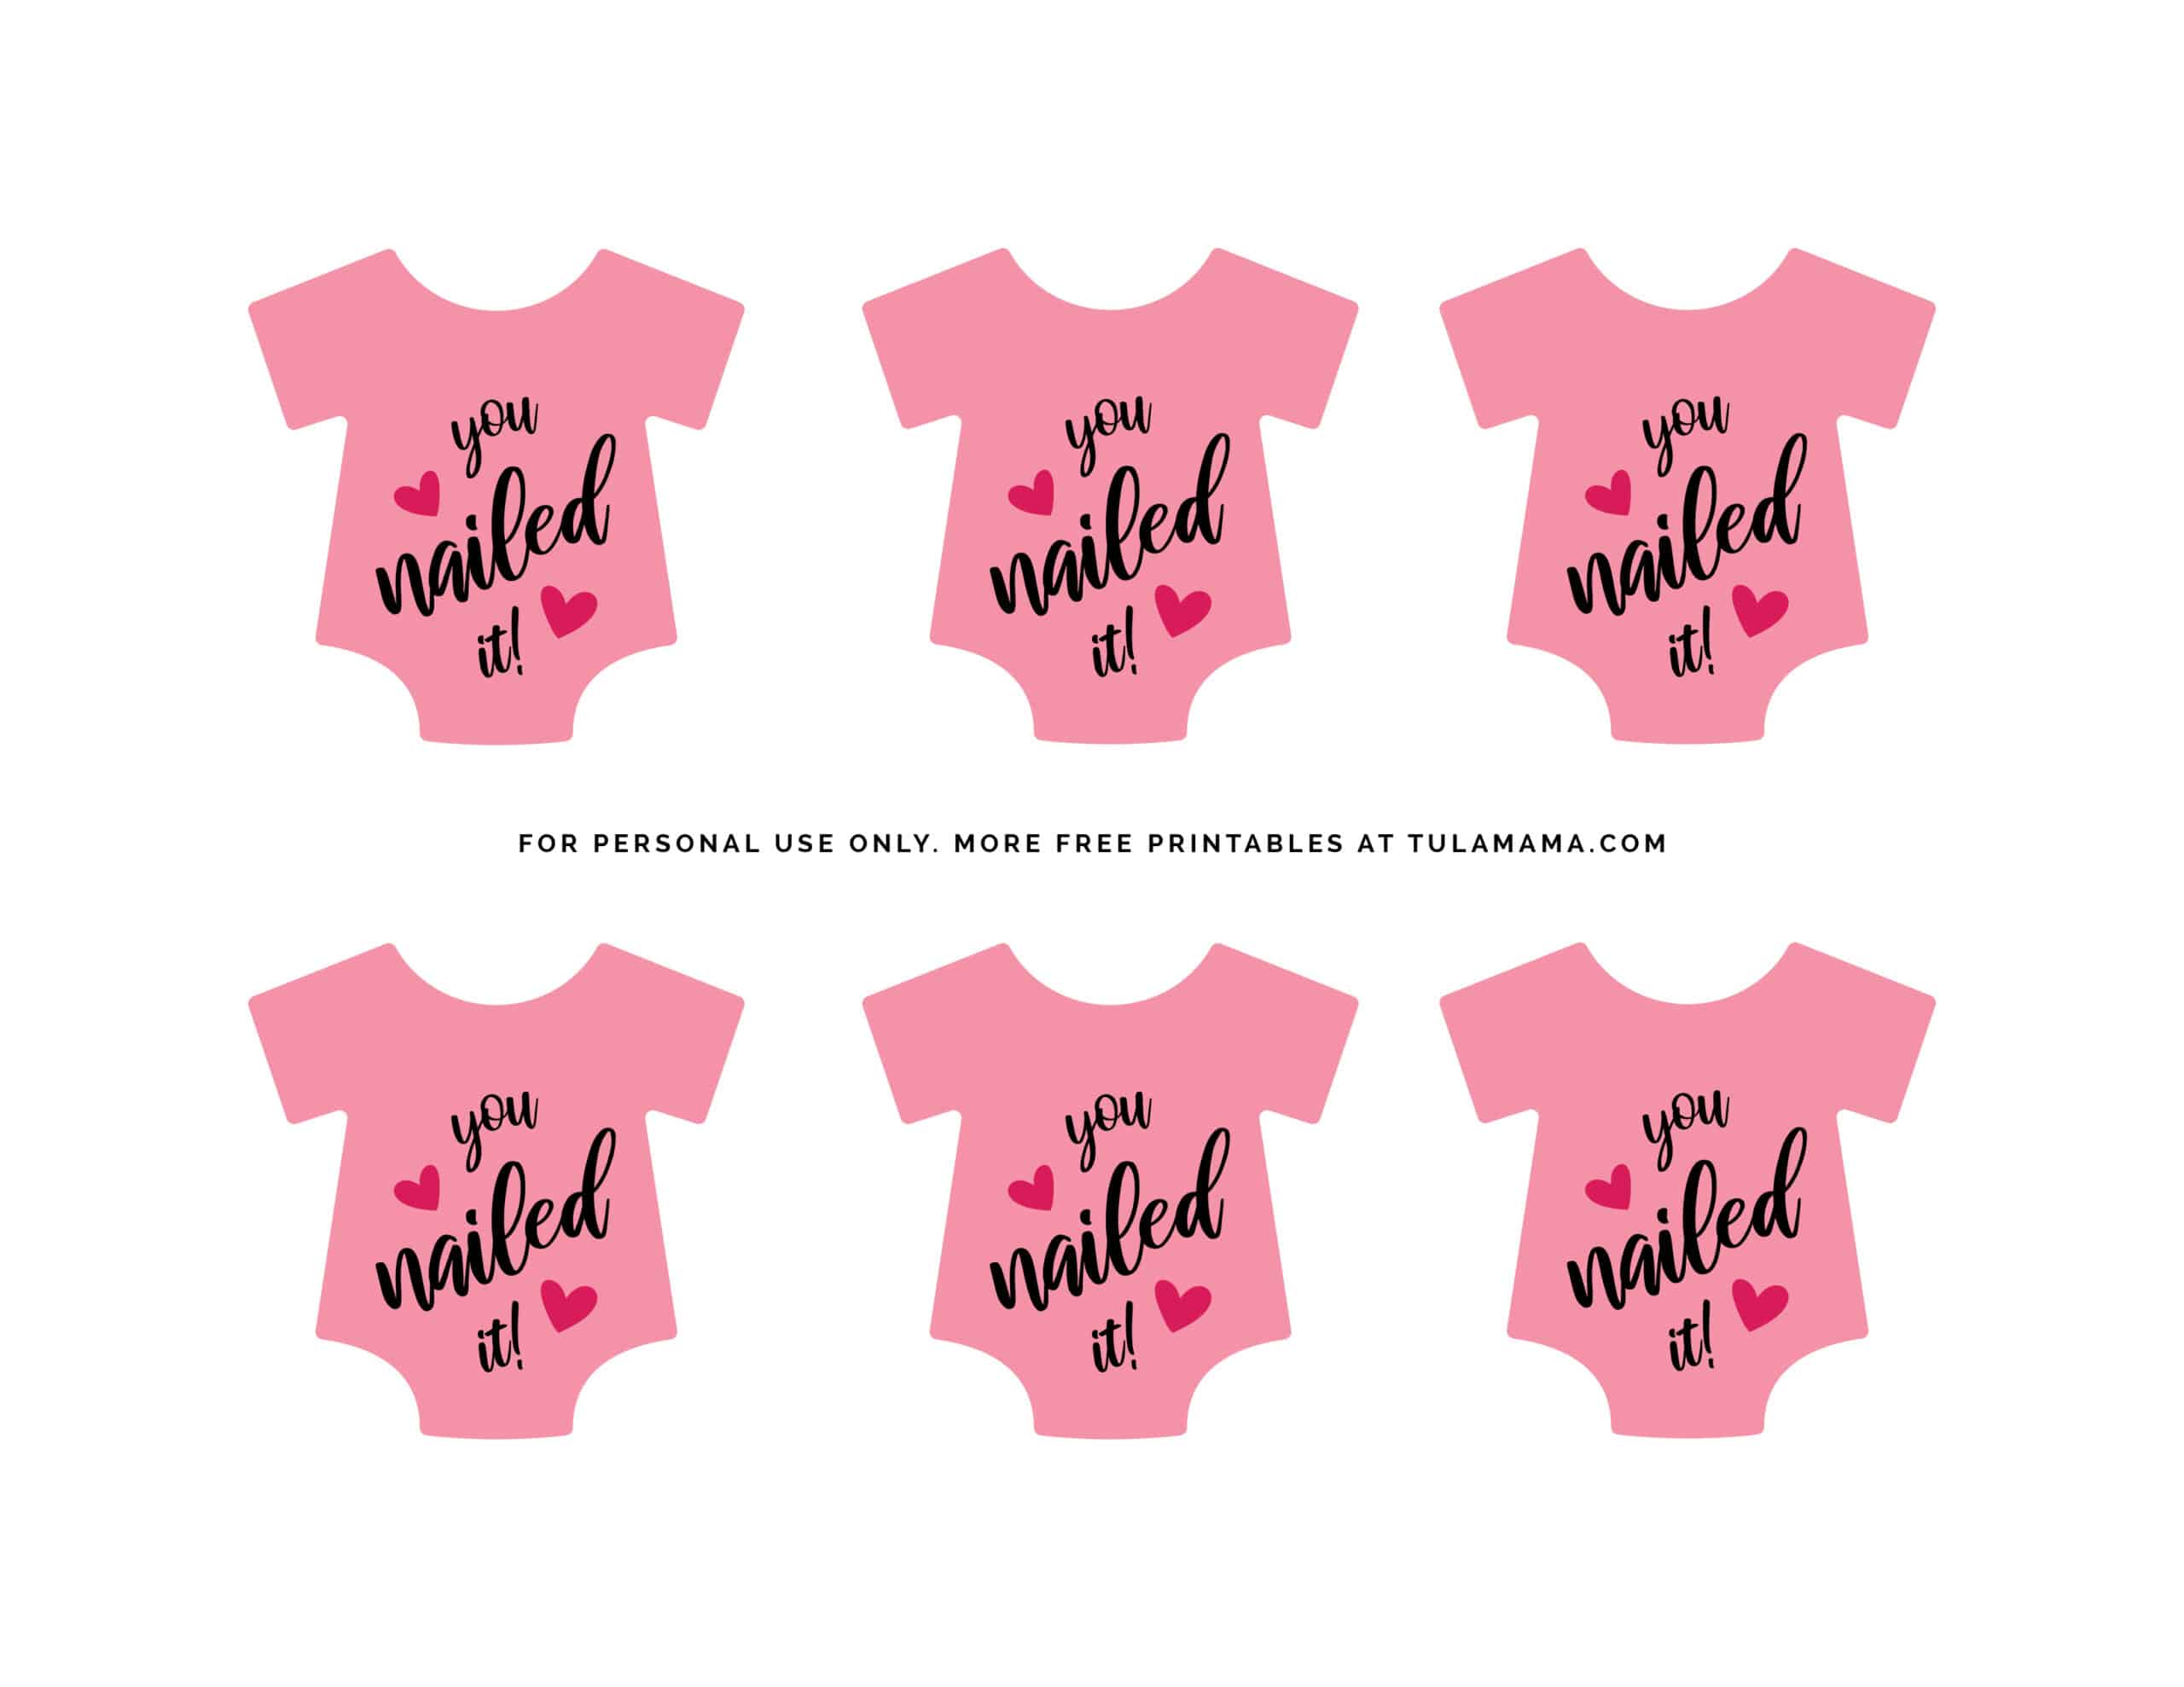
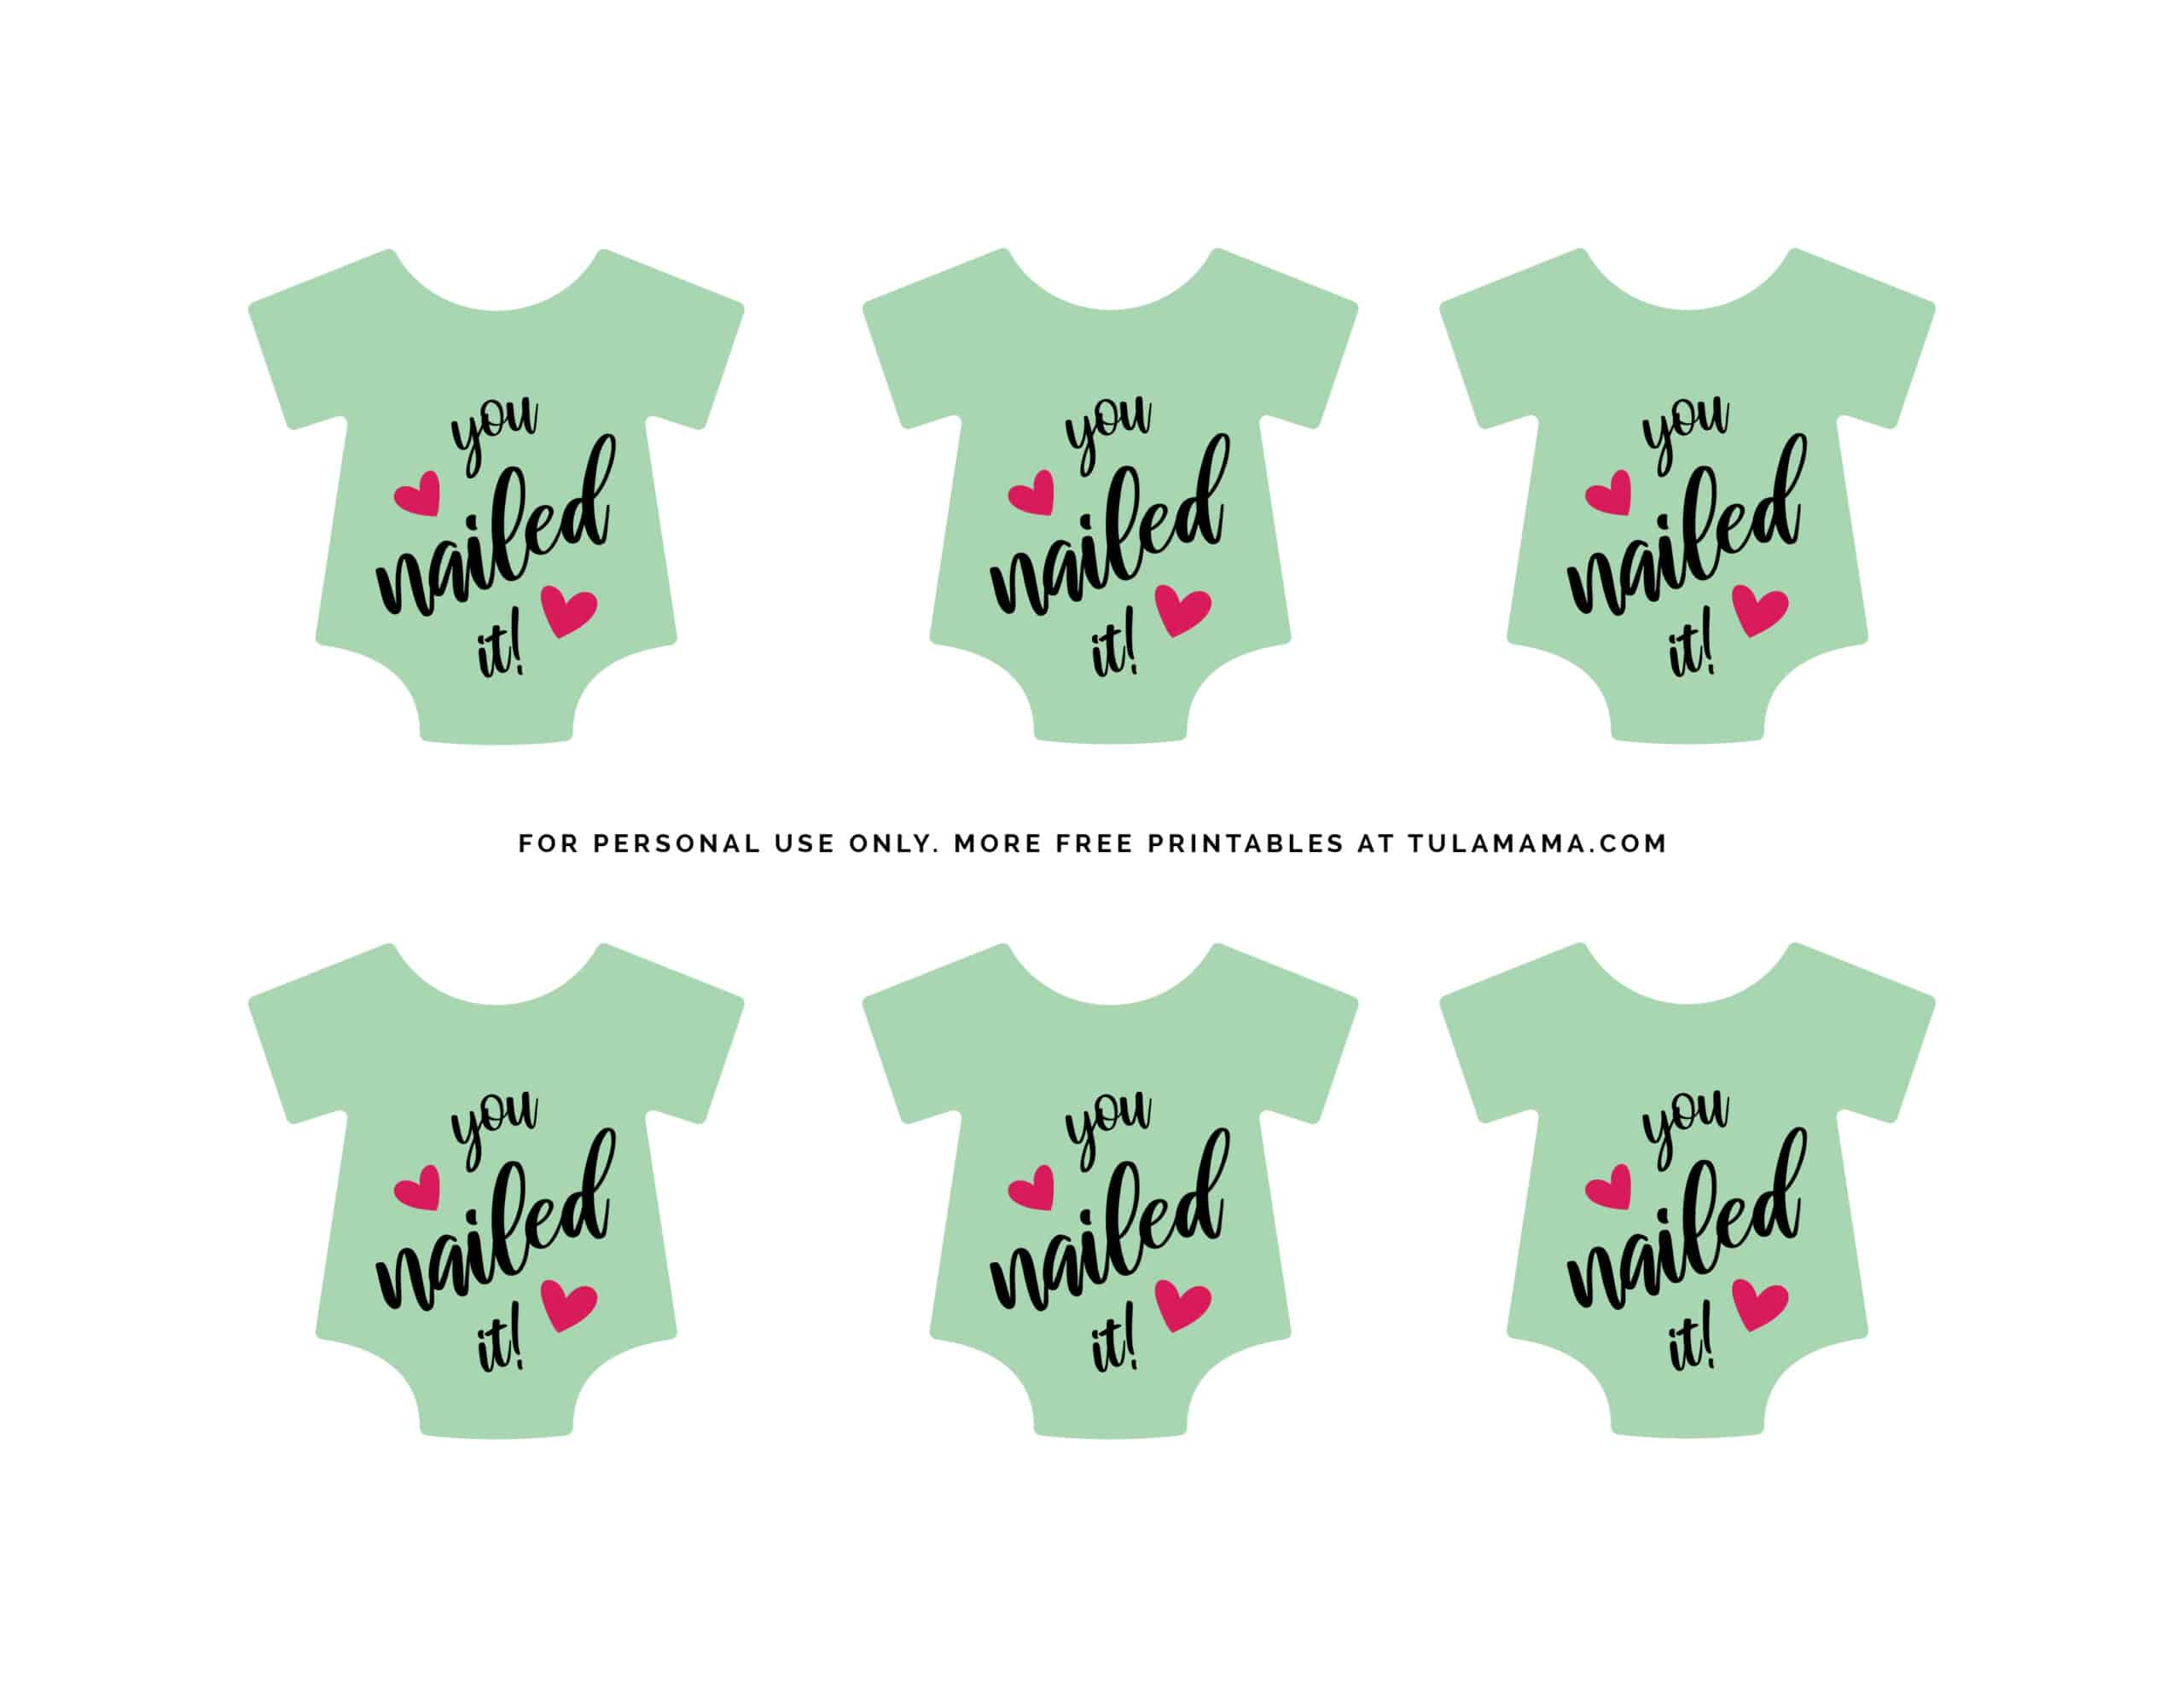
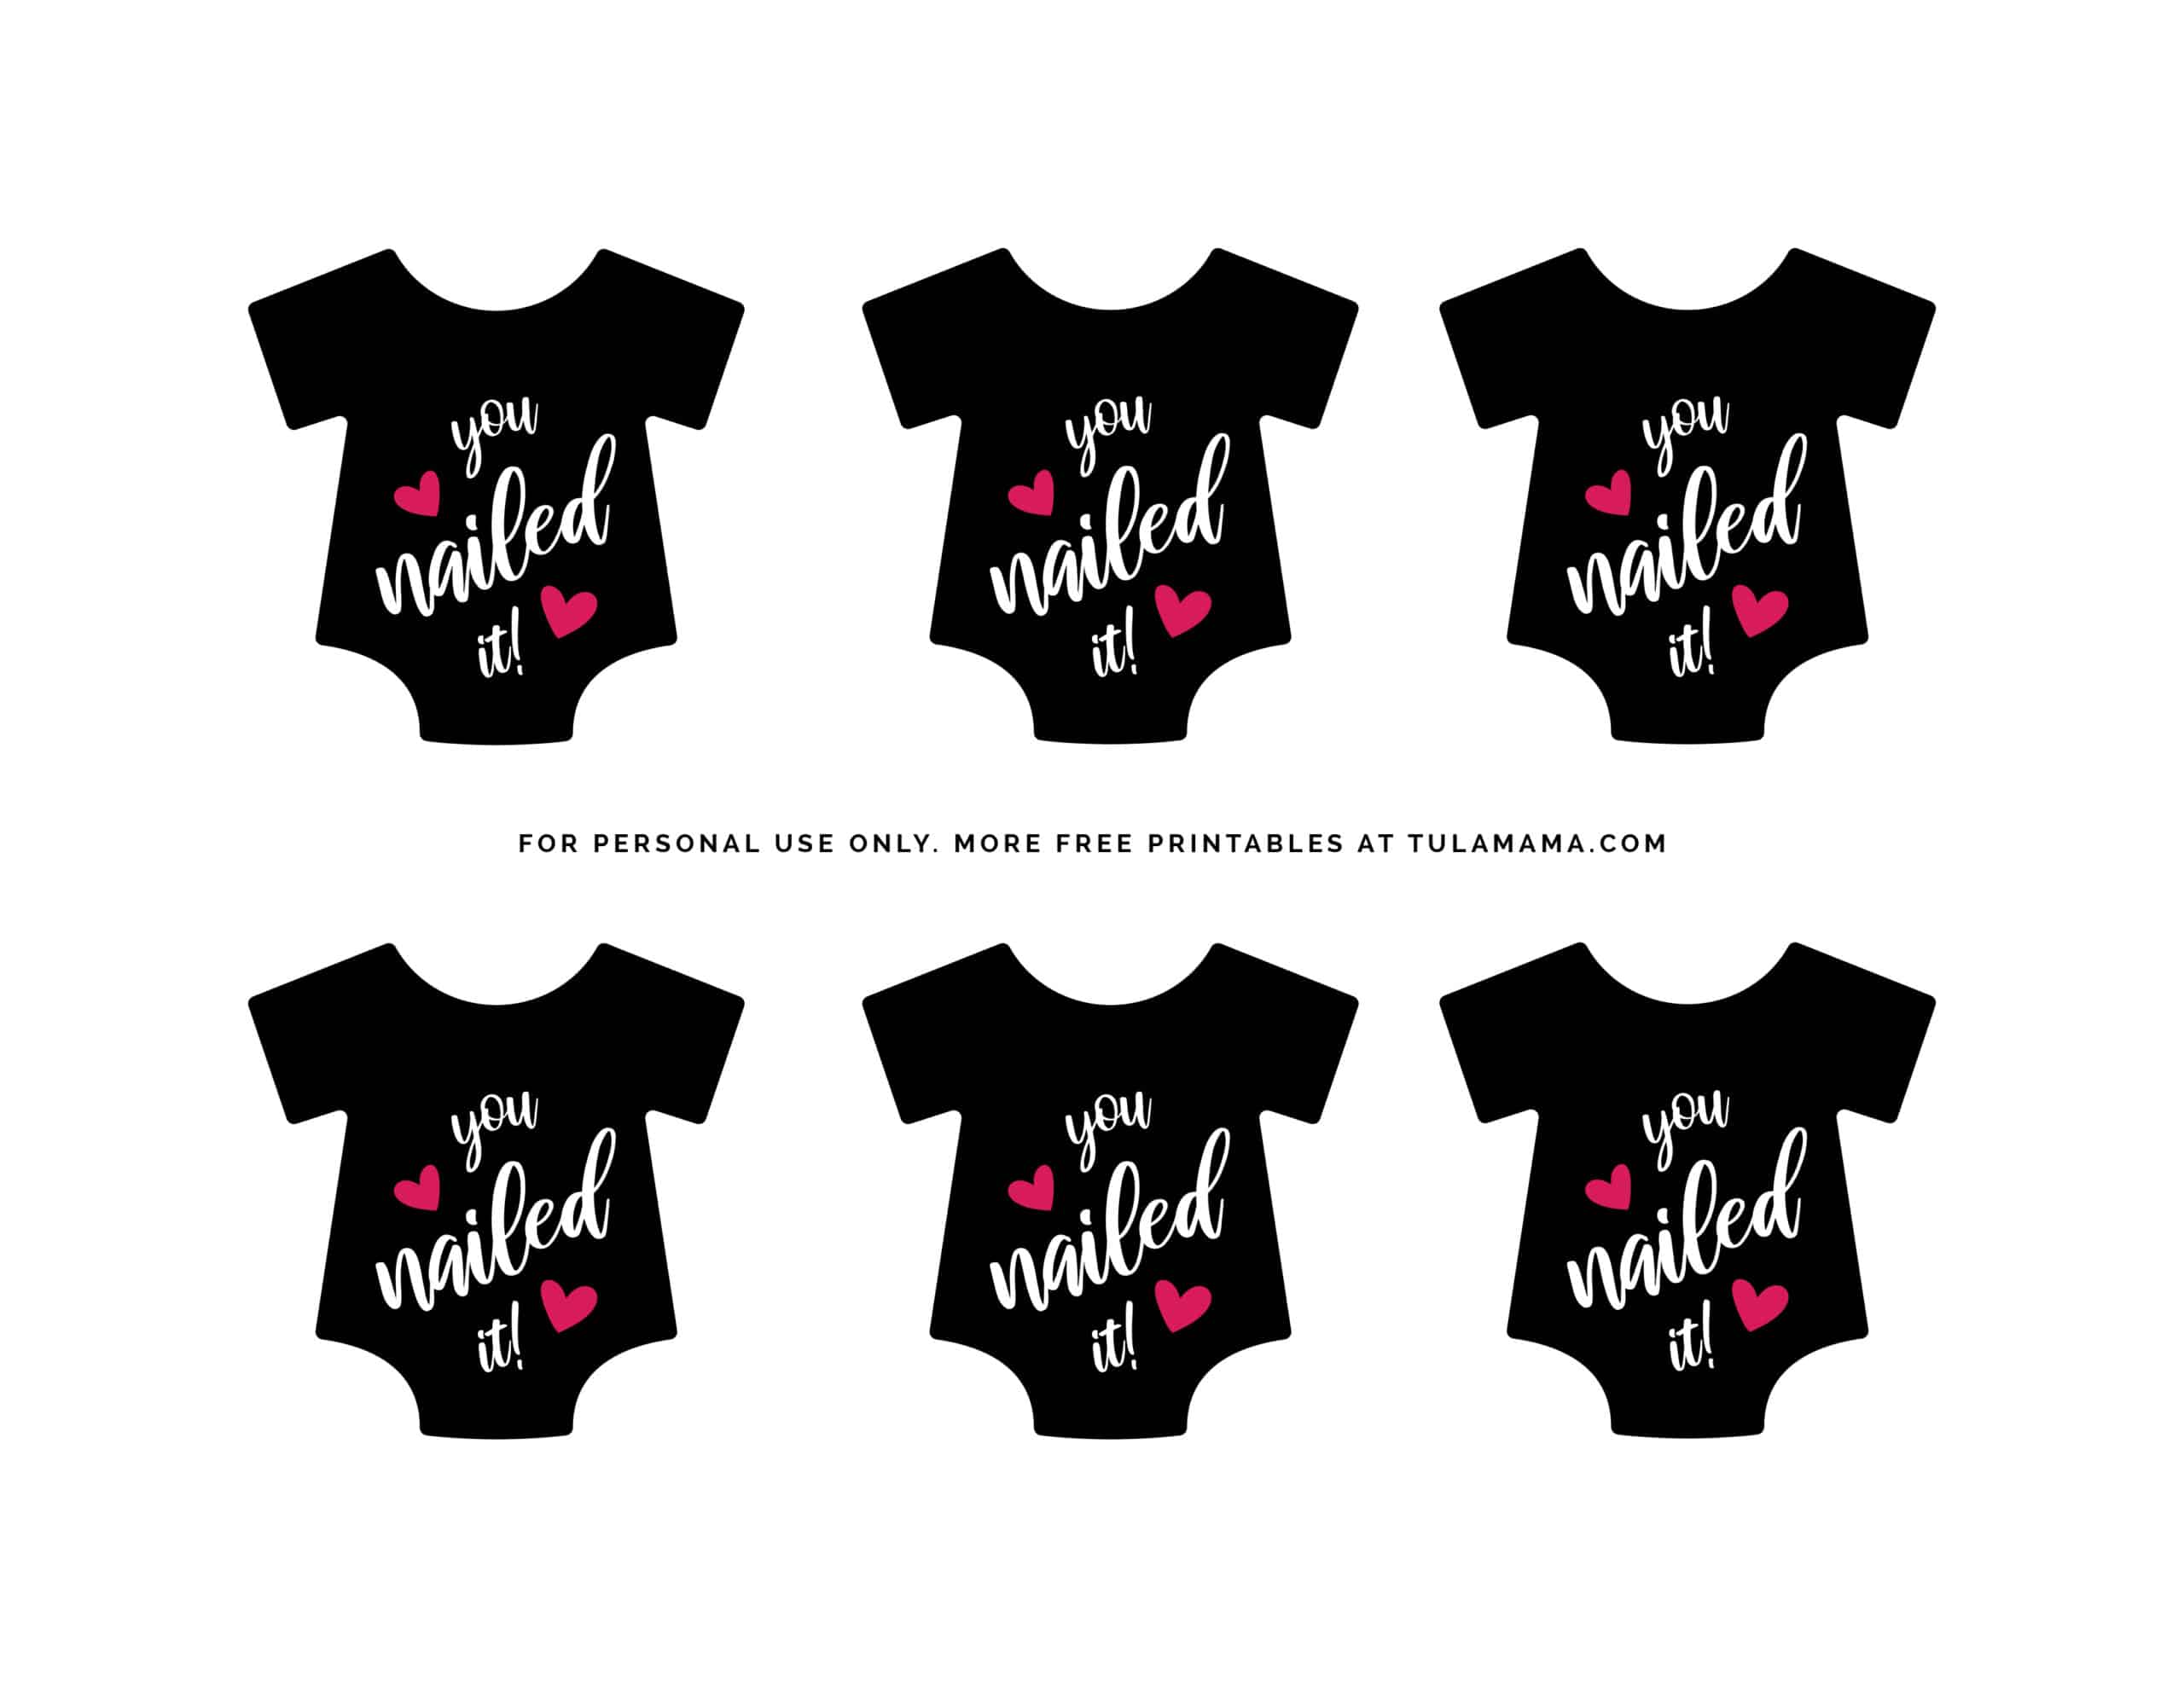
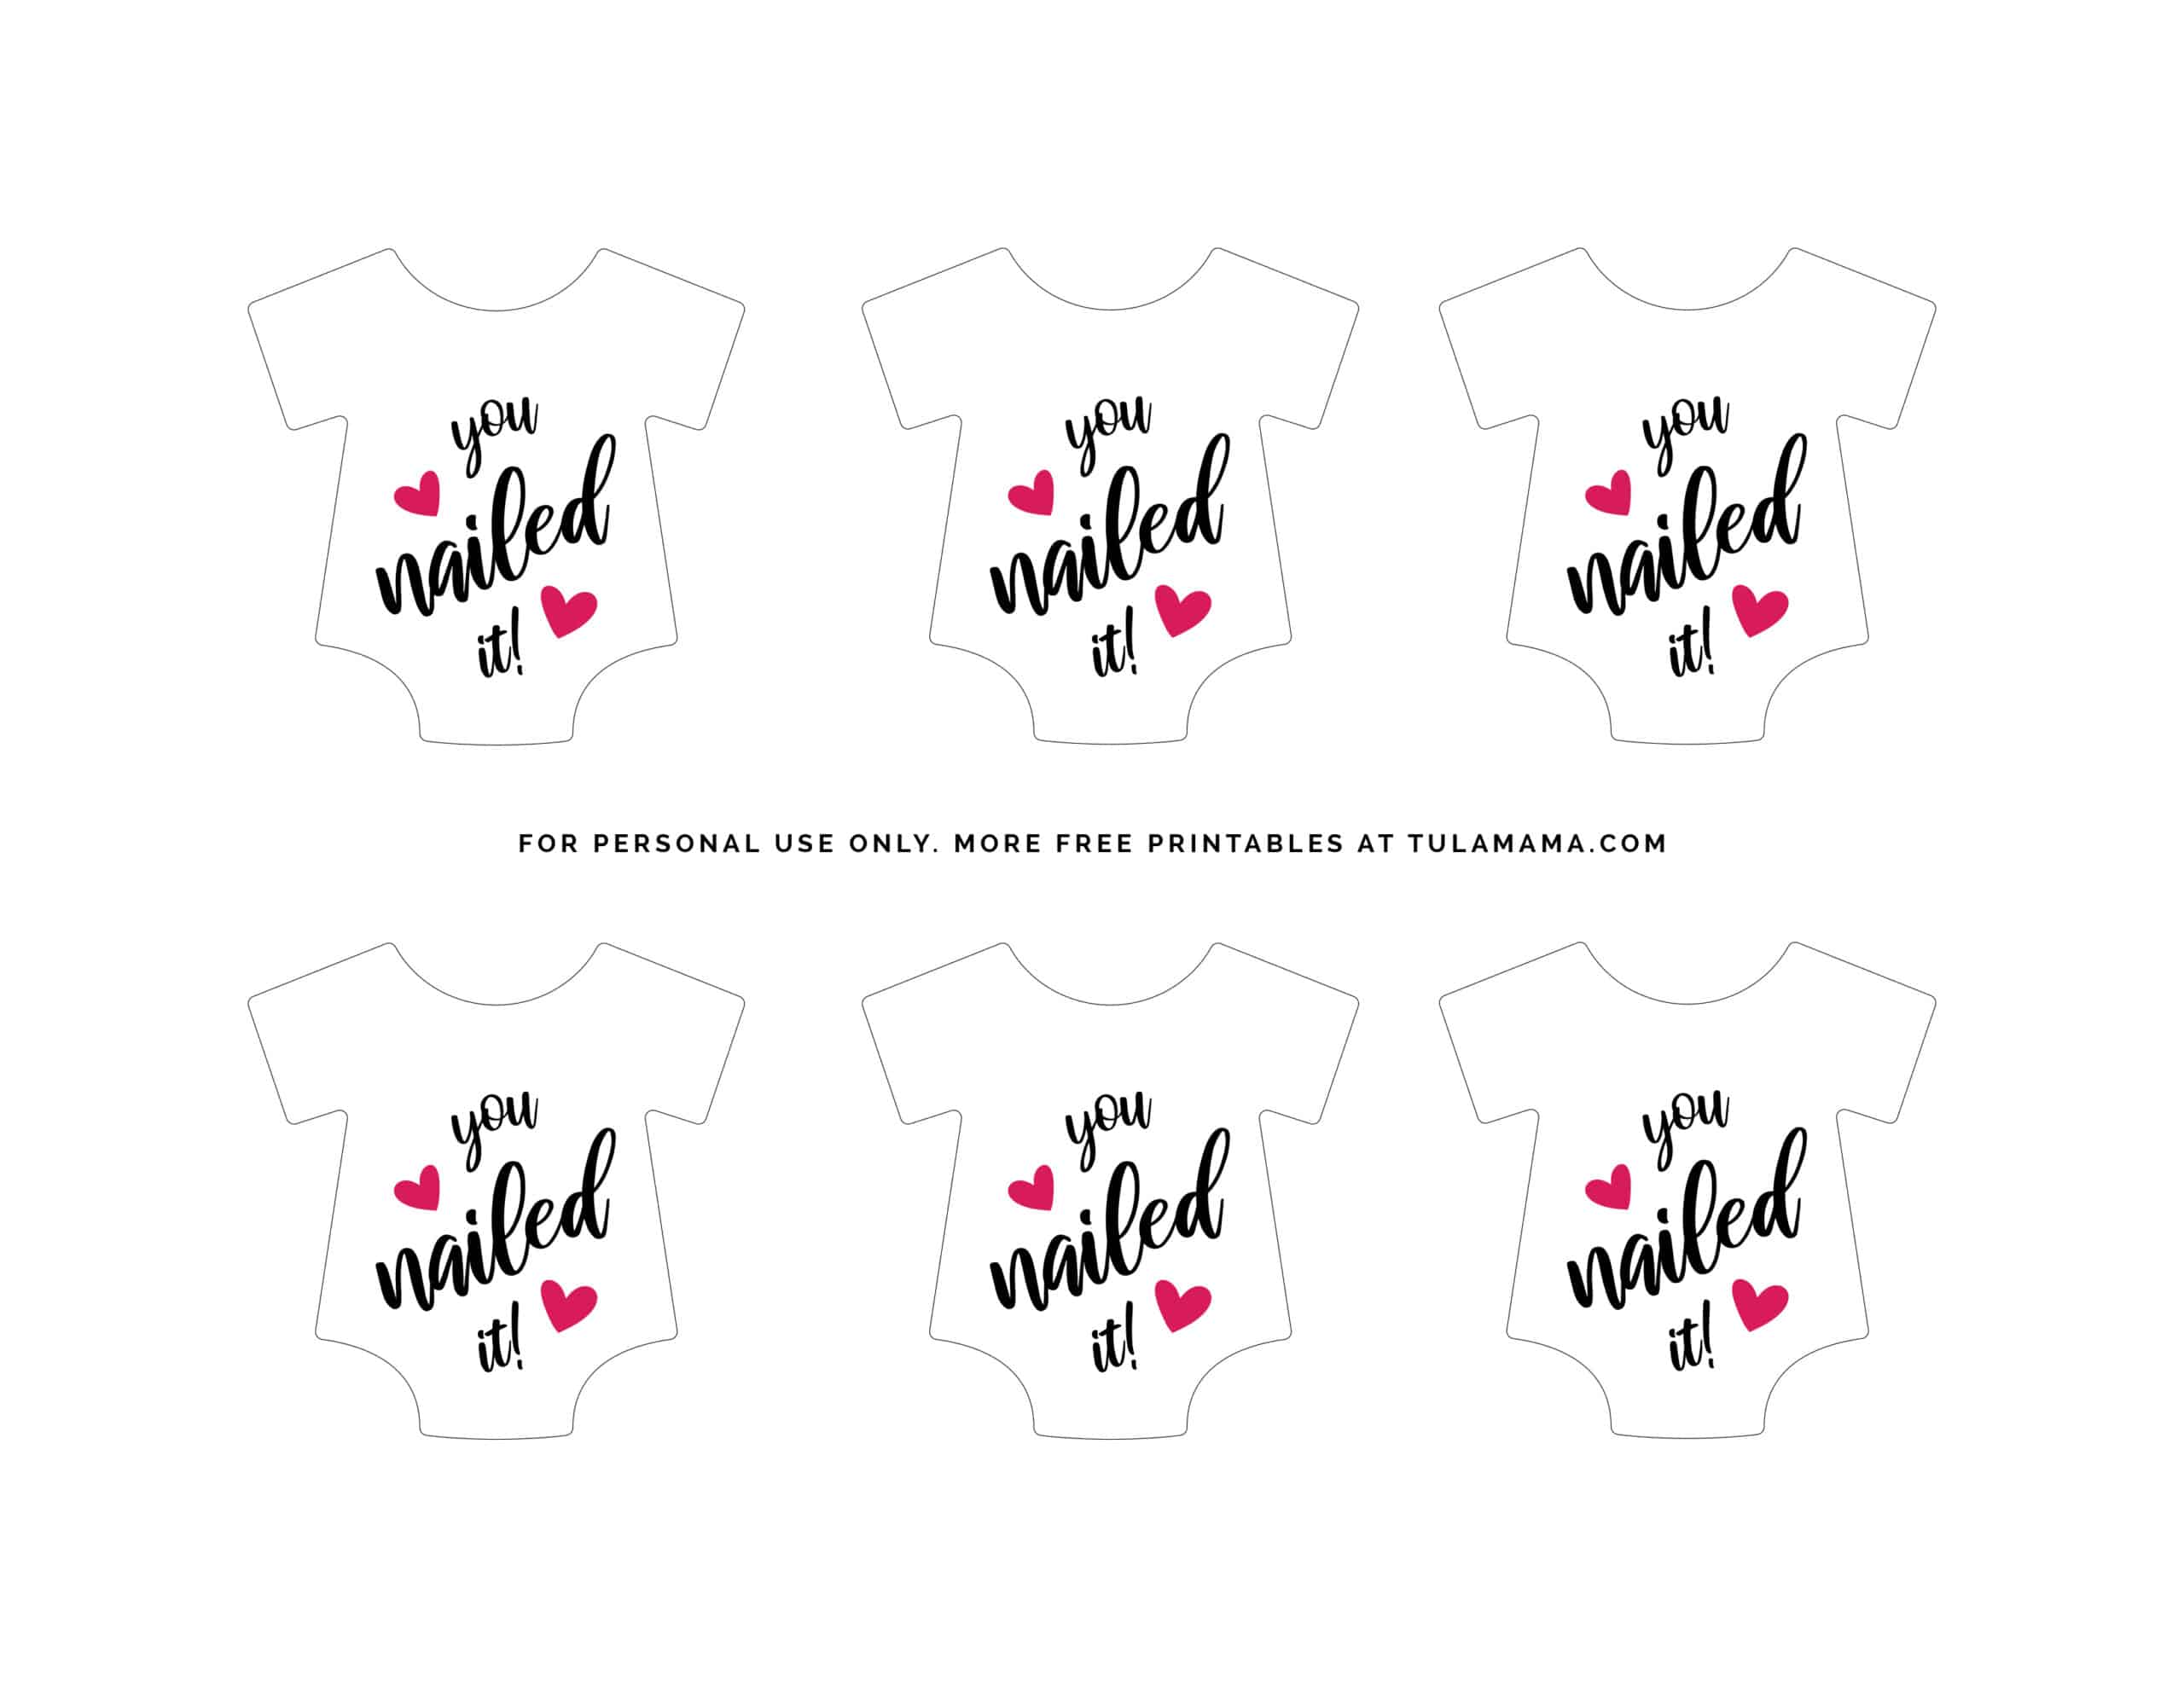
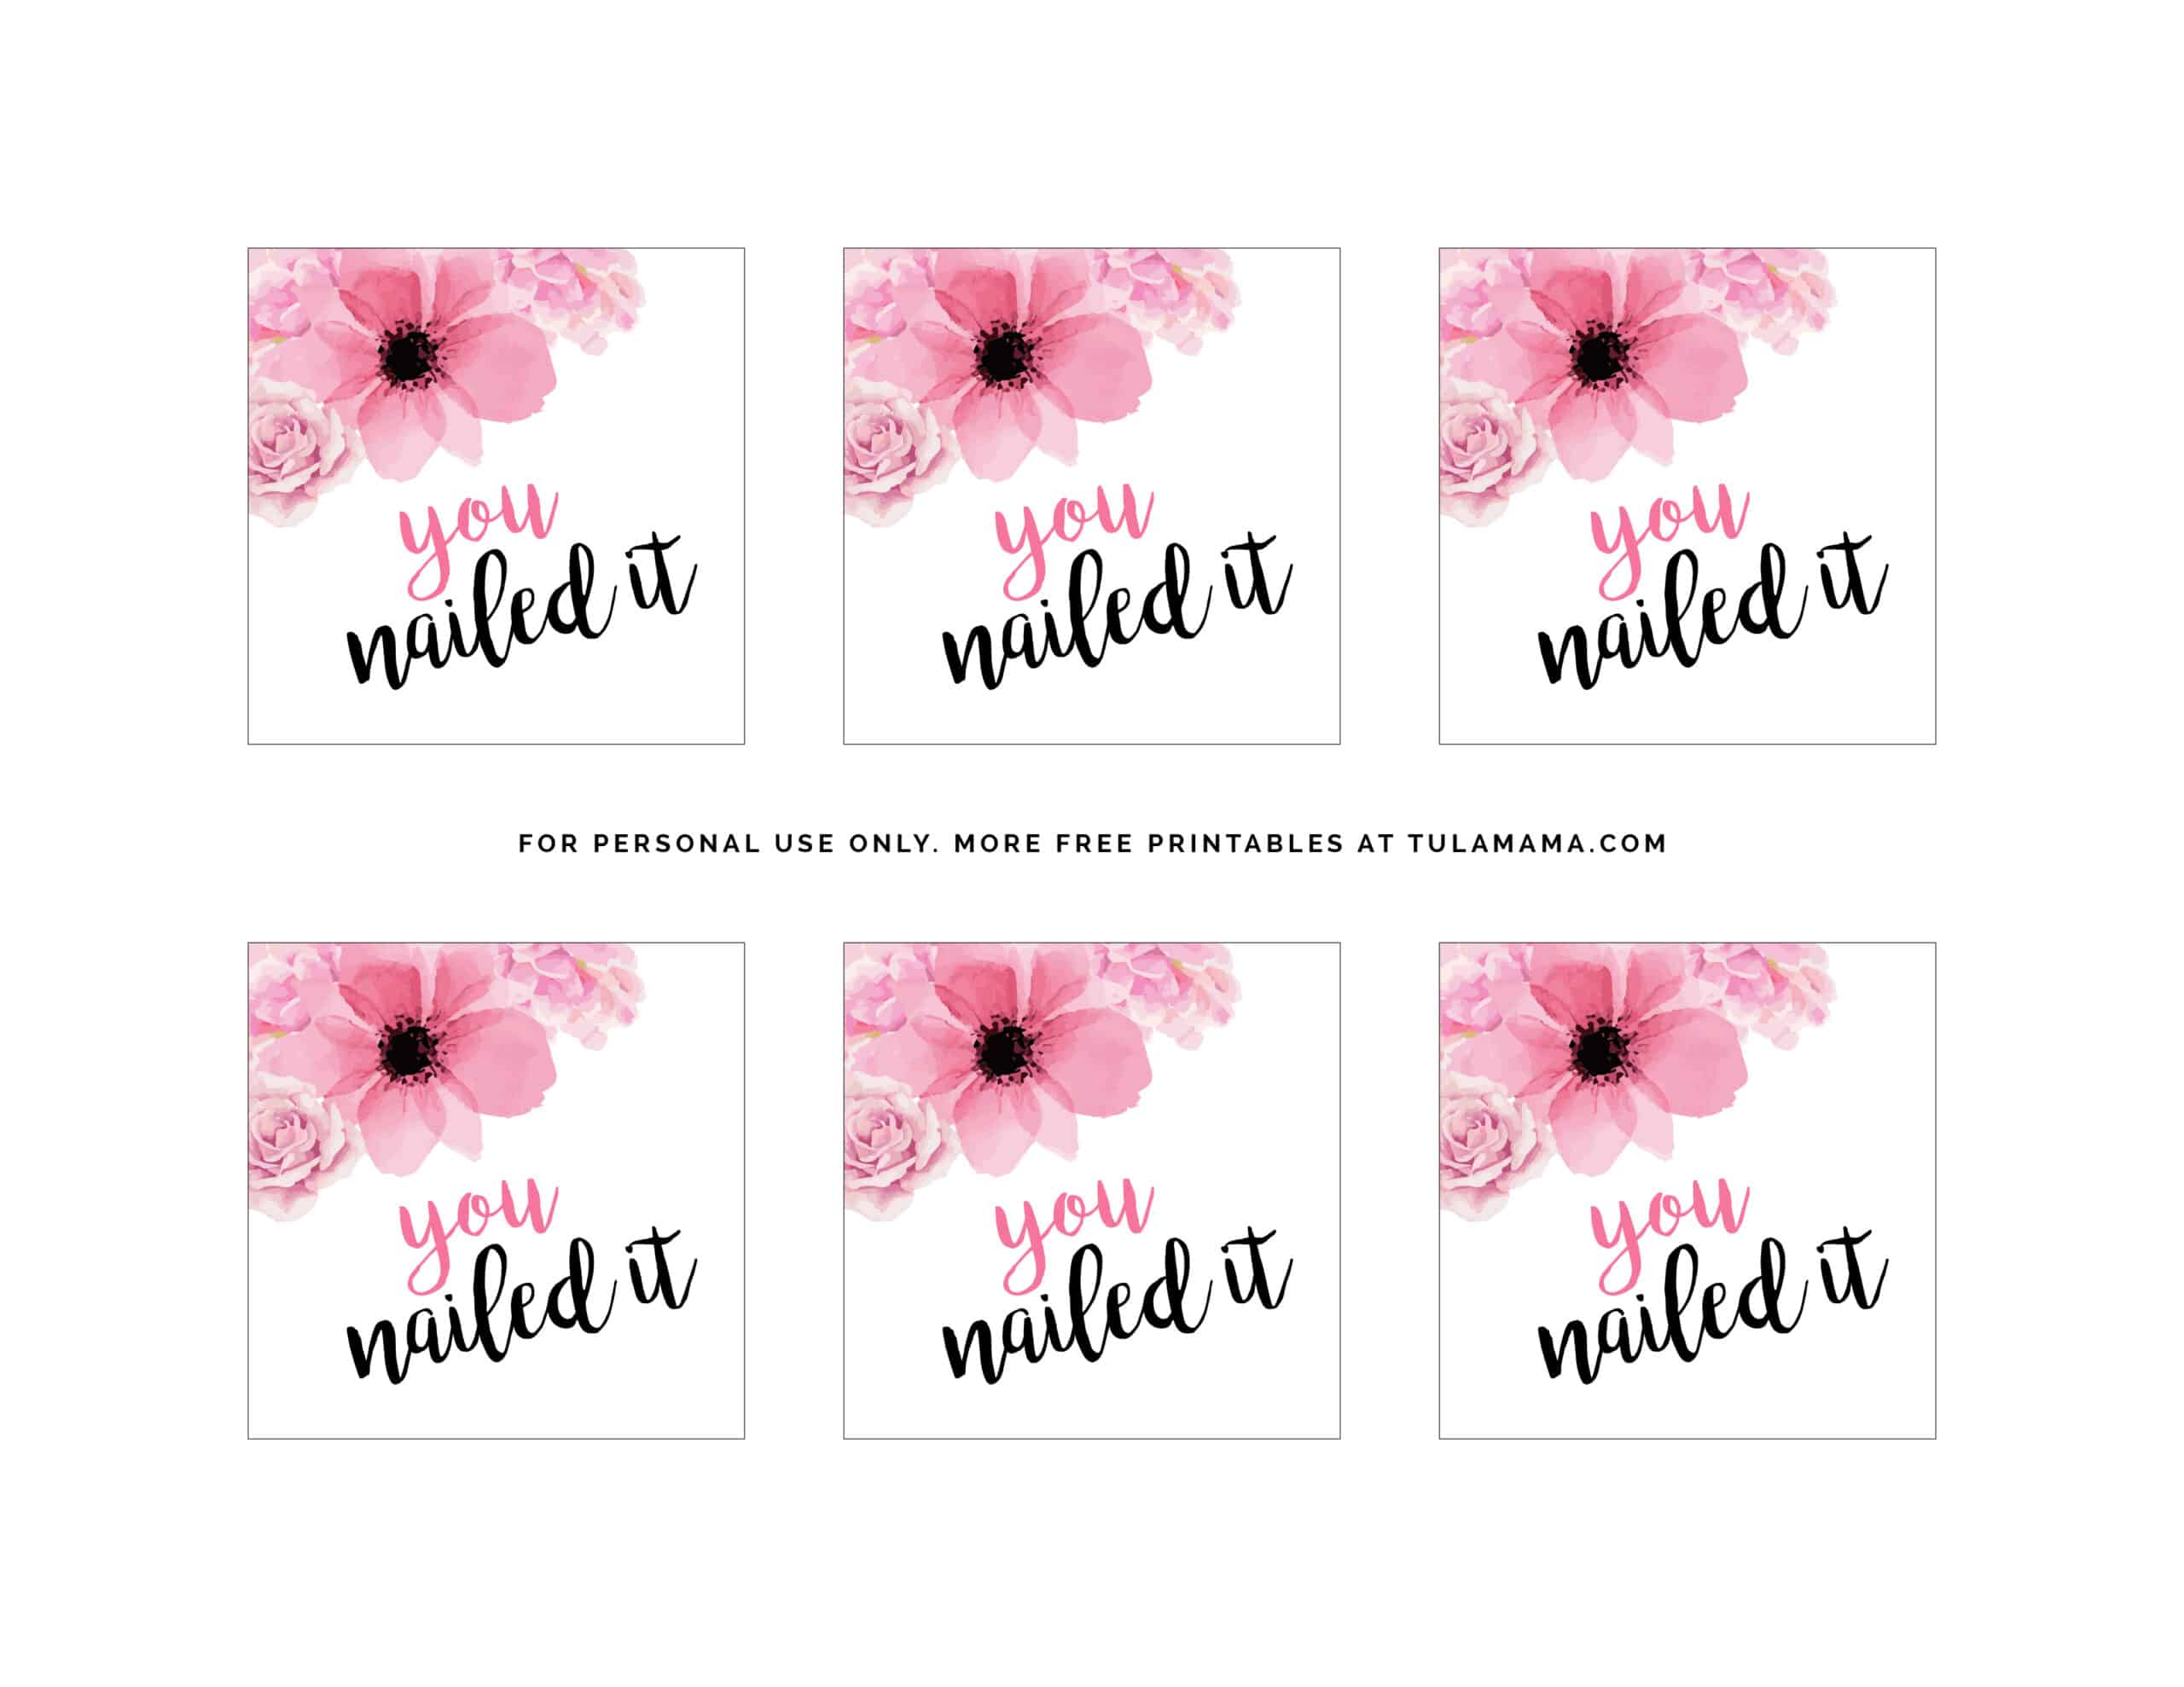
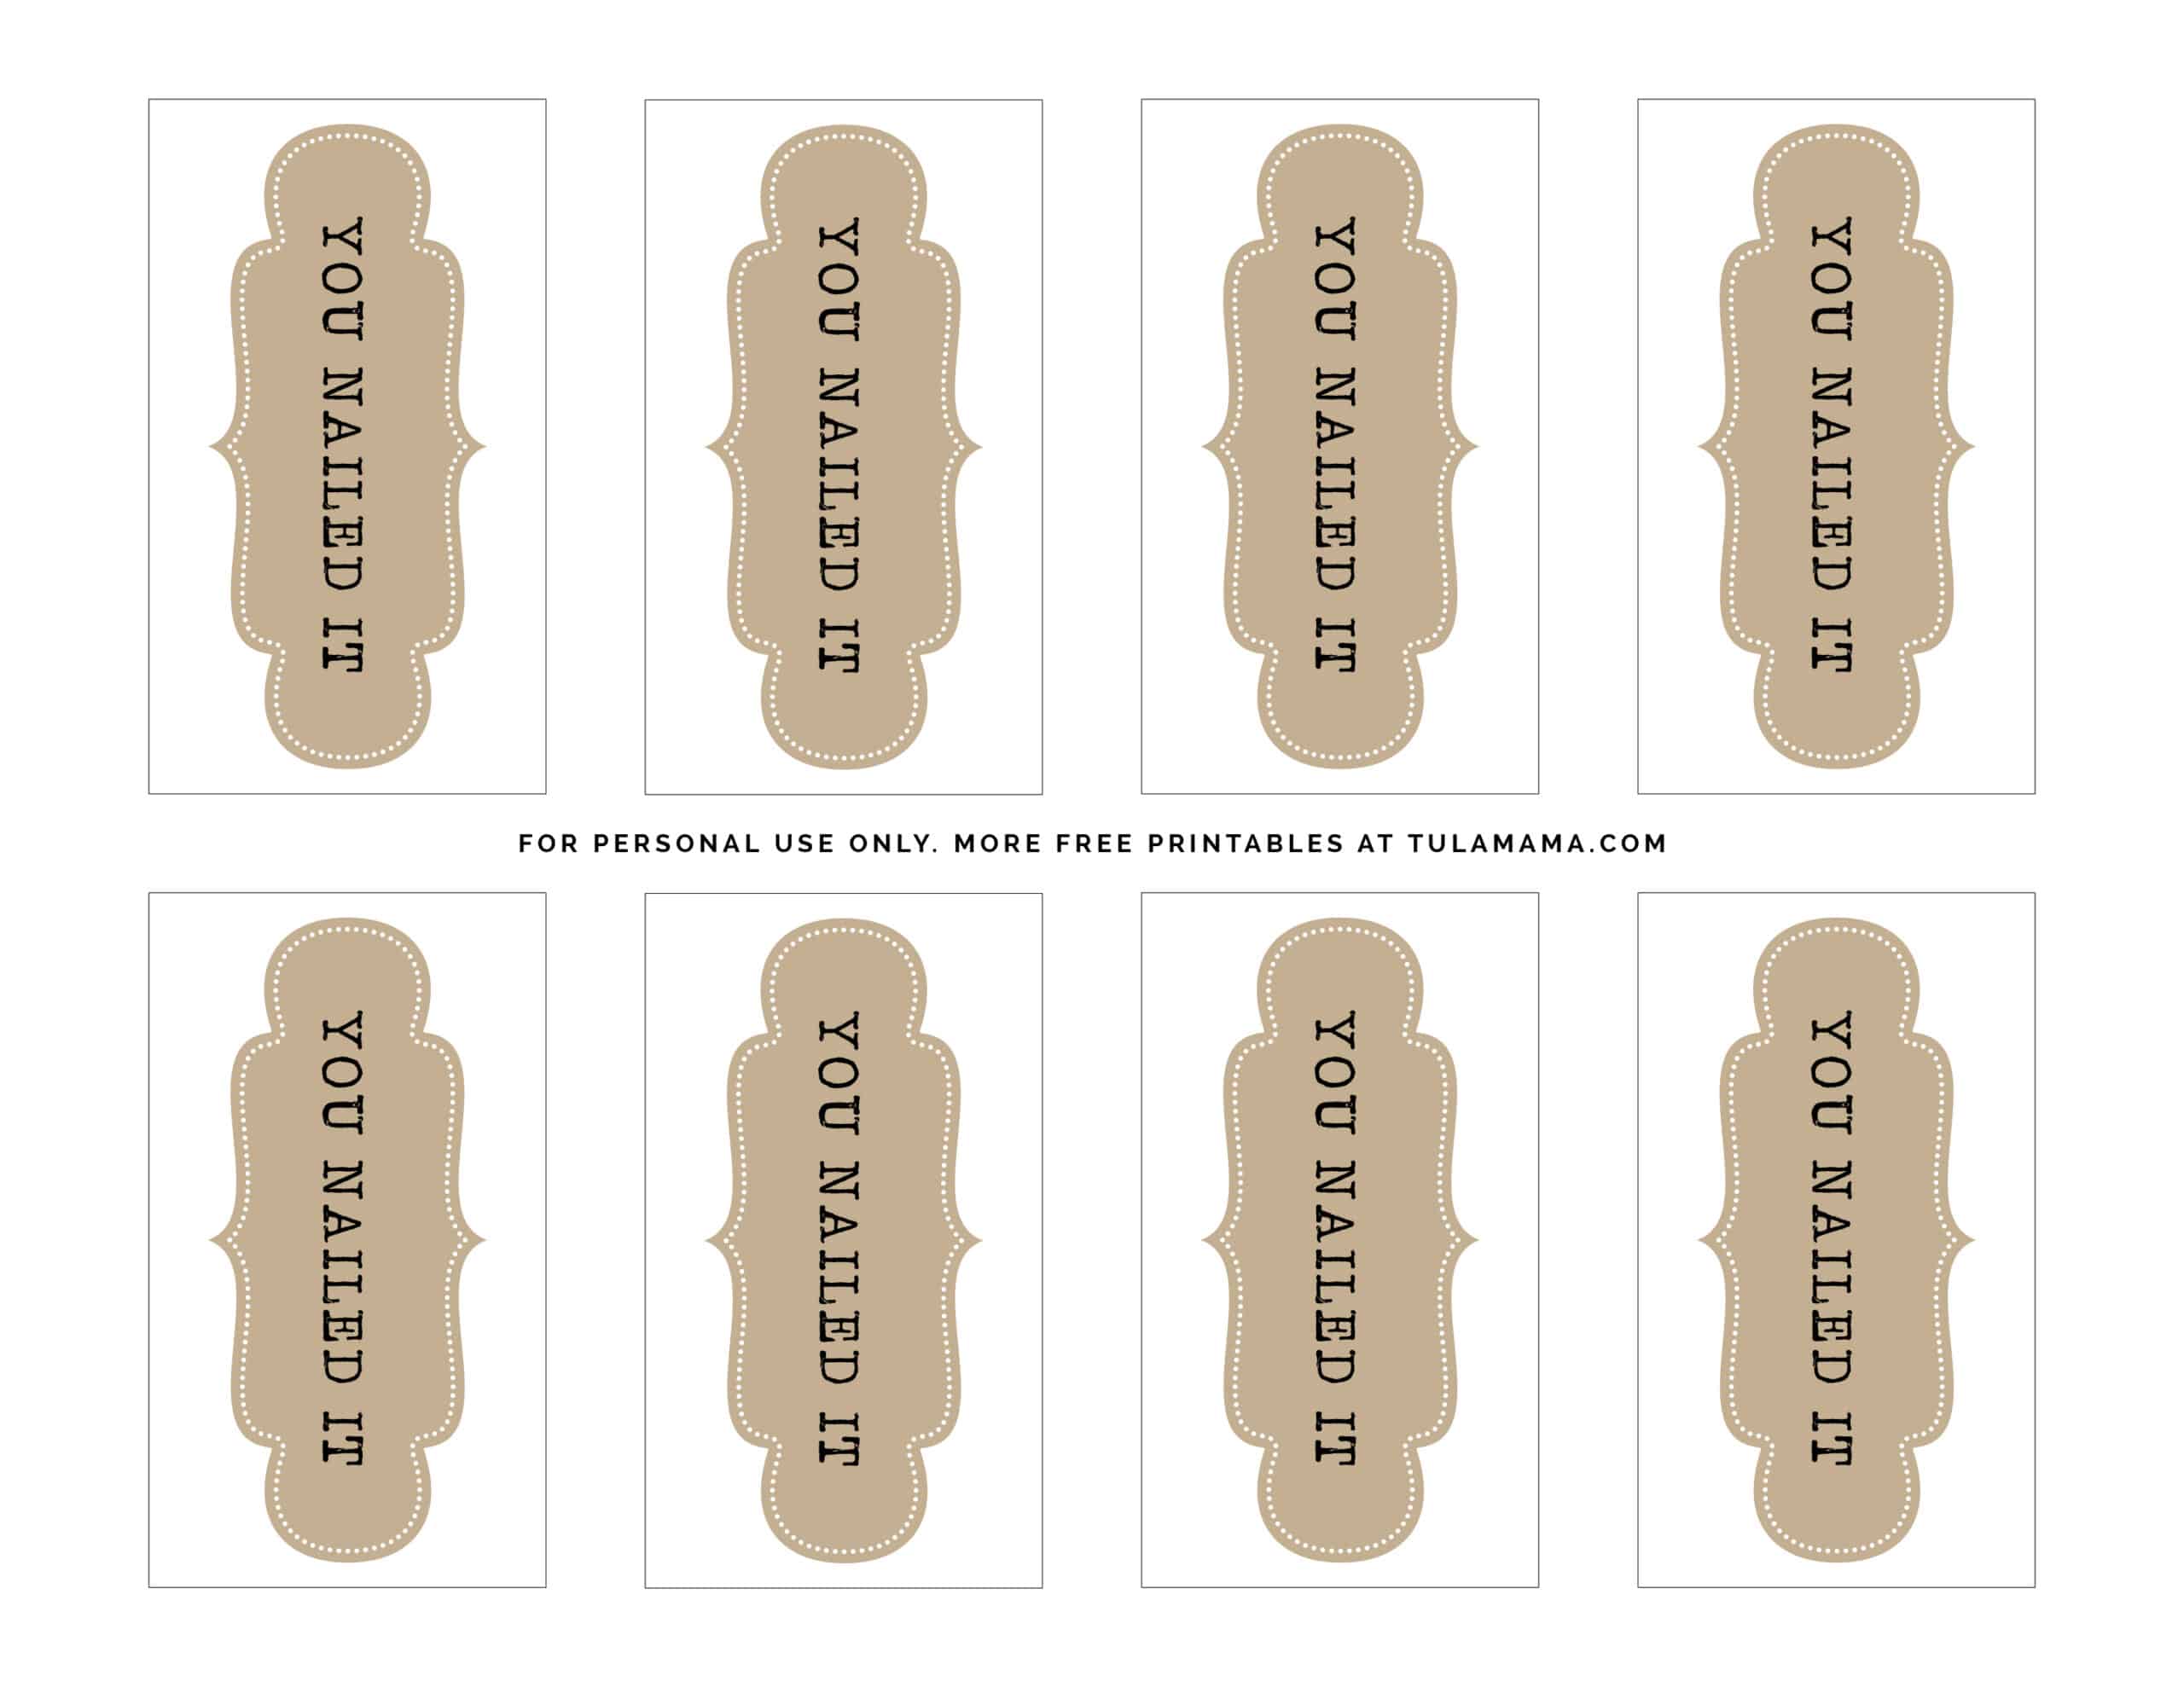
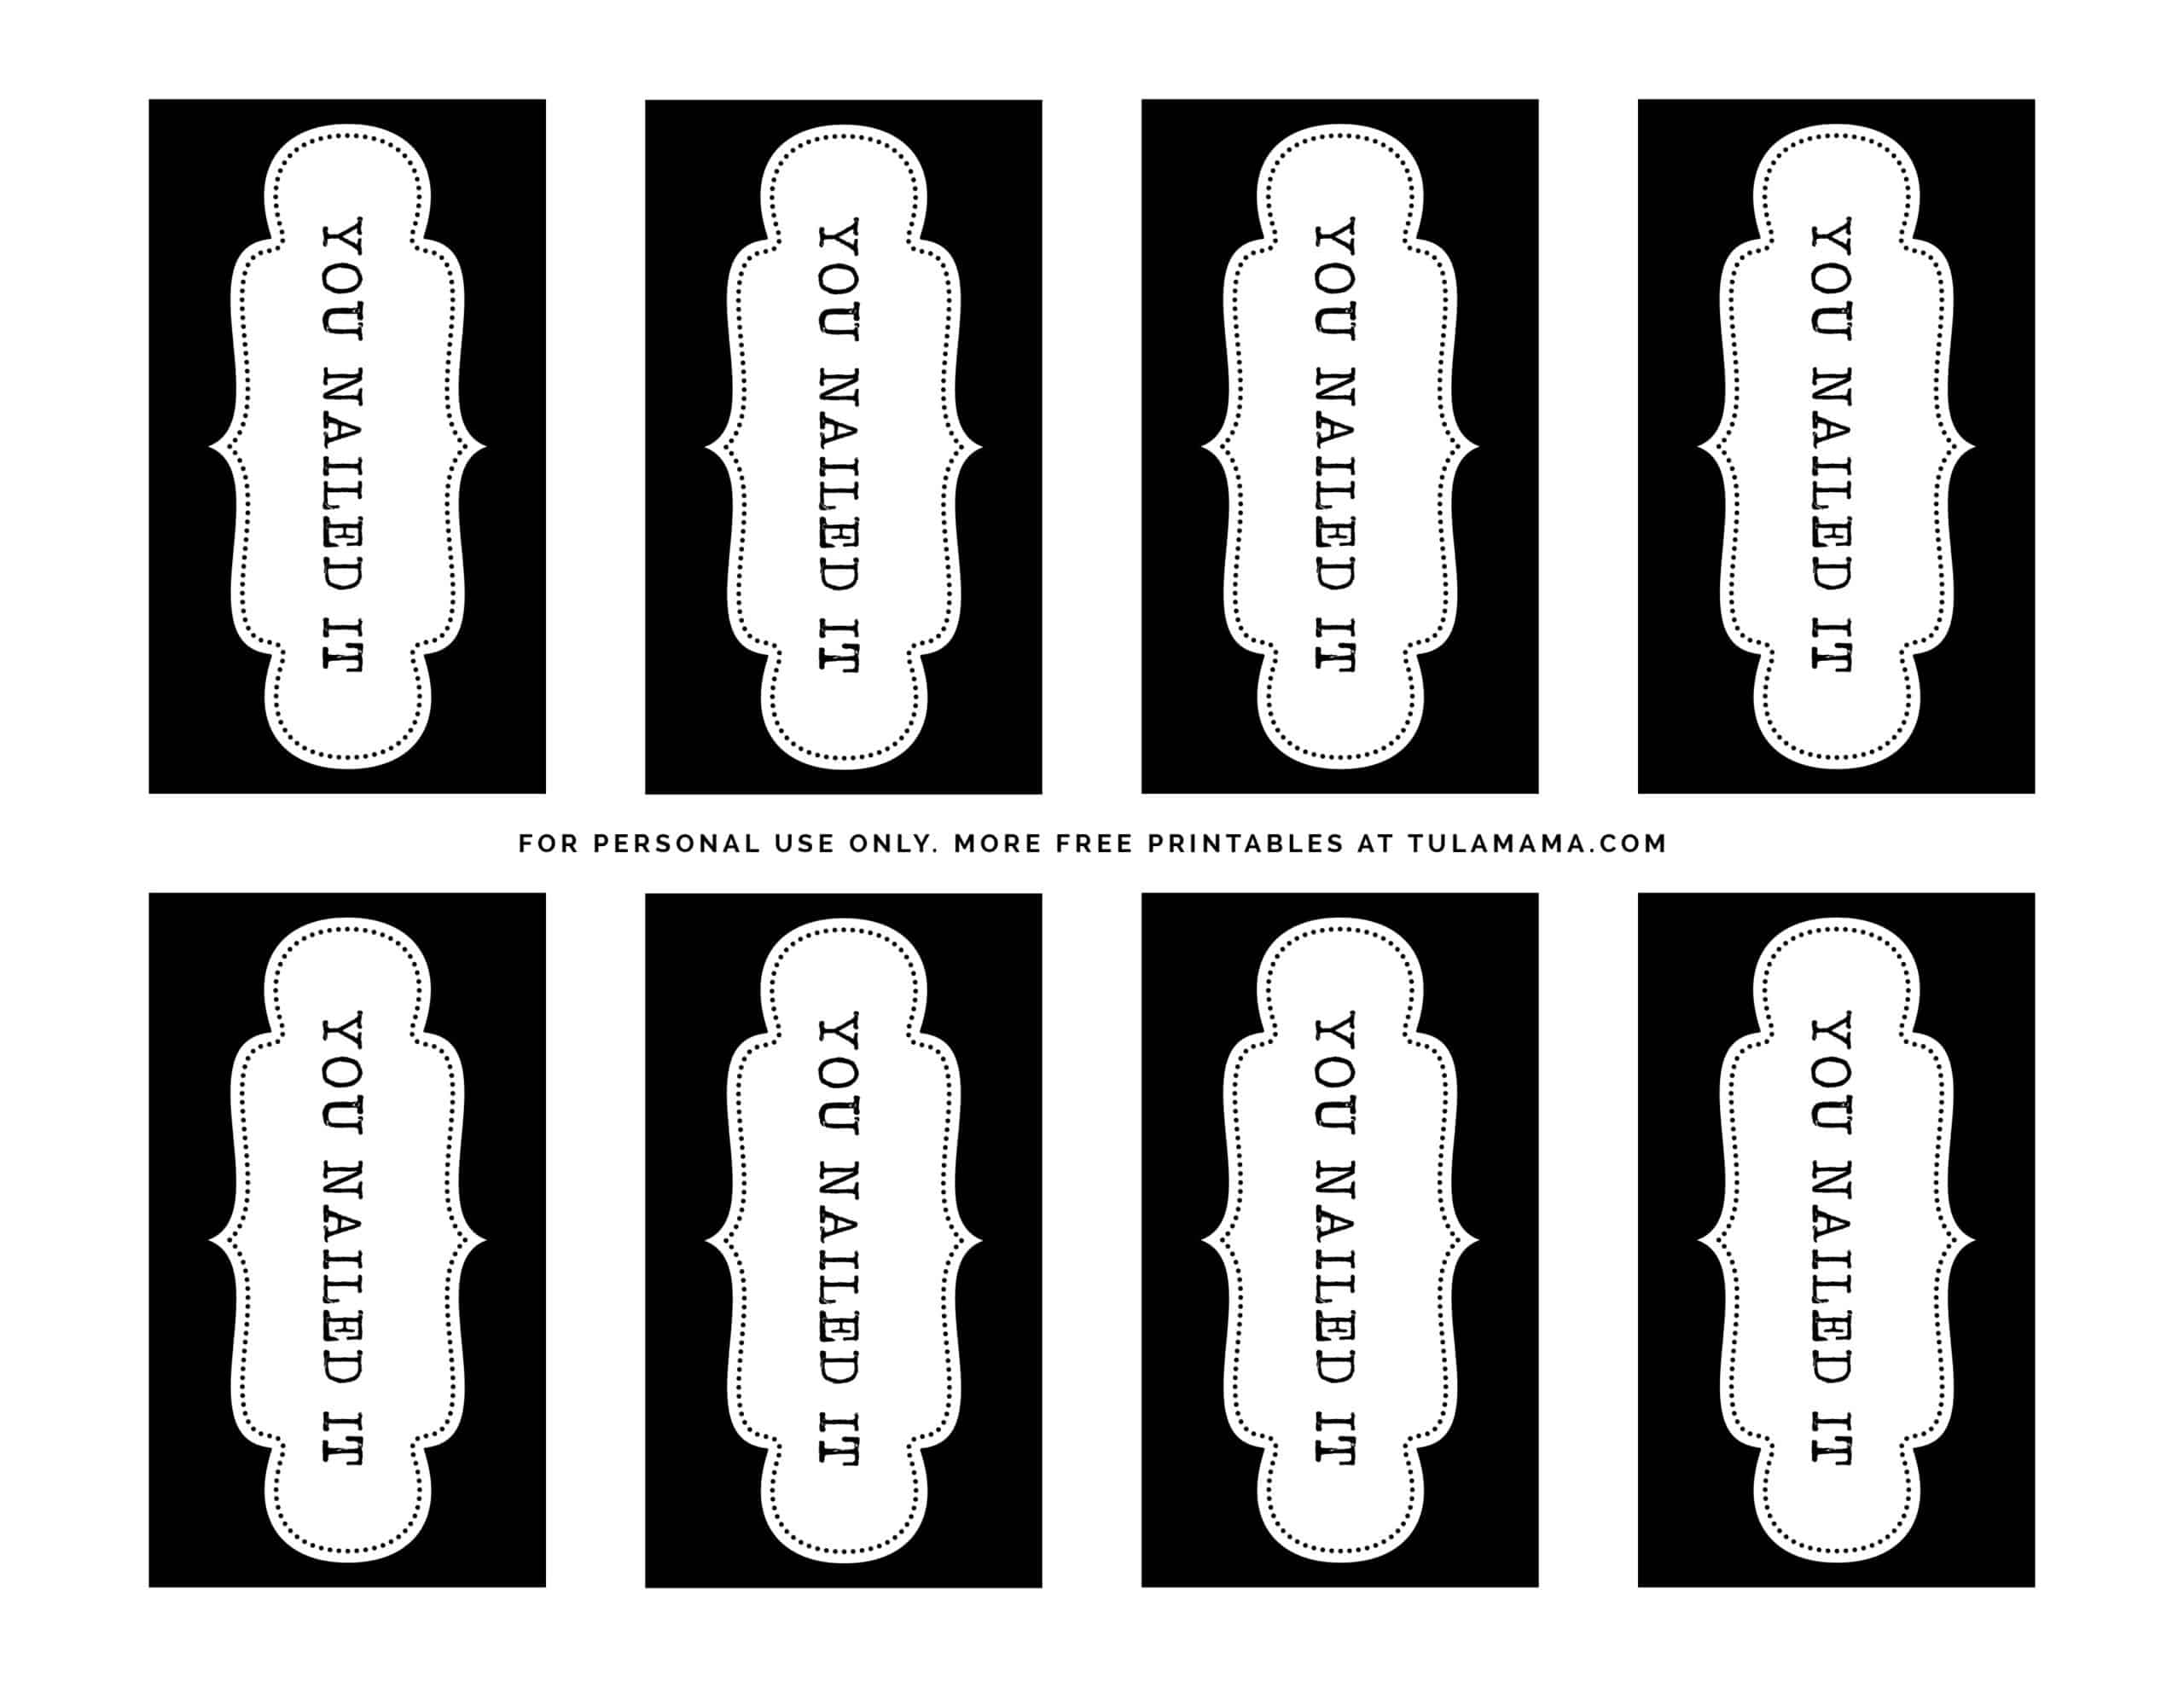
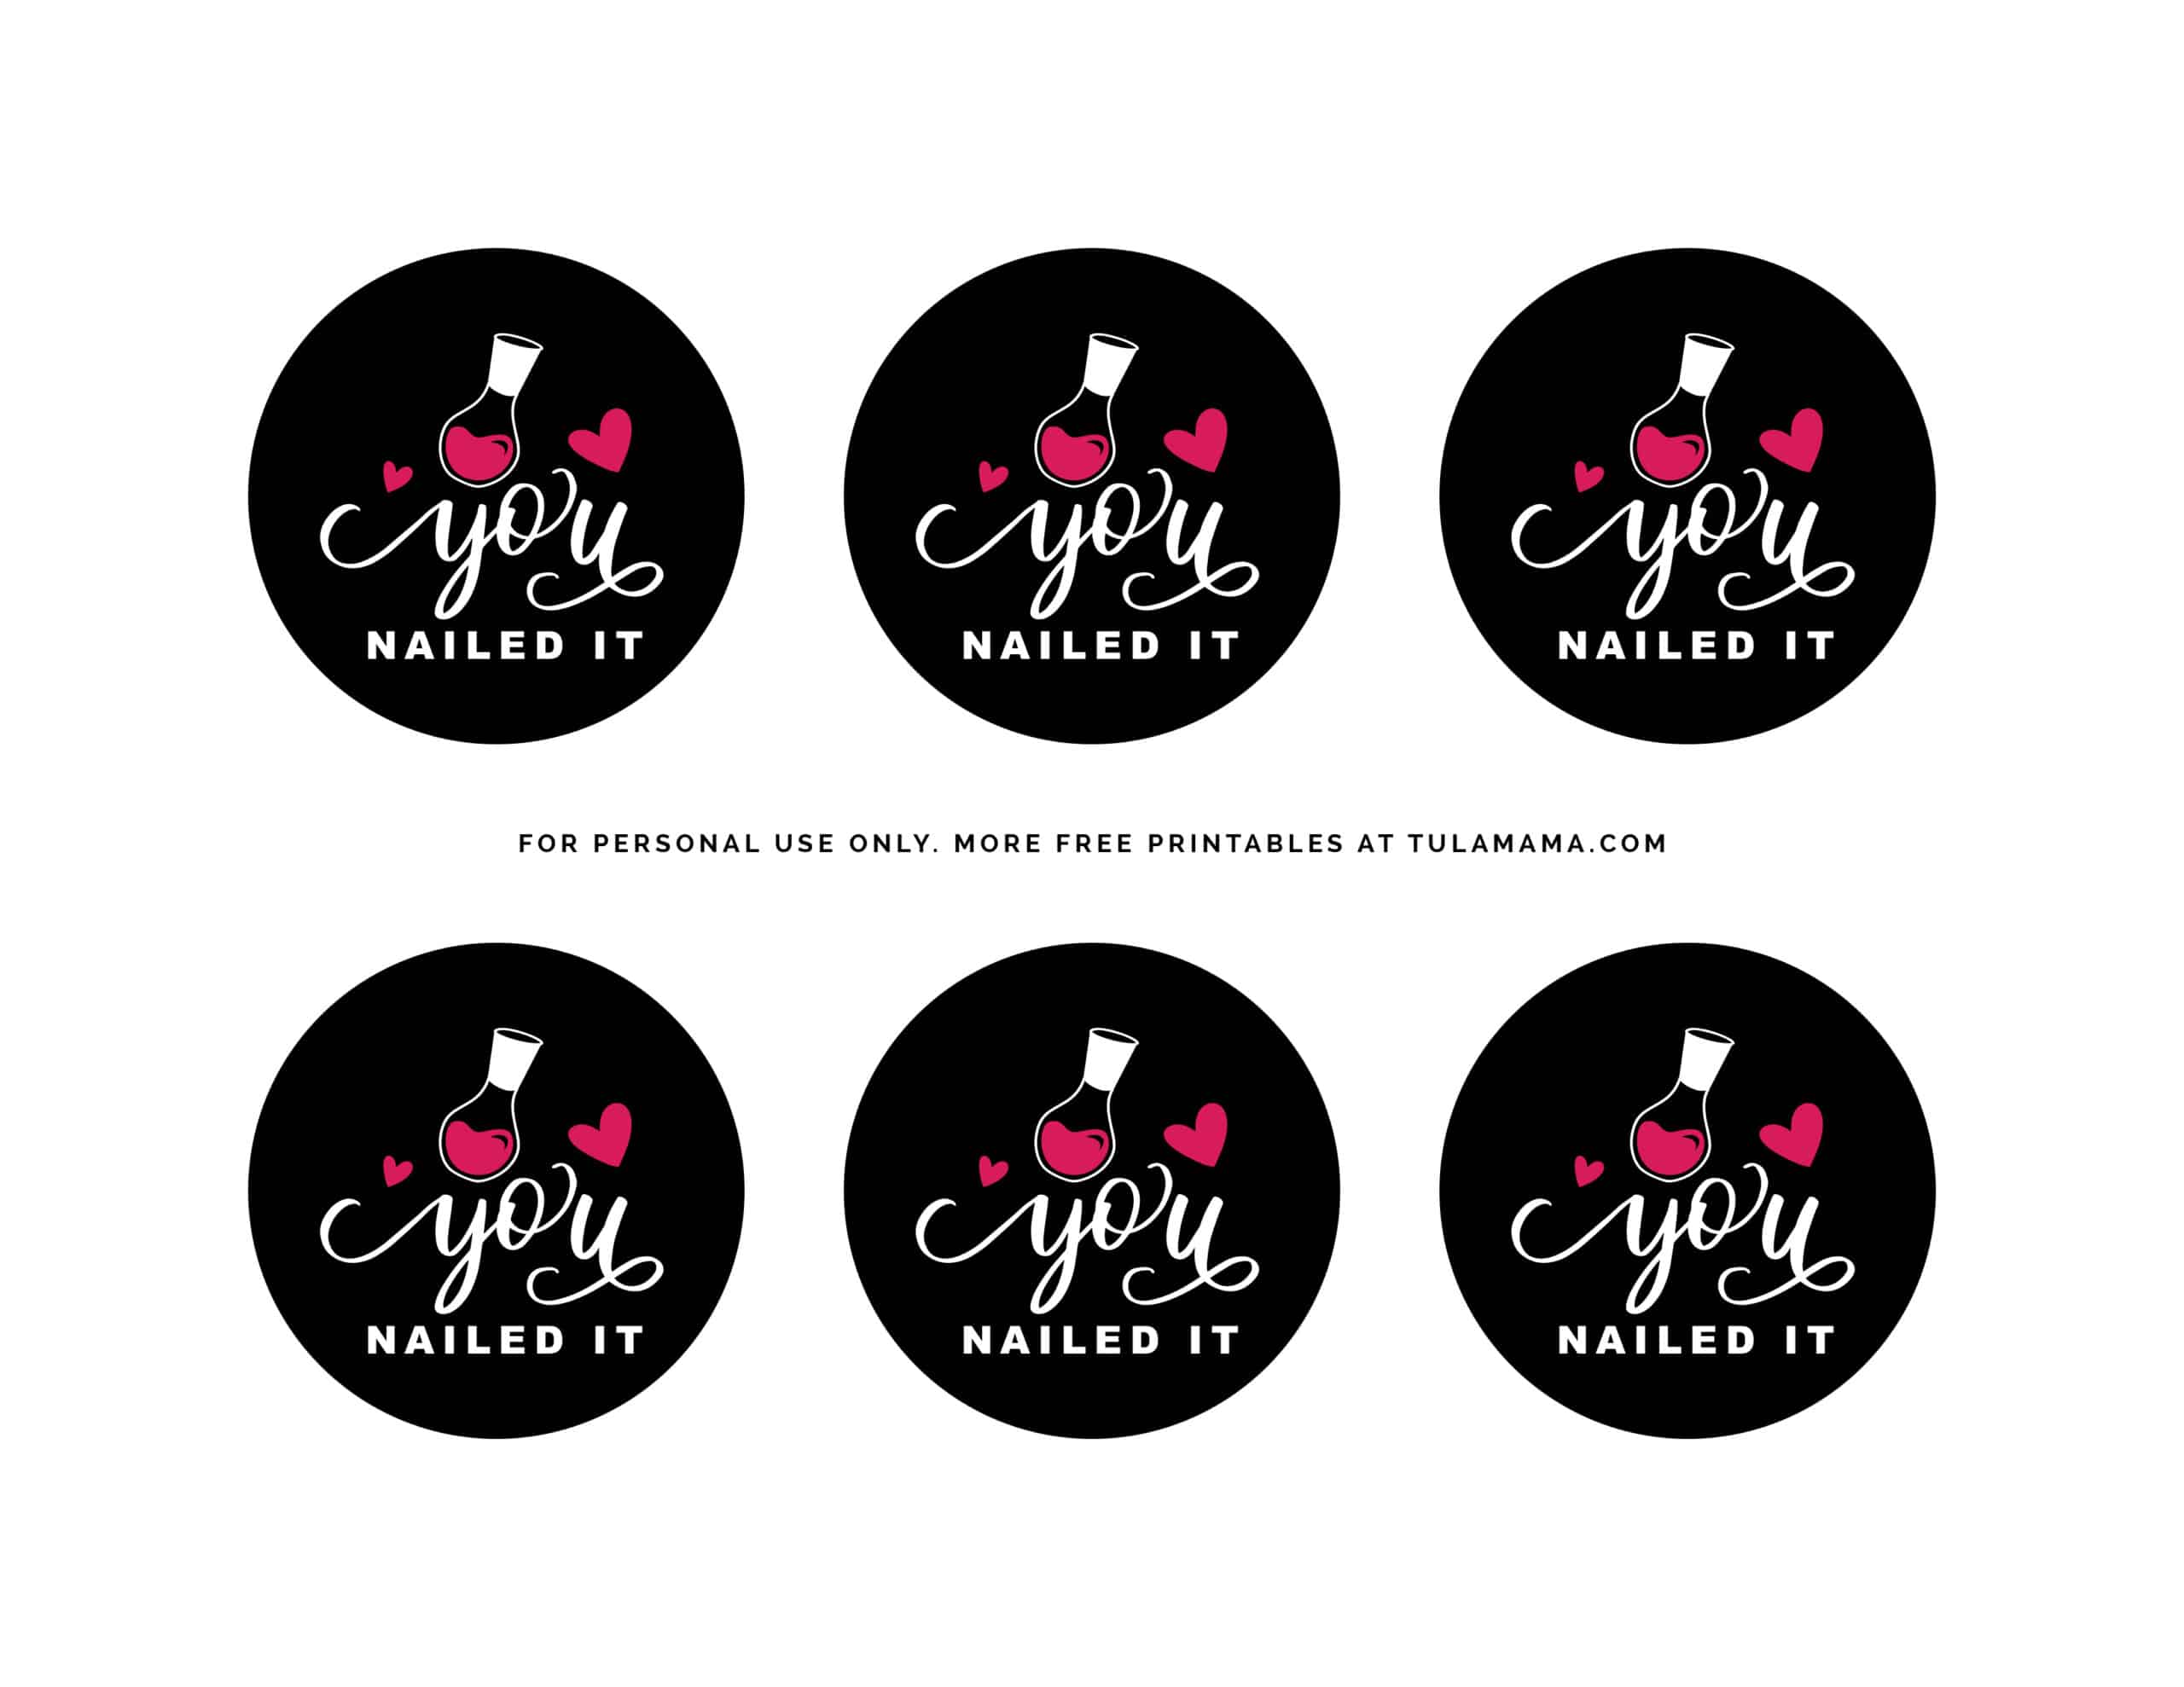
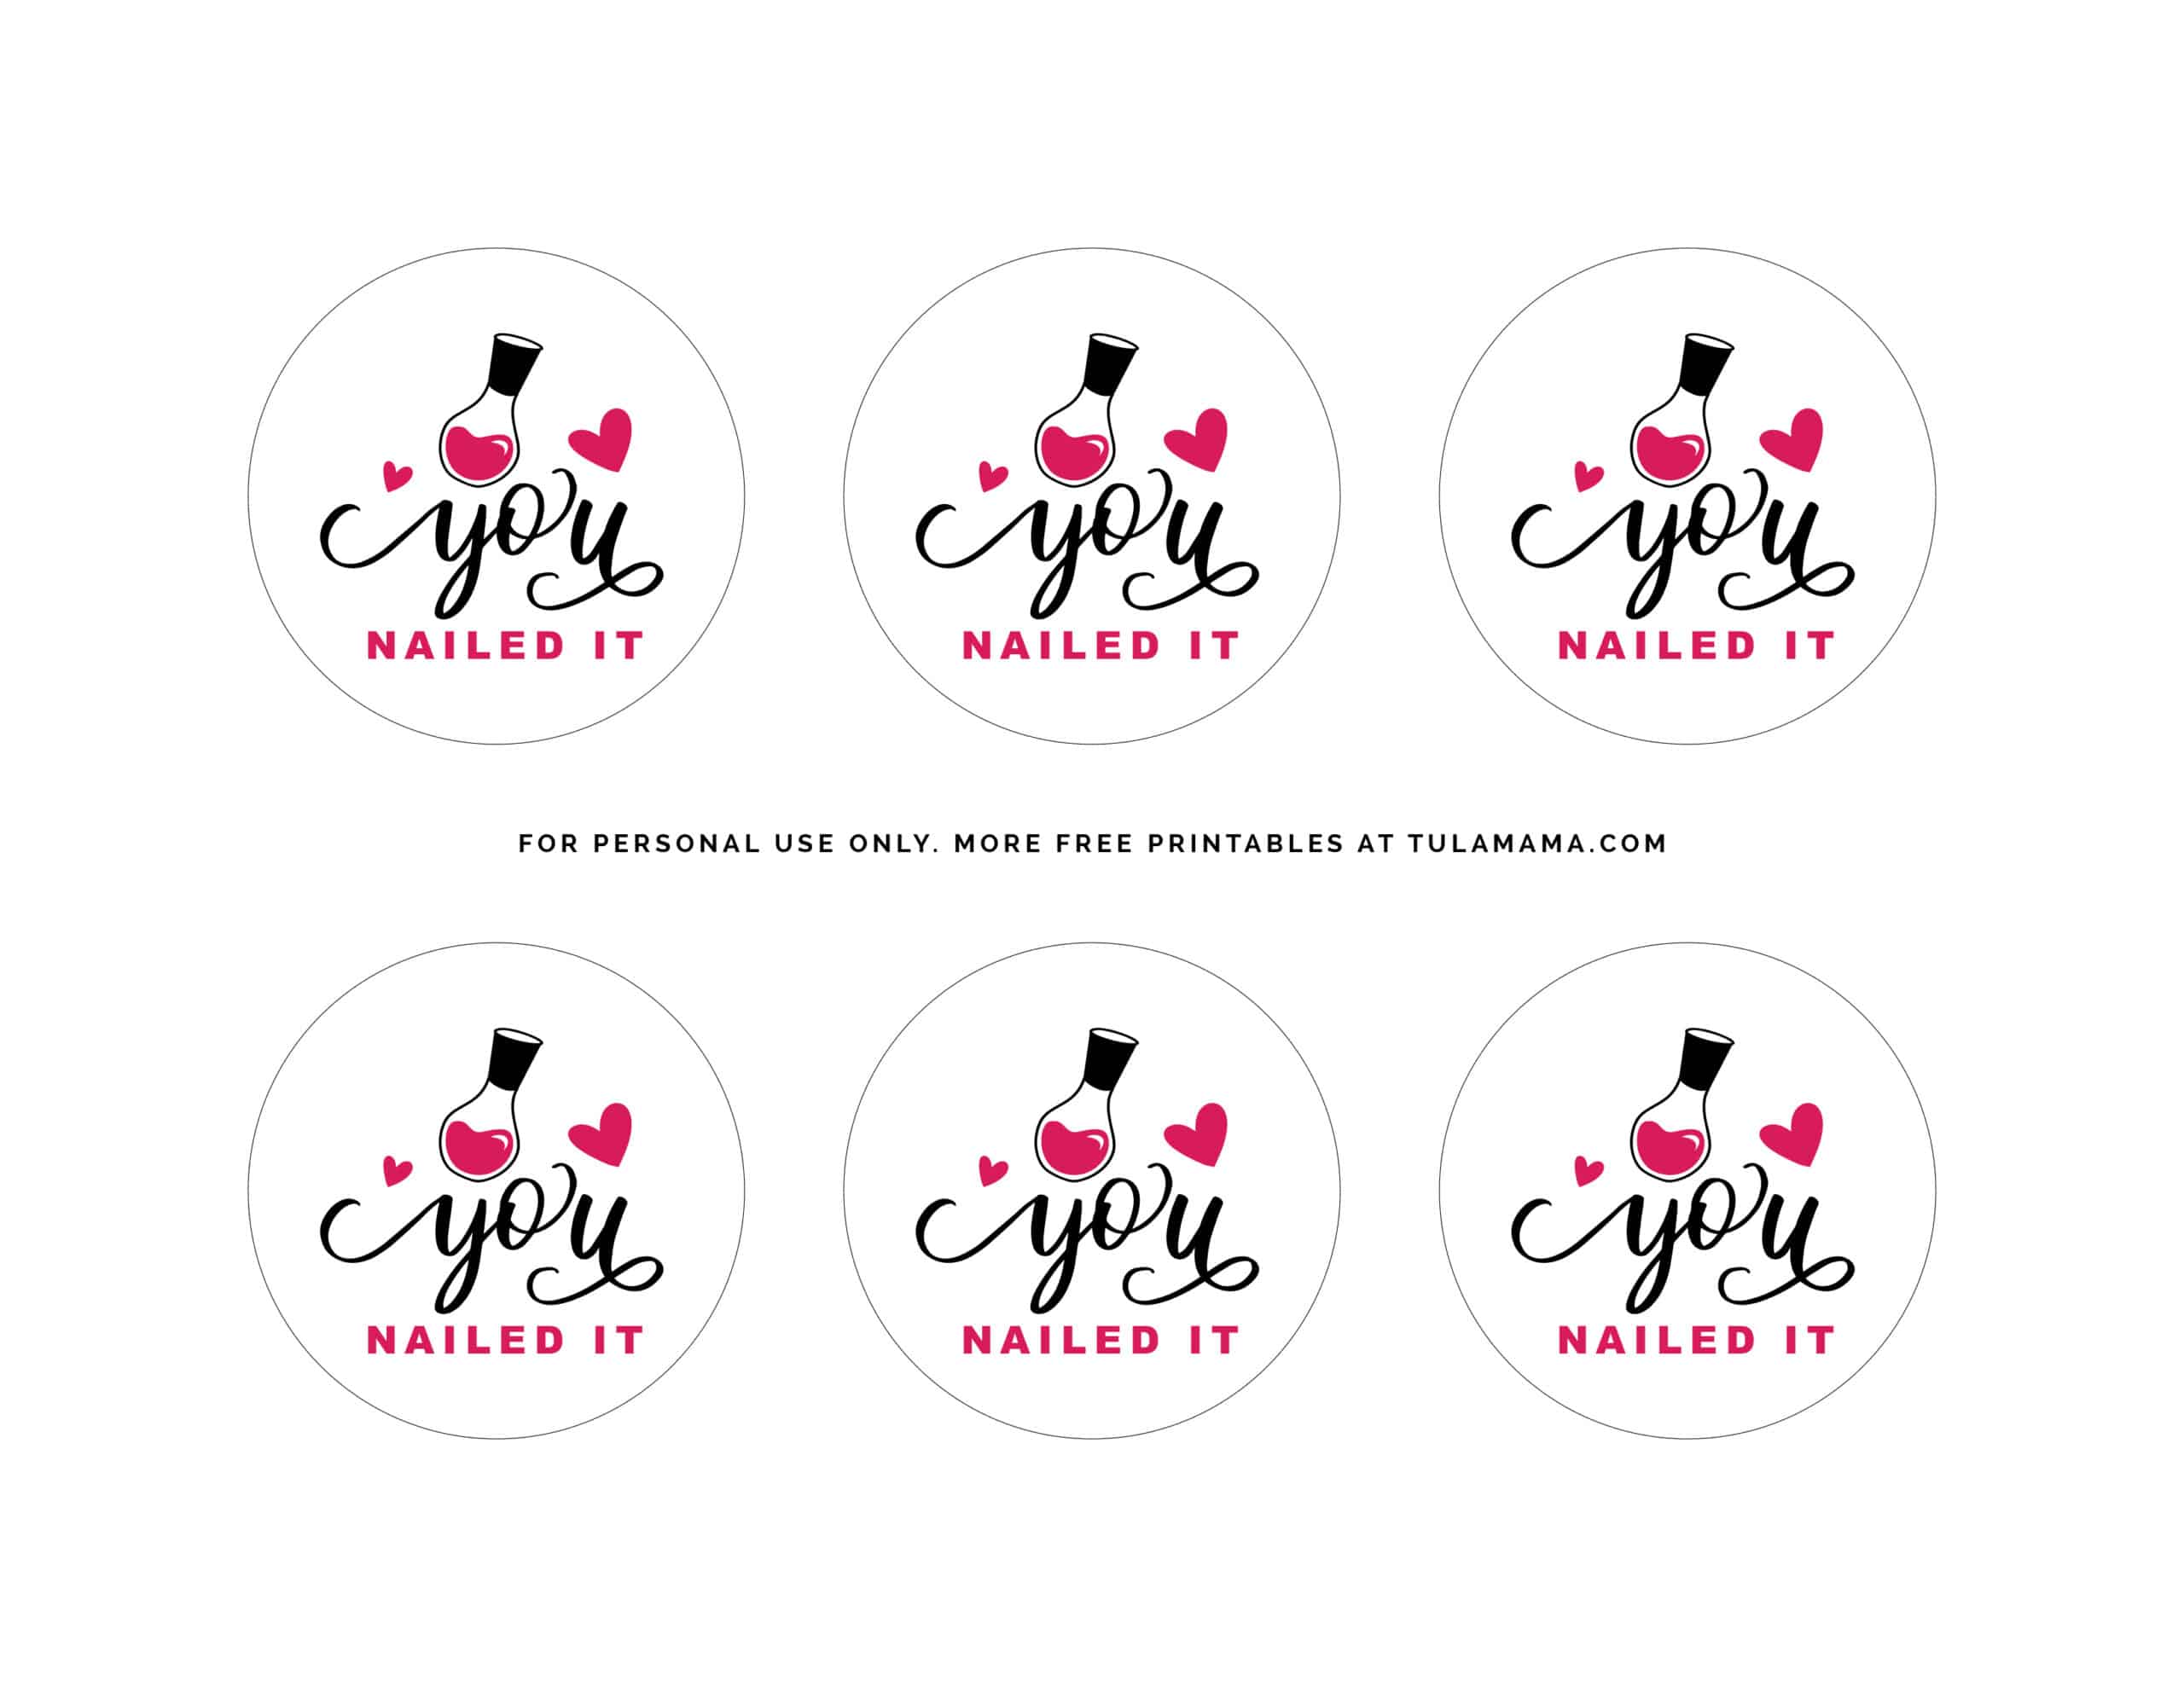
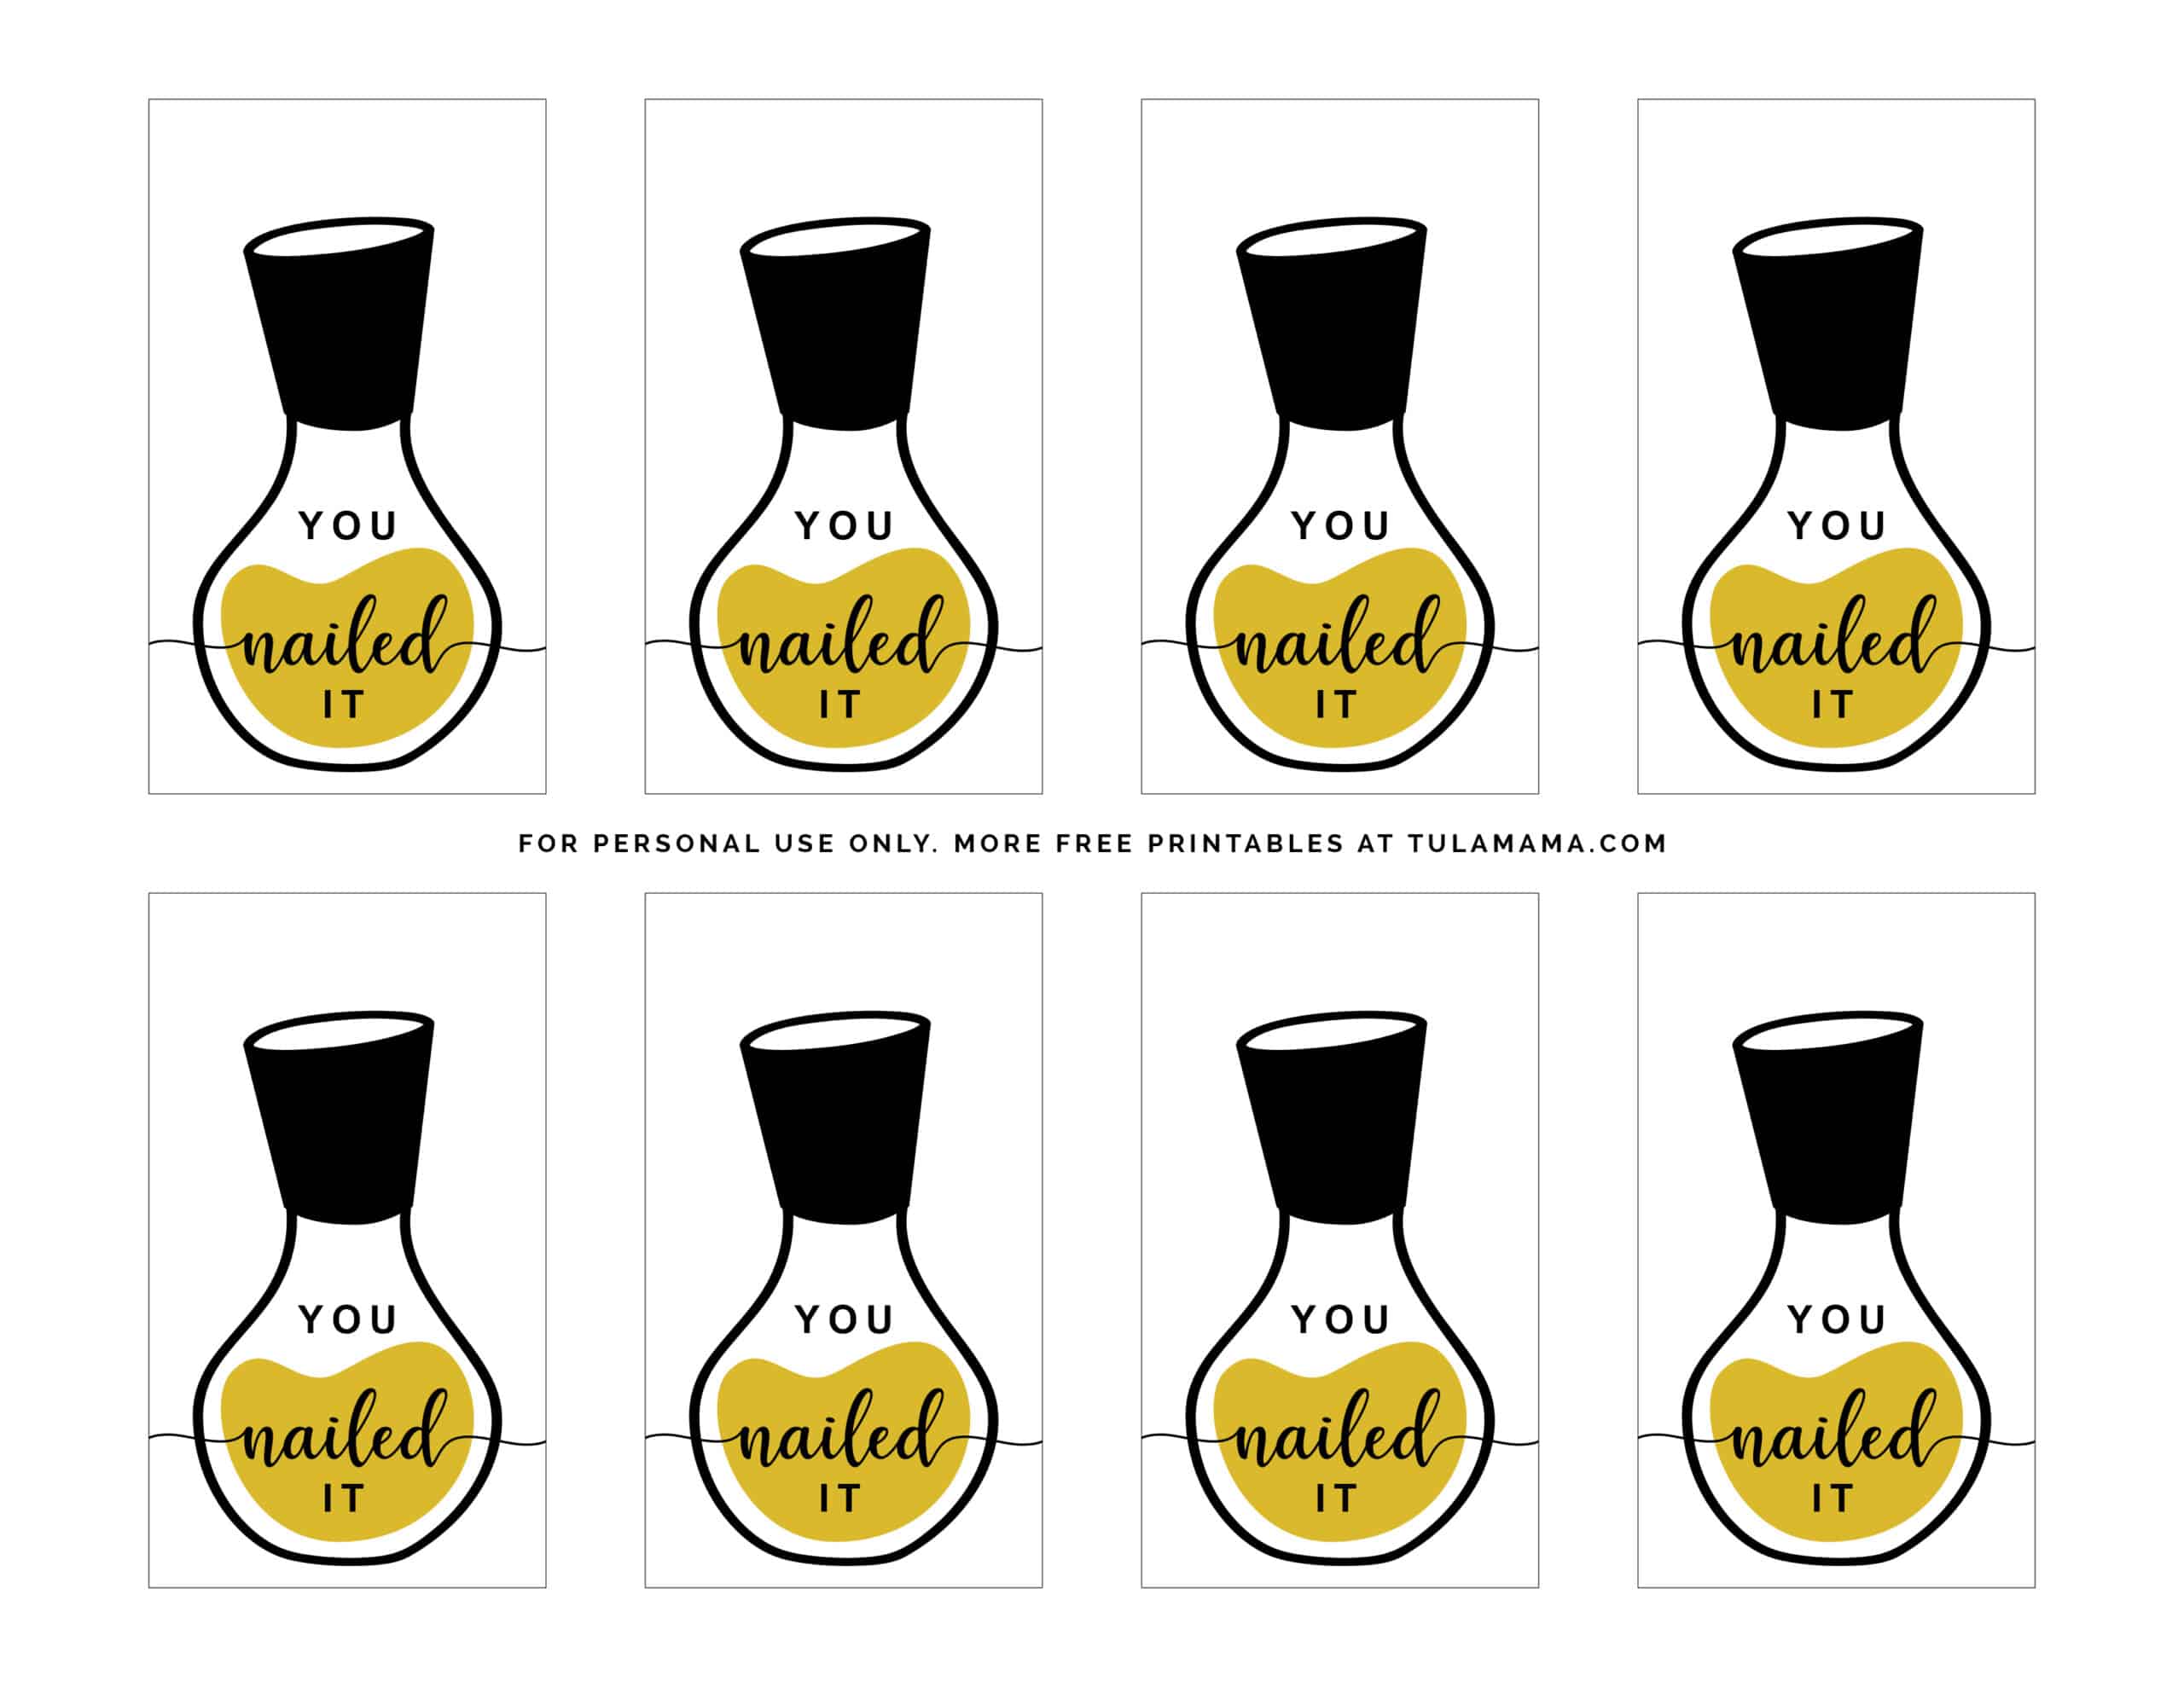
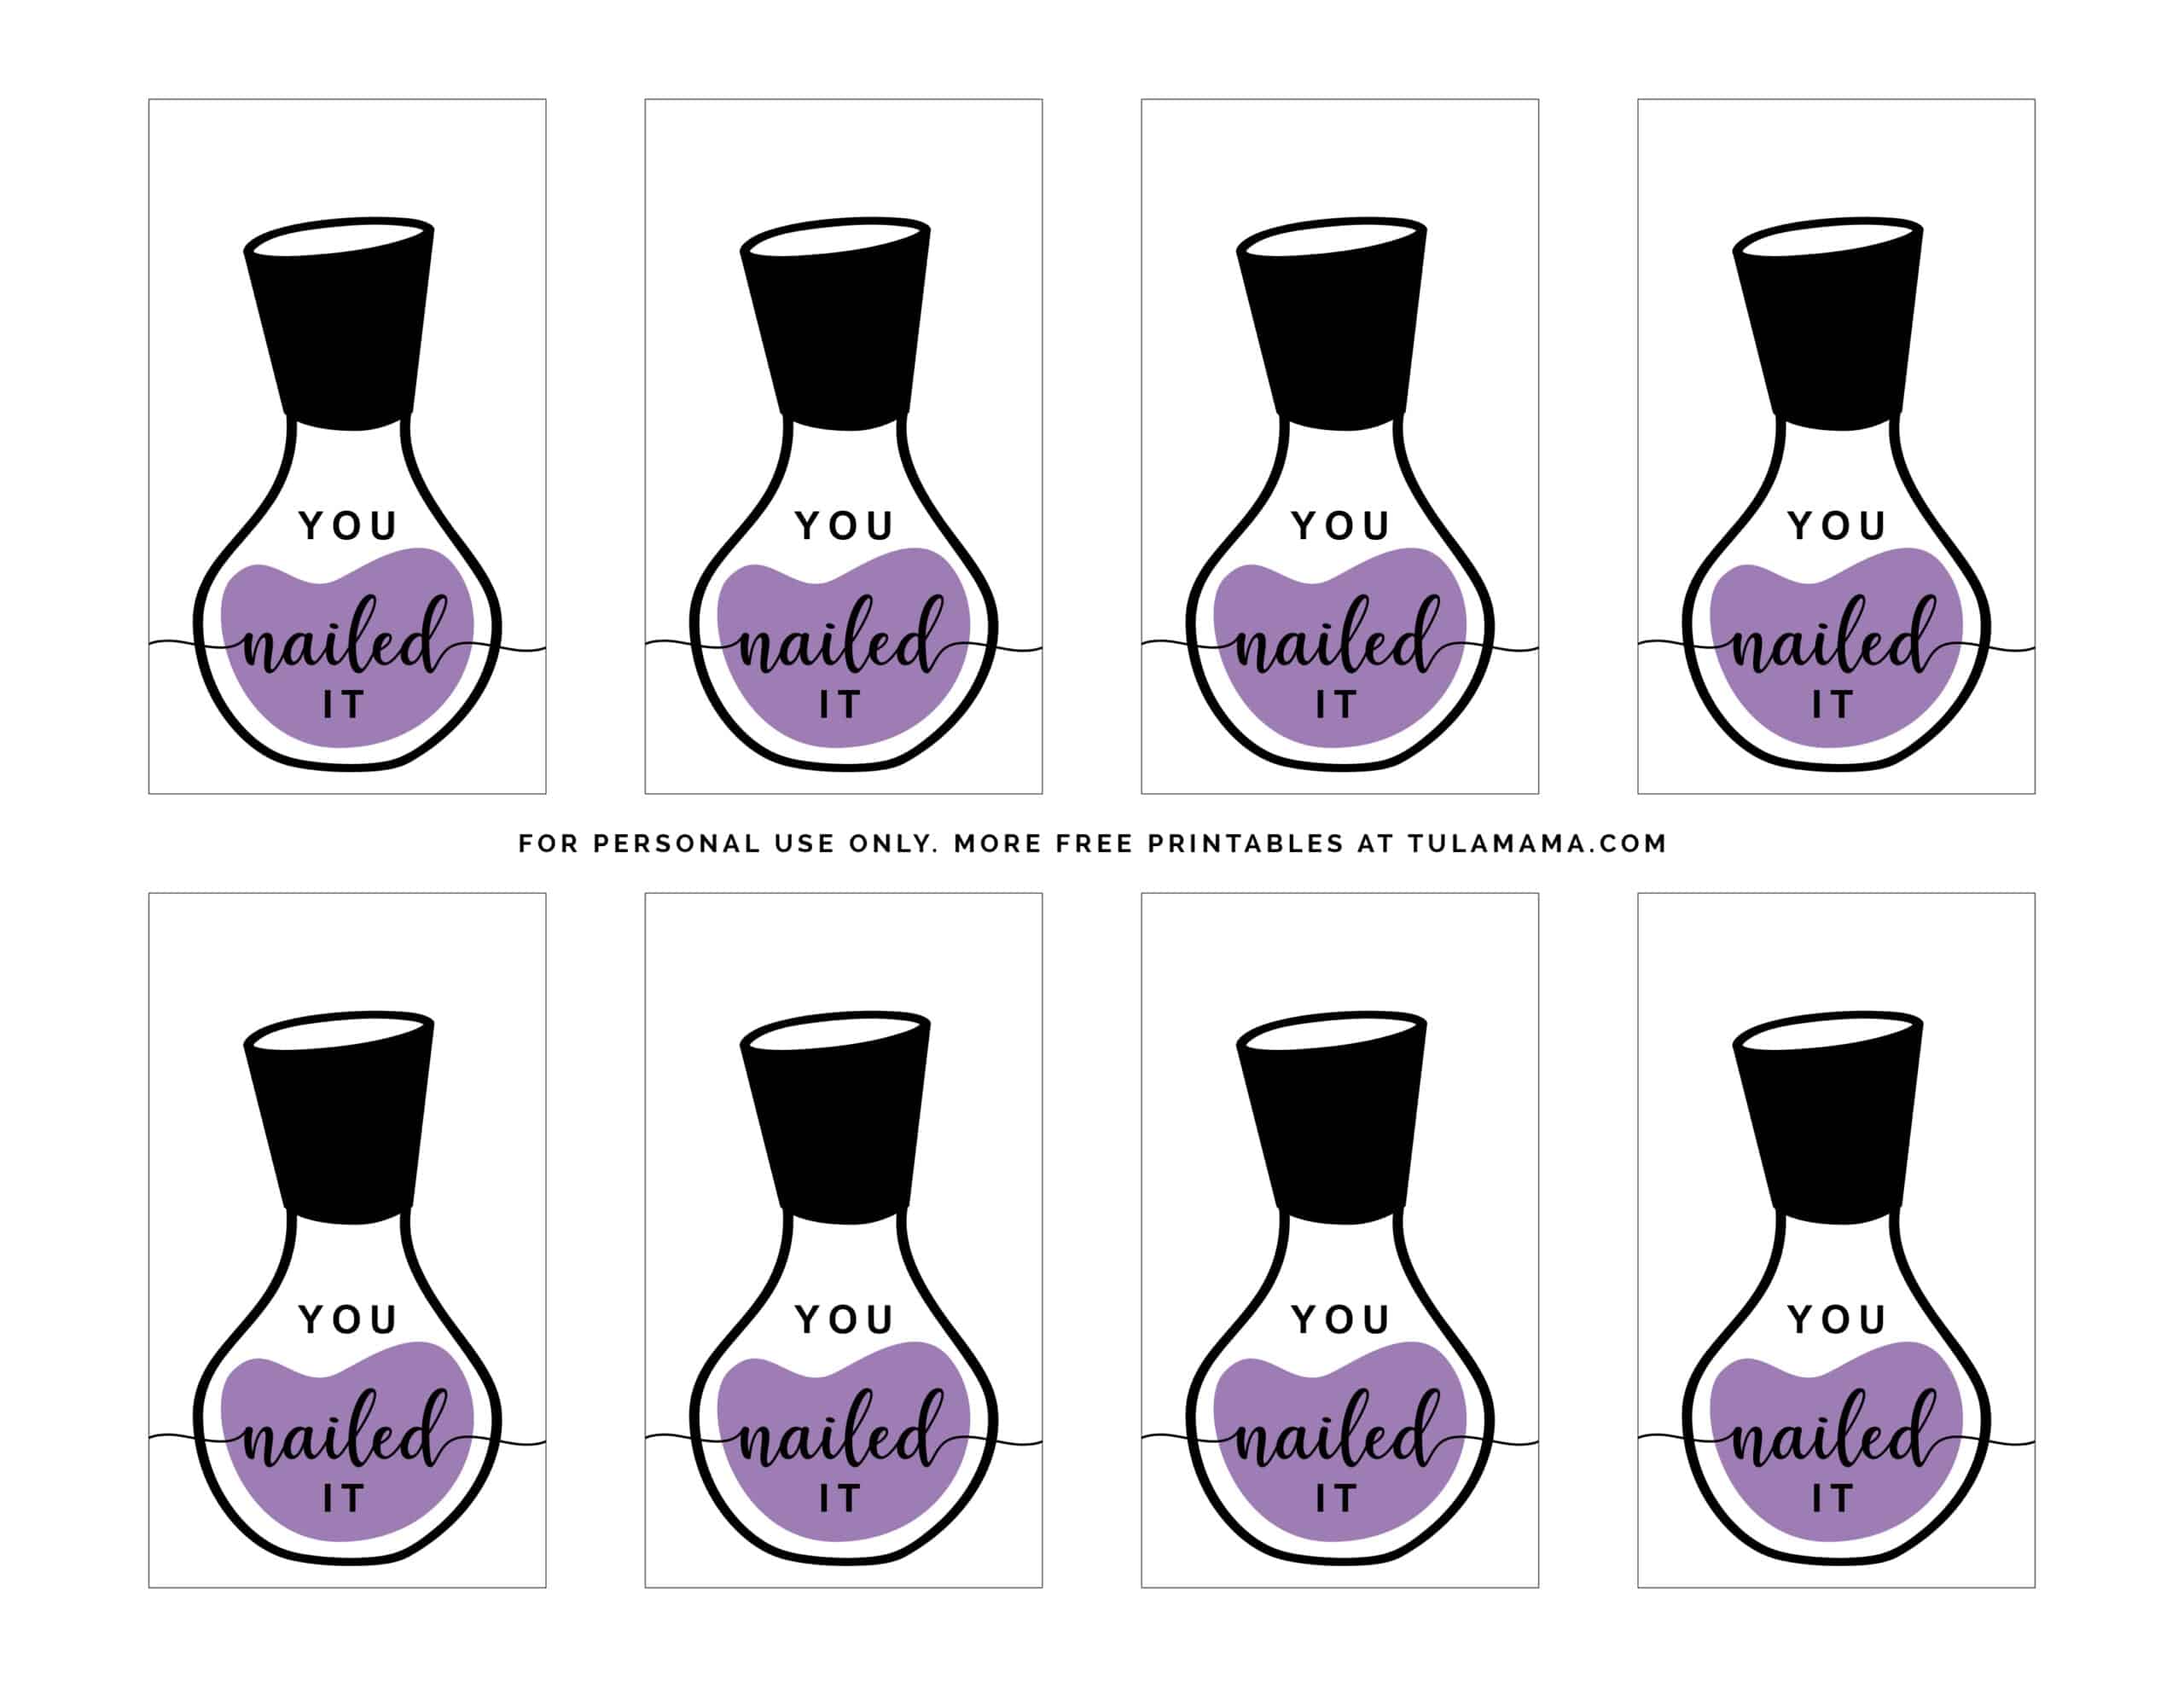
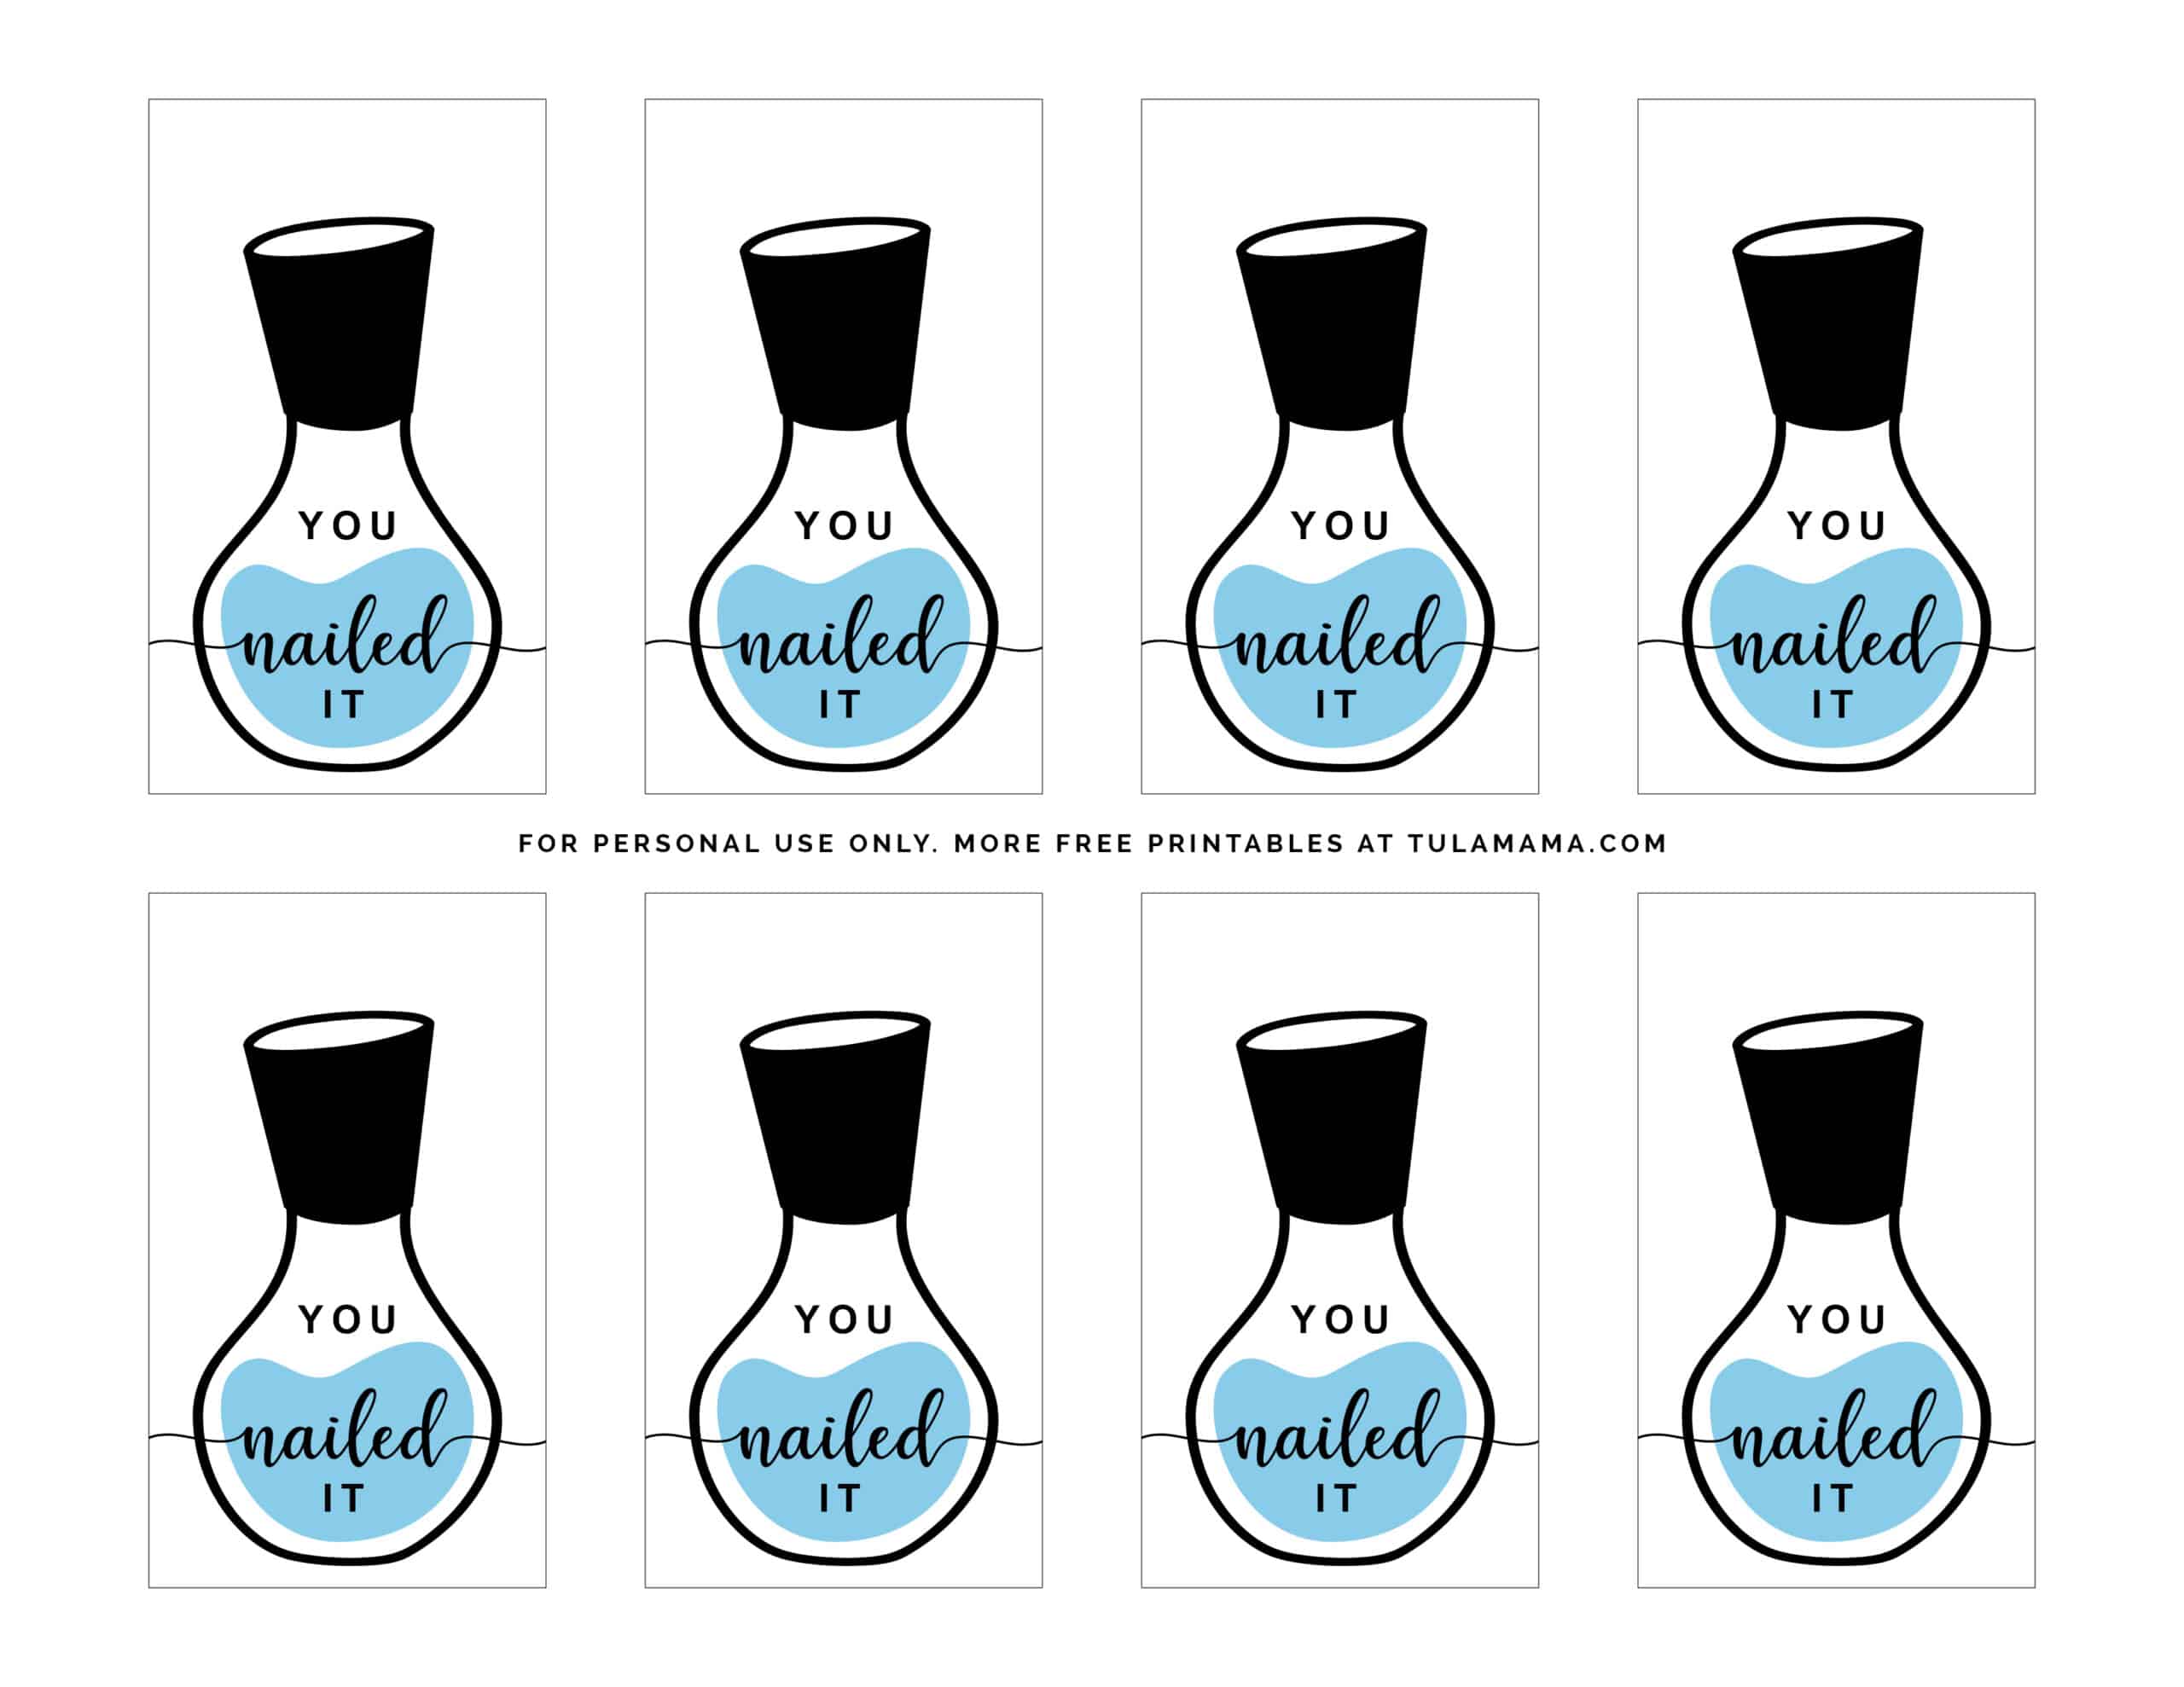
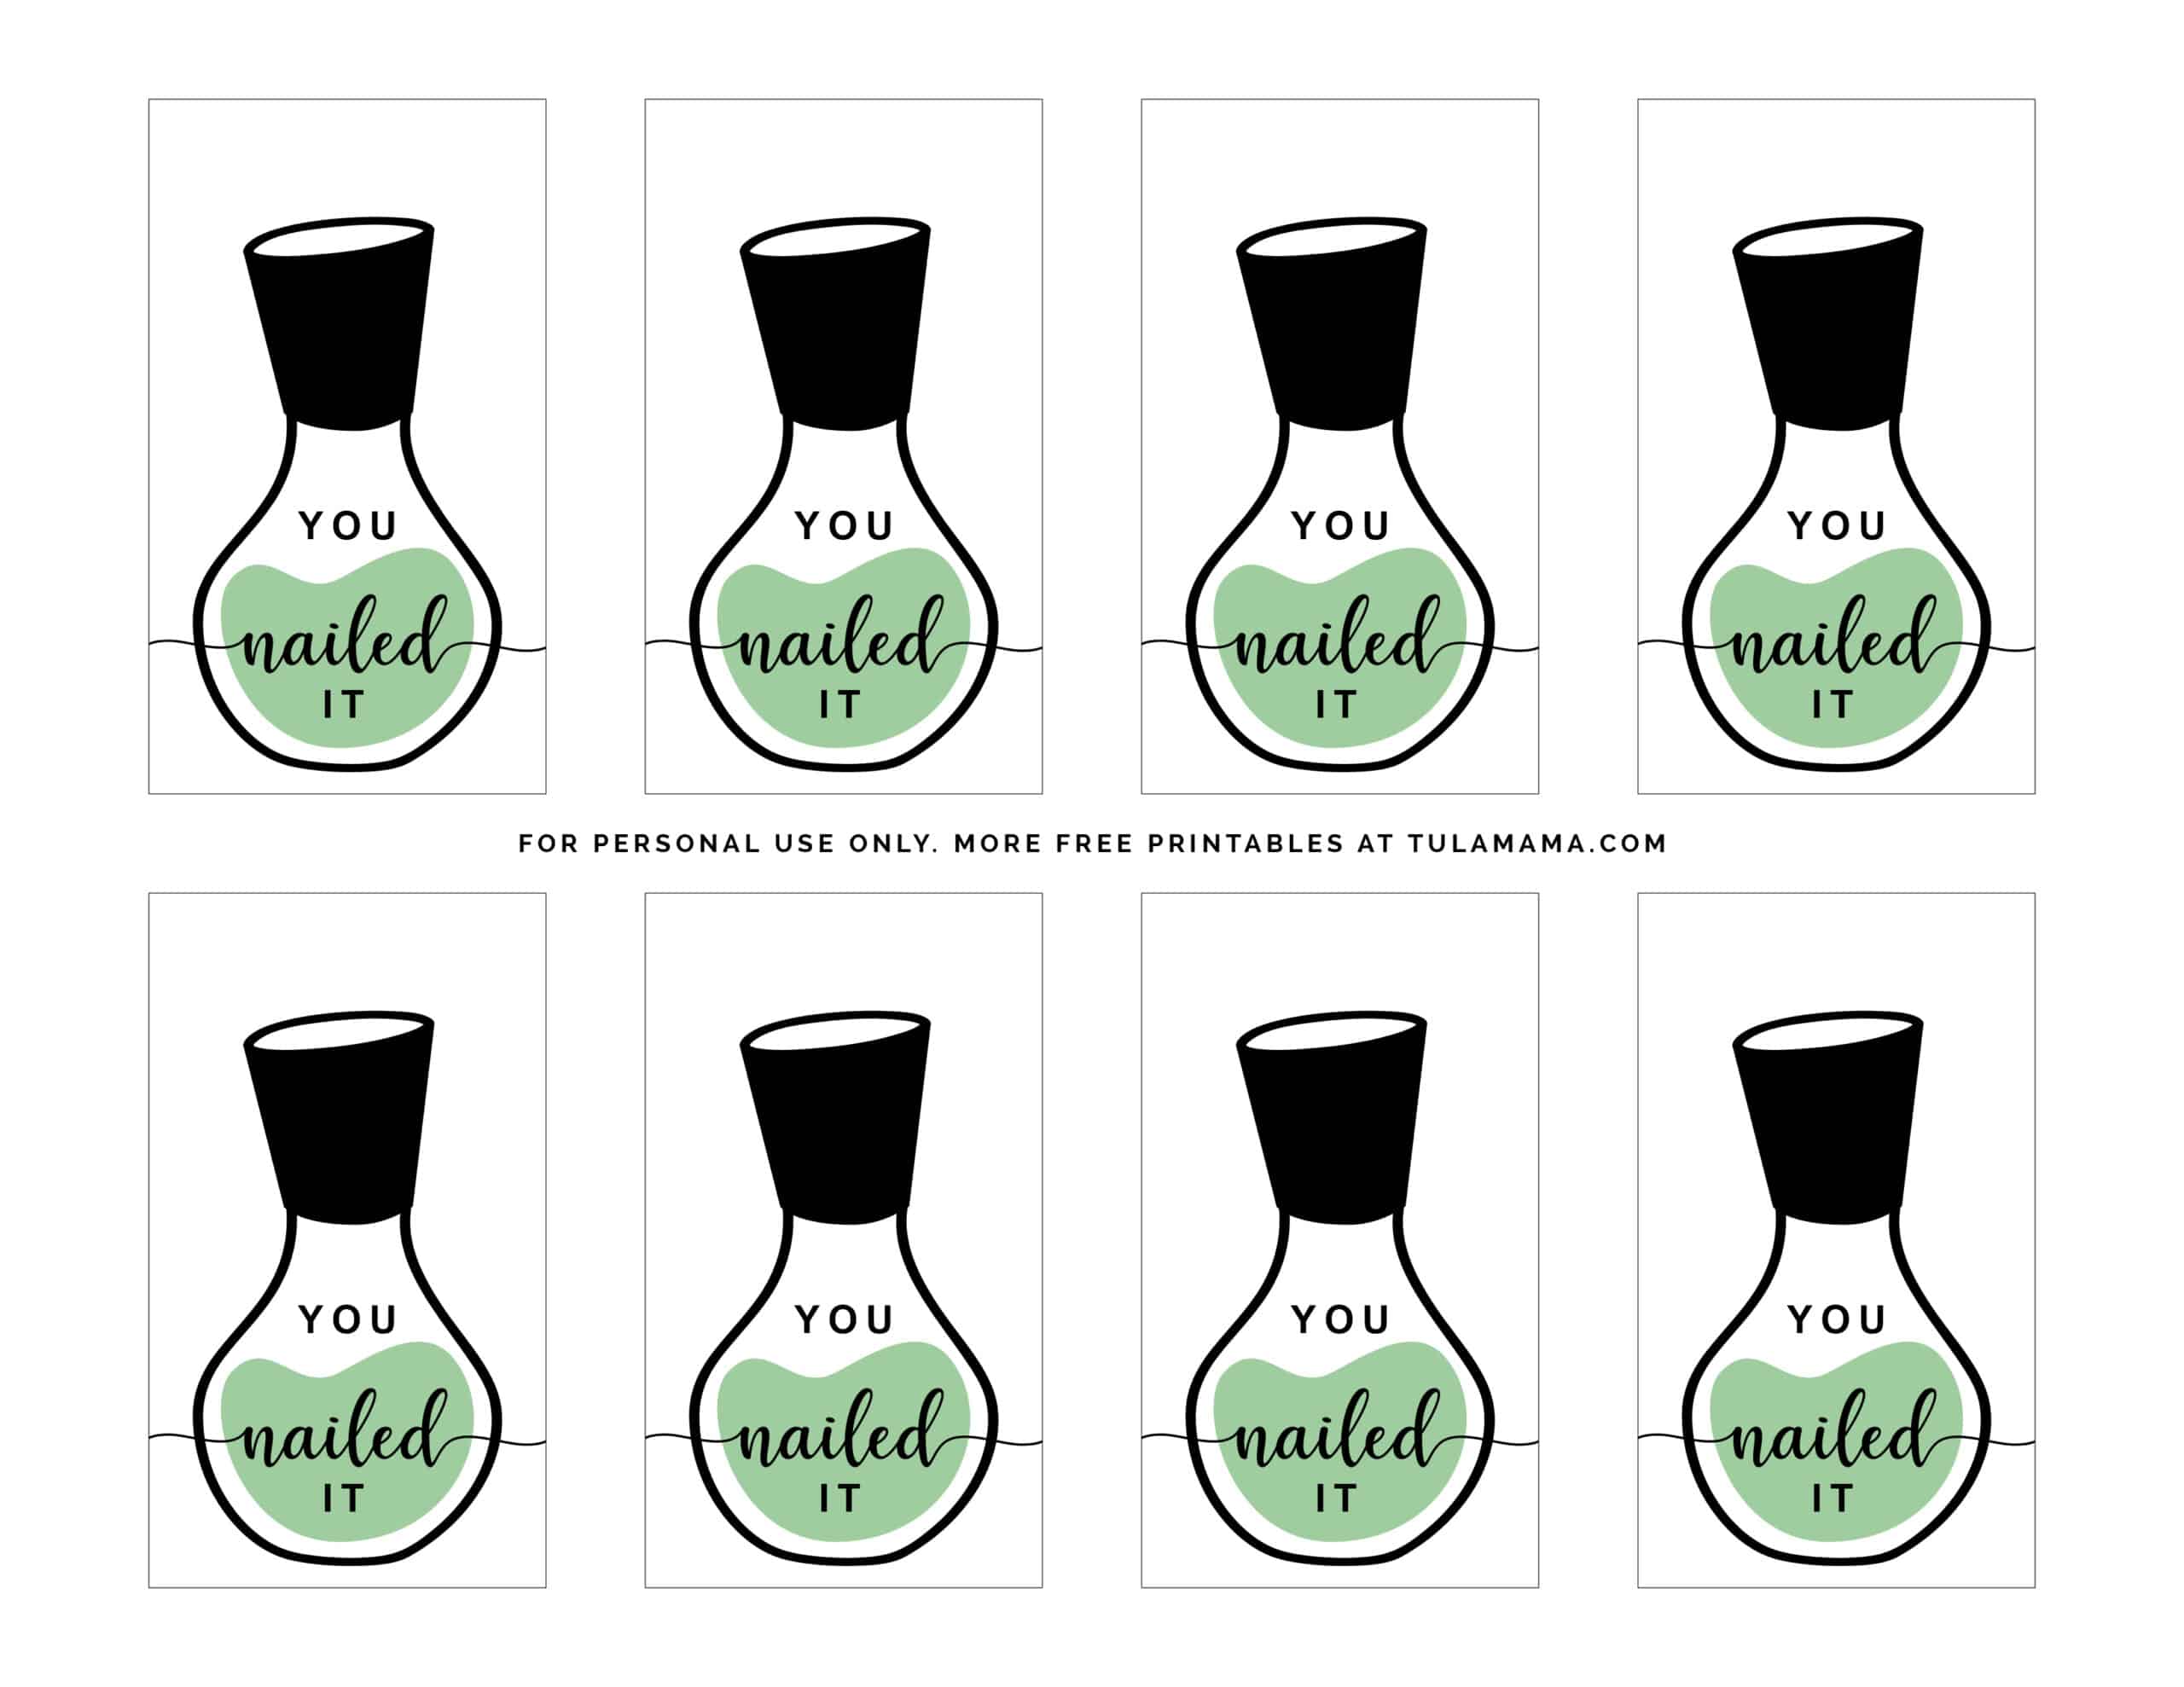
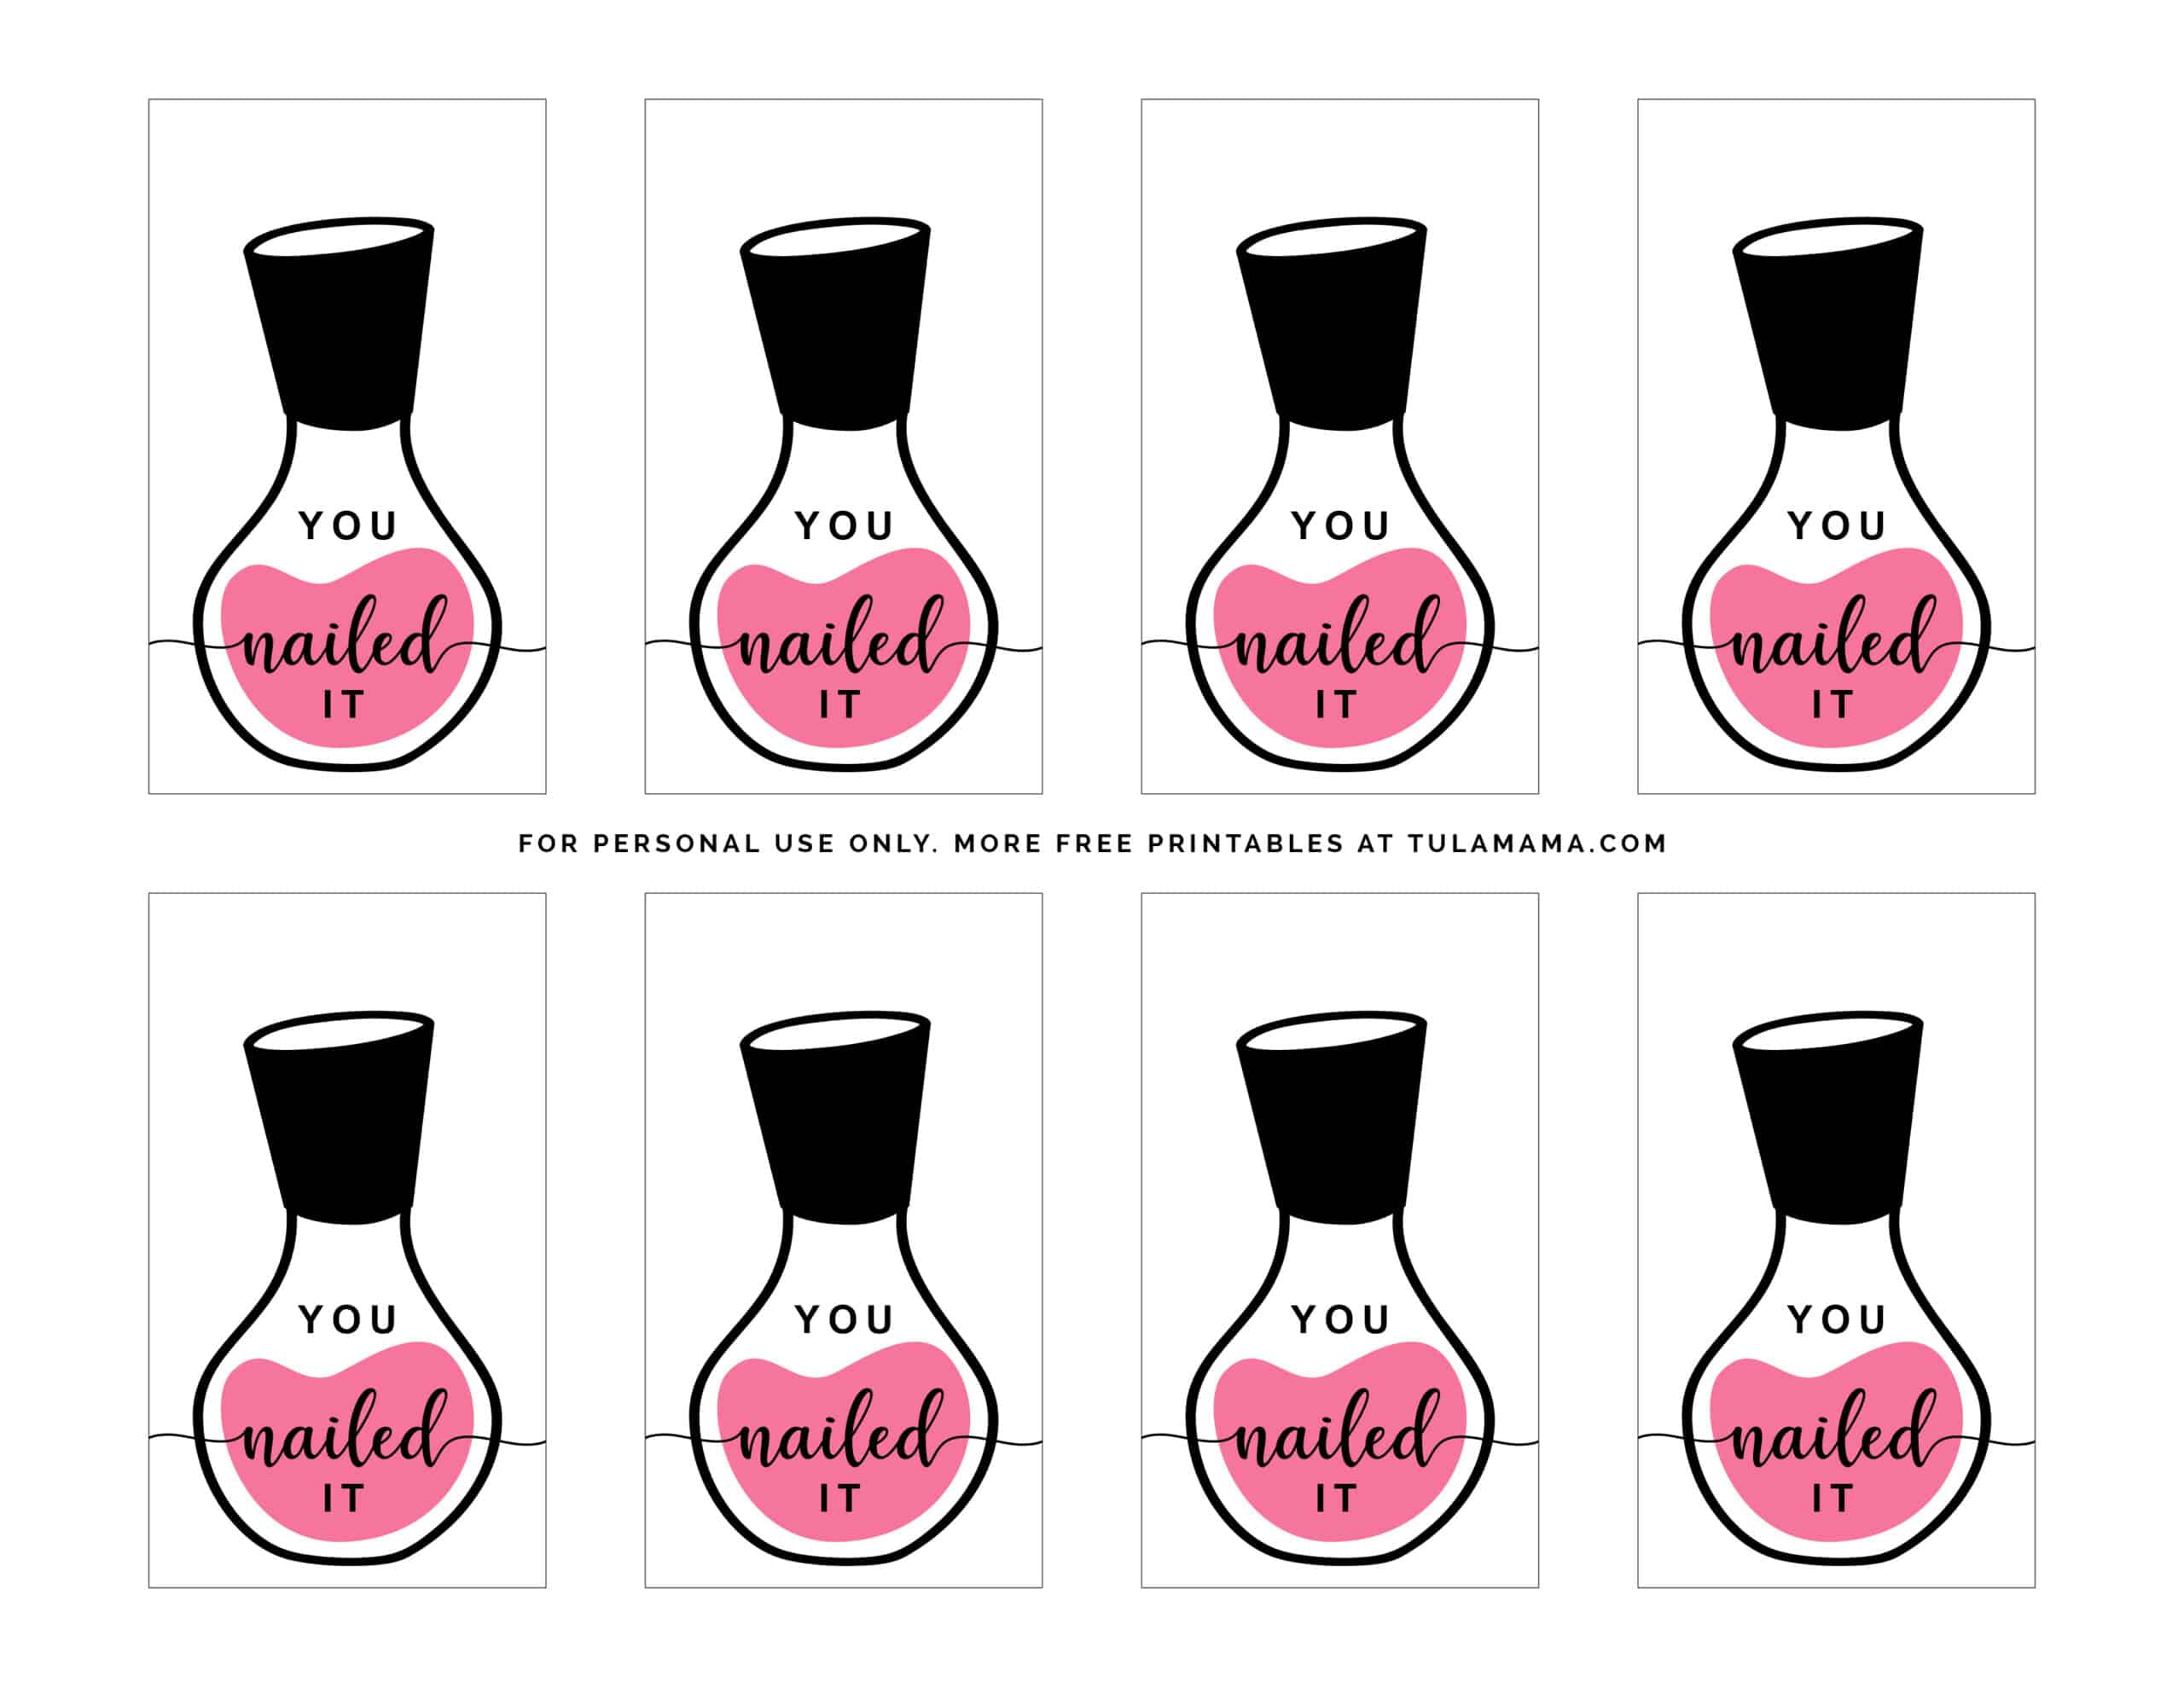
“You nailed it” tags/labels/printables are a sweet way to personalize manicure (and pedicure) favors, gifts, or prizes.
- They’re adaptable—you can use them for baby showers, bridal showers, and birthday parties.
- Offer them as favors or prizes.
- They’re very affordable, especially if you only do one bottle of nail polish.
- They’re useful—many women wear nail polish.
What You’ll Need To Create “You Nailed It” Favors and/or Prizes
For the tags
- A color printer.
- Scissors or a cutting machine to cut out your tags/labels;
- A one-hole punch, cardstock paper, and ribbon if you are tying the tags to a mason jar or gift basket; or
- Regular paper and glue or sticker paper if you are pasting the tags onto a jar or paper bag.
For the product
This will depend on your budget. You could go with:
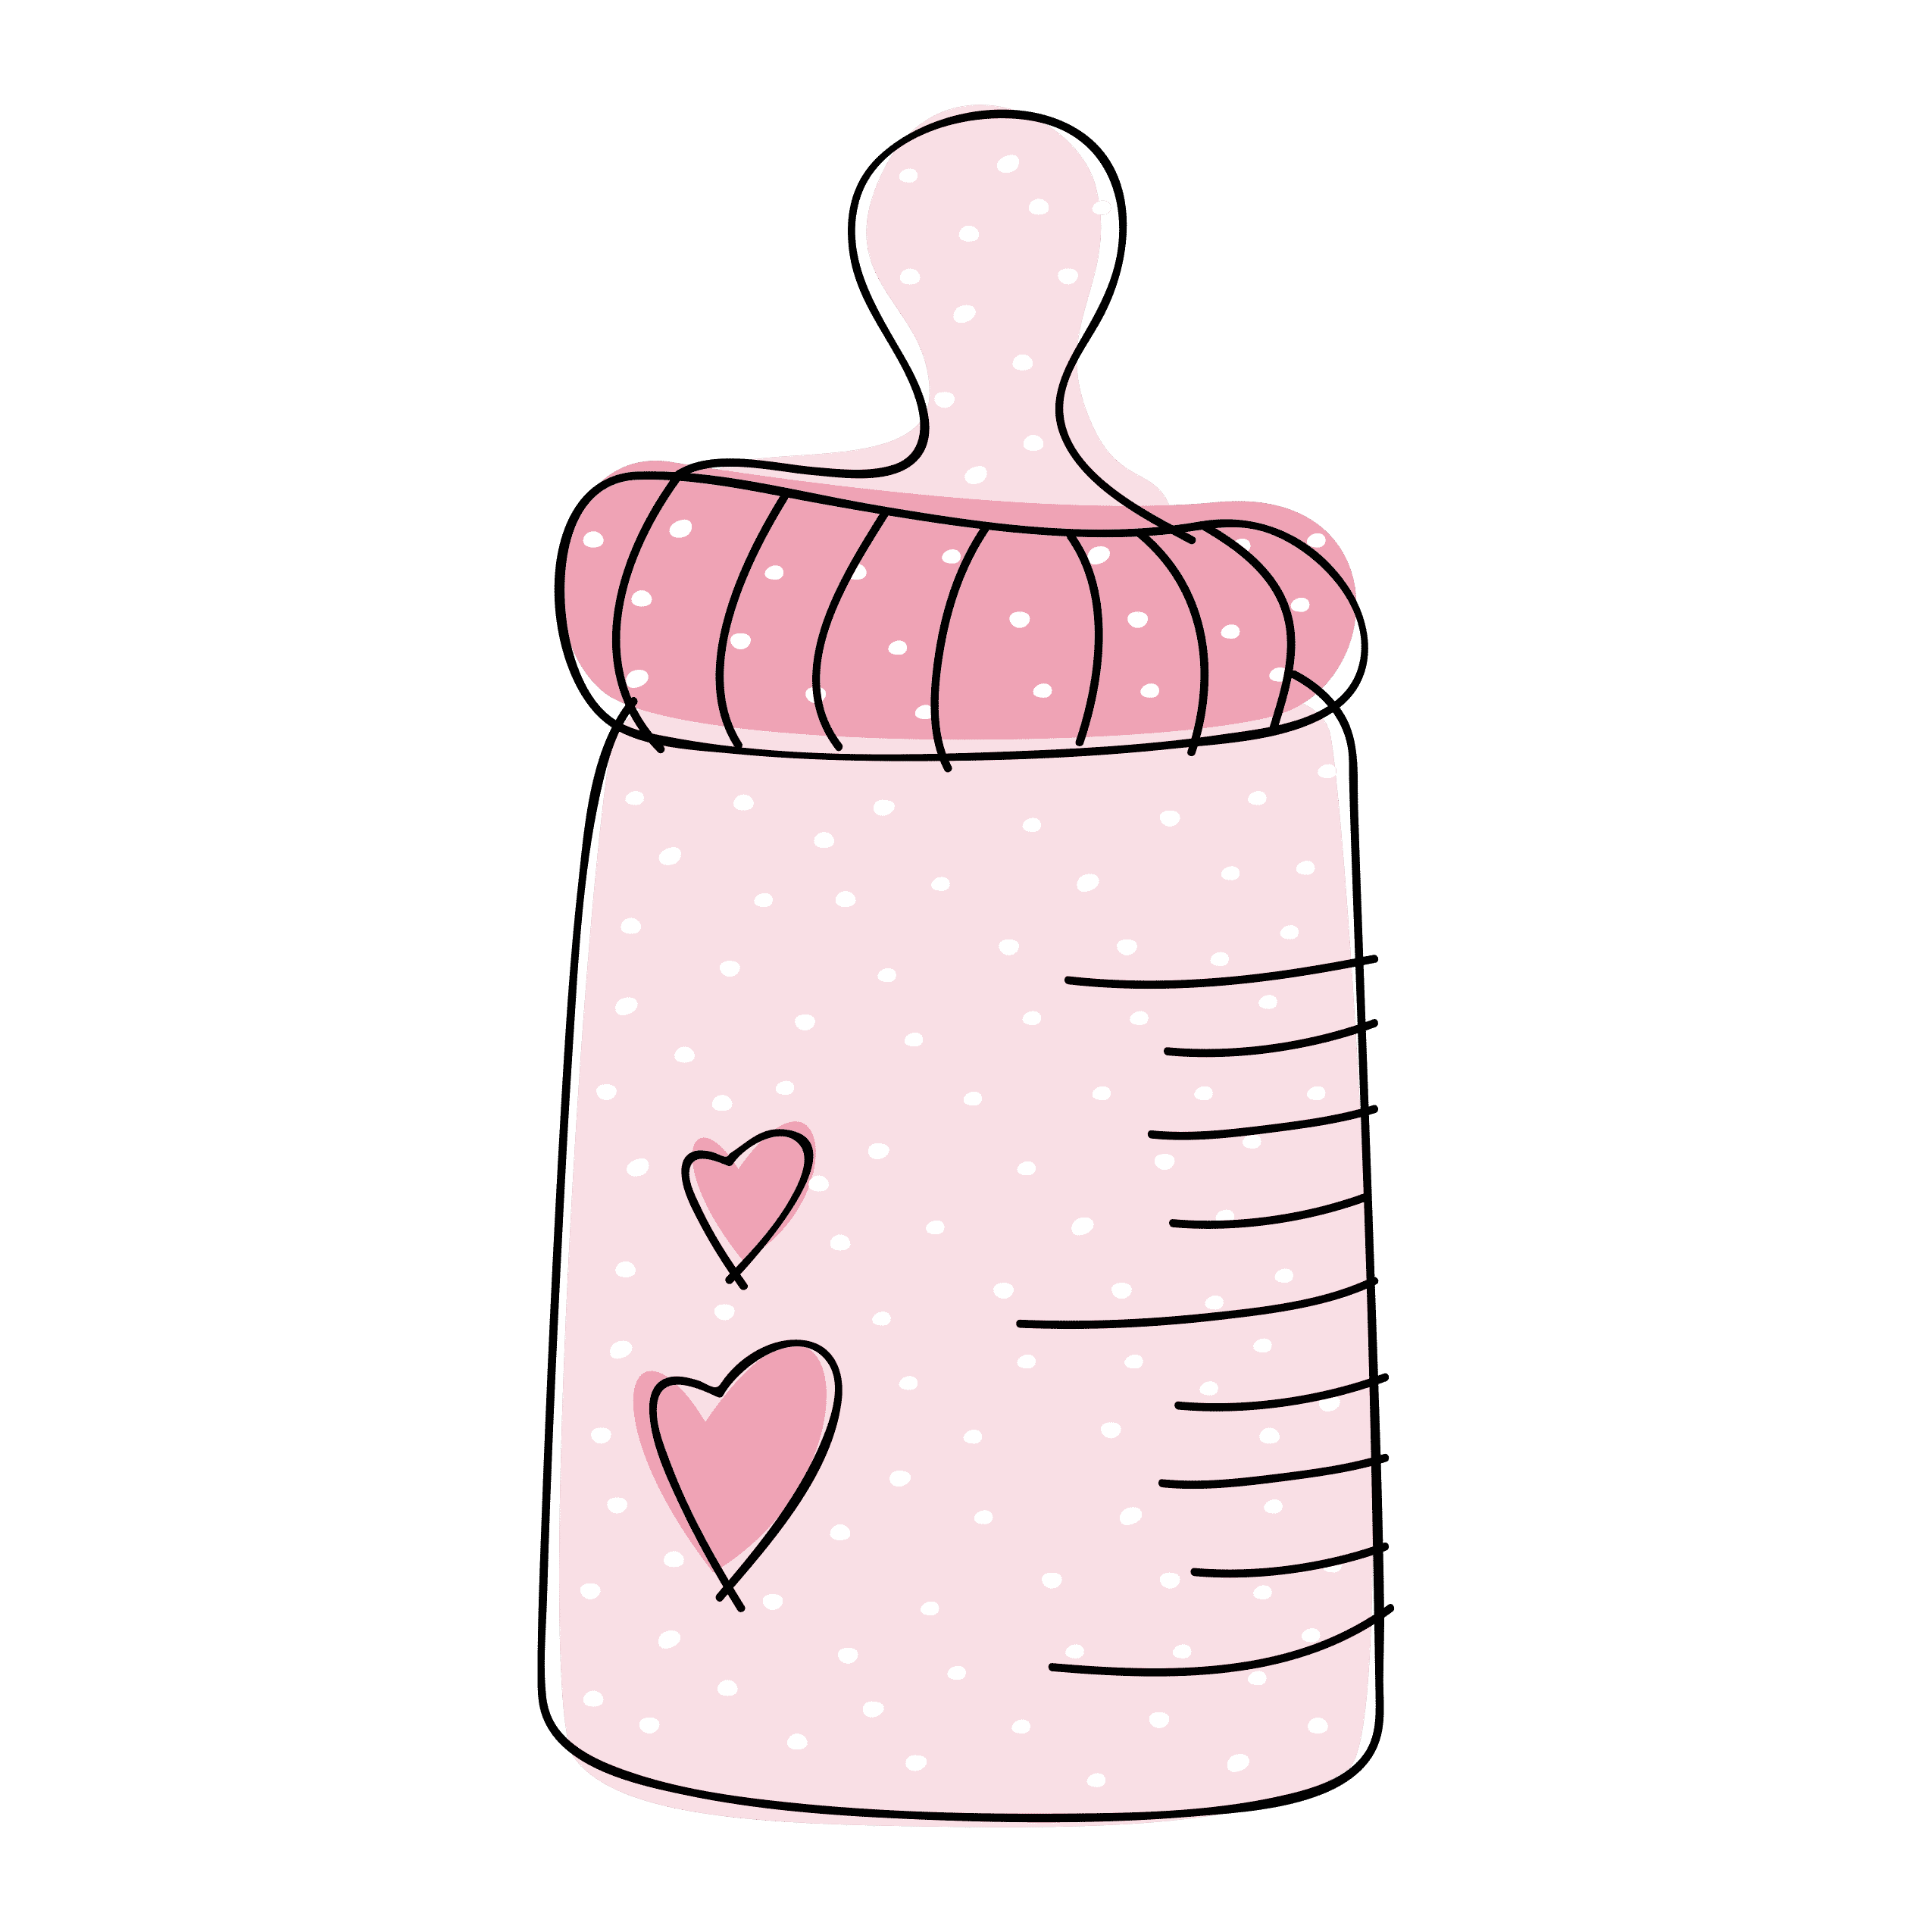
- A bottle of your favorite nail polish. You could use pink for a baby girl shower for example, or you could also choose a color that complements the theme of your baby shower. If it’s for a party or bridal shower, the bride or birthday girl can choose her favorite color.
- A complete mani/pedi set. Fill a mason jar or gift basket with manicure/pedicure tools. It could contain a bottle of nail polish, a nail file, a nail brush, nail clippers, a mini bottle of nail polish remover, cotton wool, a mini hand lotion, and so on.
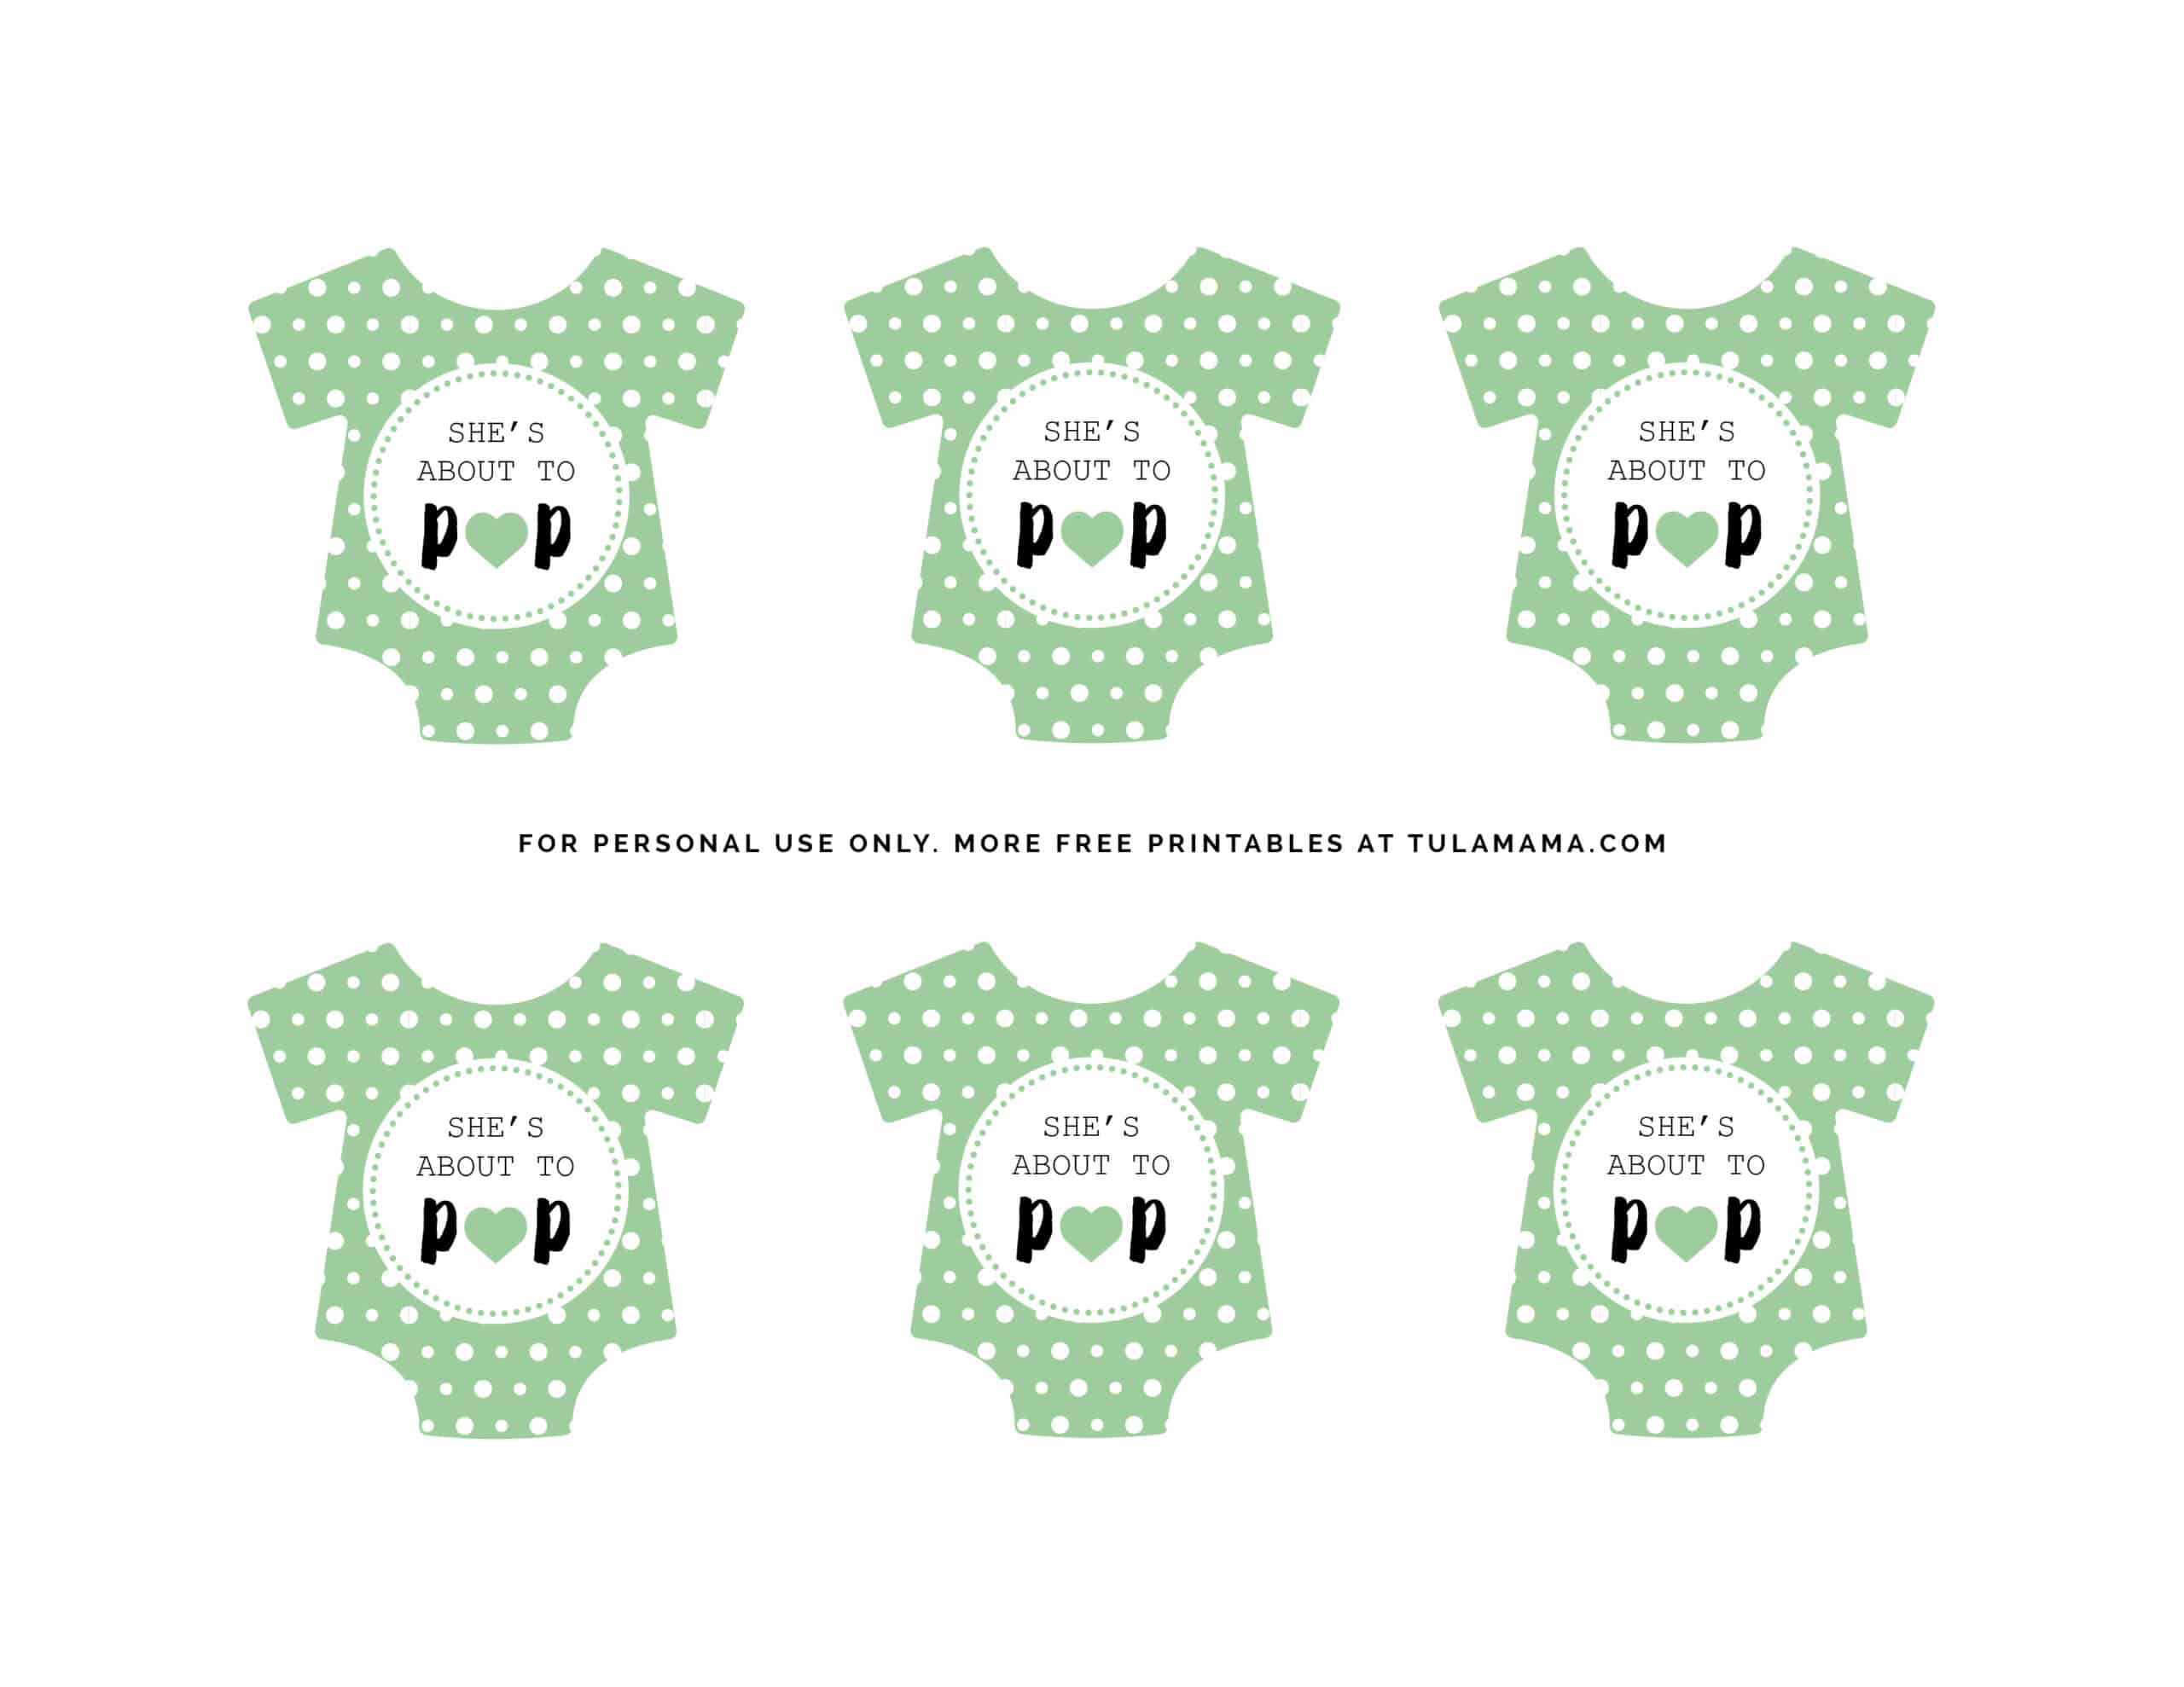
How To Use “You Nailed It” Tags
- Select your preferred printable and then click the link. All of the printables in this collection are designed to be printed in landscape mode, so make sure your printer is set to landscape mode as well. Print. If you wish to download, simply choose “save to google drive”.
- Cut the shapes by hand, or if you have a cutting machine (such as a Cricut), upload the file and print it as a “print then cut” file.
- If you’re going to paste the labels onto a mason jar or something similar, make sure it’s clean and dry first.
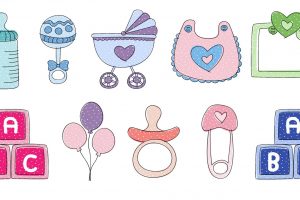
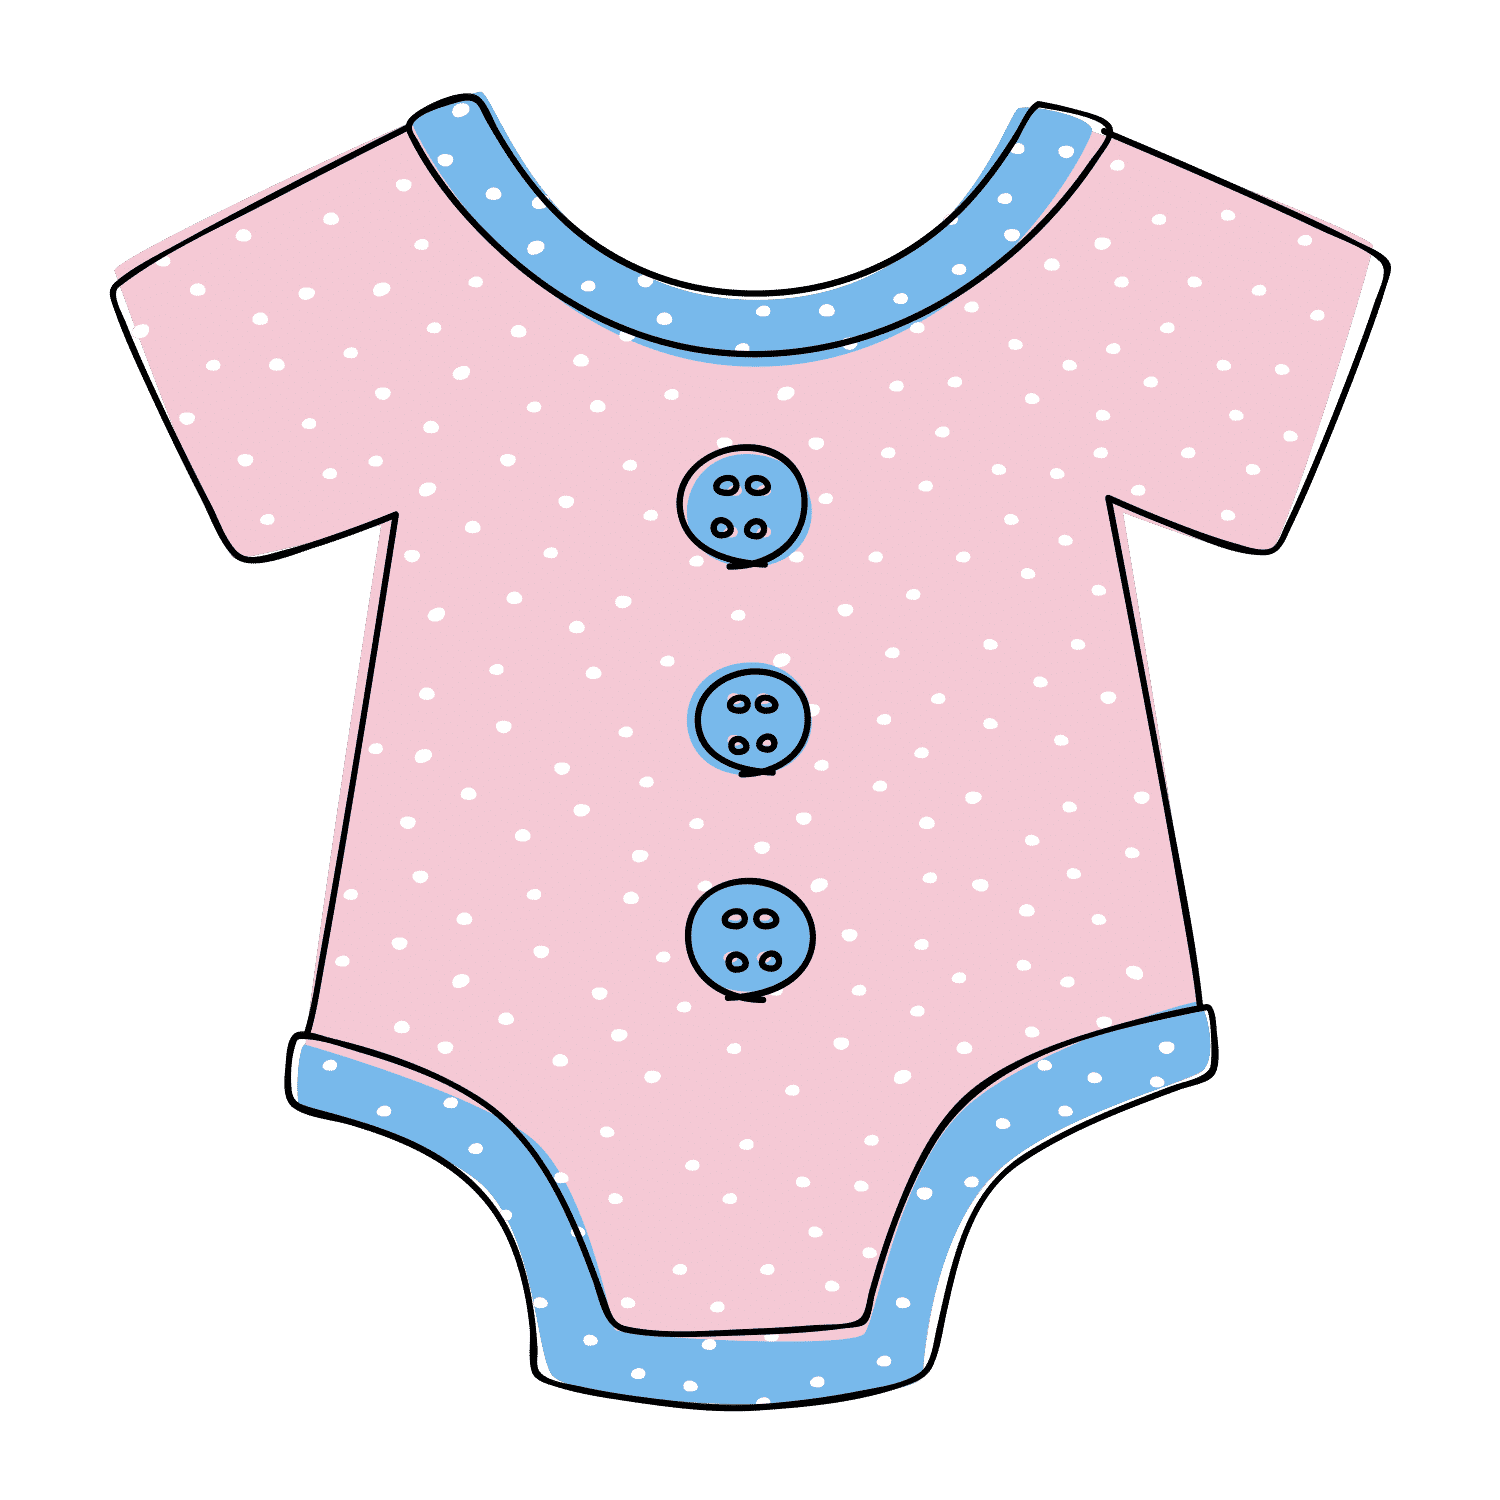
- If you are tying the tags, punch a hole in the left corner of rectangular or square tags. Make a hole in the center of your onesie or circle tags. Thread ribbon through and tie it to each item.
The free printables in this collection are for your personal use only.
PLANNING A DIAPER PARTY OR A BABY SHOWER? HERE ARE A FEW HELPFUL RESOURCES:
Hosting or planning a baby shower takes a lot of work. You will be juggling a lot of balls in the air. Use the resources below to make your life A LOT easier.
Baby Shower Planning
- 7 Easy Tips on How To Plan a Baby Shower
- The Only Baby Shower Checklist You Will Need!
- A comprehensive List: Baby Shower Invitation Wording
- 54 Breathtakingly Beautiful Baby Shower Centerpieces
- Expert Tips on How To Host A Baby Shower That Everyone Will Remember
- 89 Beautiful & Totally Doable Baby Shower Decorations
- Baby Shower Etiquette
- Baby Shower Invitation Etiquette
Party Favors, Prizes & Foods
- Easy Baby Shower Desserts That Are Truly Irresistible
- Strictly Baby Shower Activities, Not Games
- 72 Mostly FREE and Hilarious Baby Shower Games To Play
- 52 Easy & Delicious Baby Shower Food Ideas
- 41 Ridiculously Easy & Delicious Baby Shower Punch Recipes
- 55 Easy & Unique Baby Shower Favor Ideas To Fit Any Budget
- Baby Shower Prizes Your Guests Will Actually Love